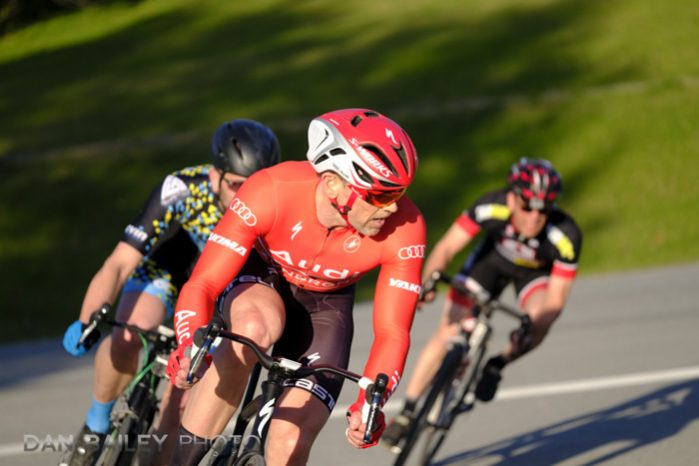
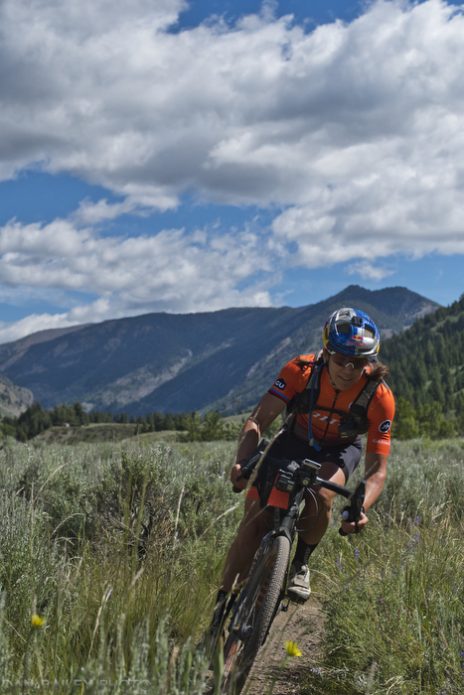
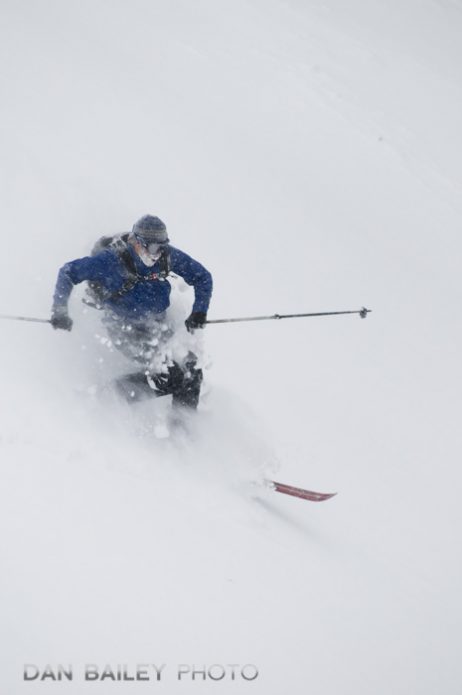
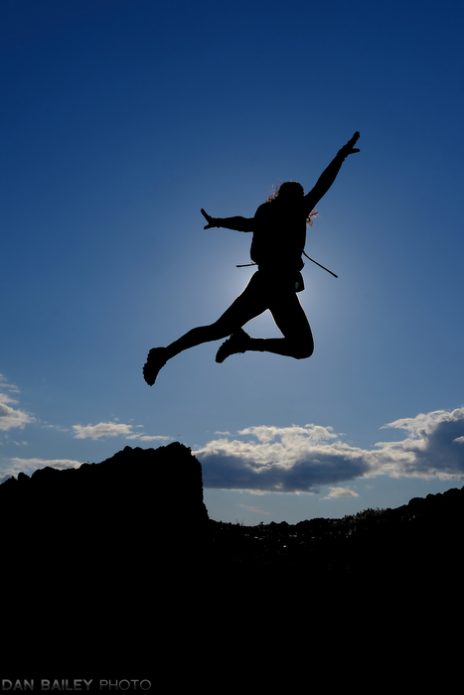
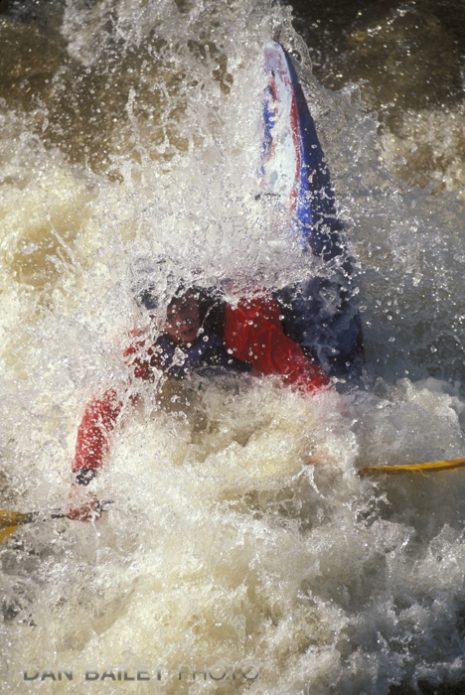
It’s summertime, and we all know that summer is the time for adventure and lots of outdoor sports, right? Ok, so maybe there are lots of good sports to photograph in the spring and fall too. And of course, there’s snow biking and skiing in winter…
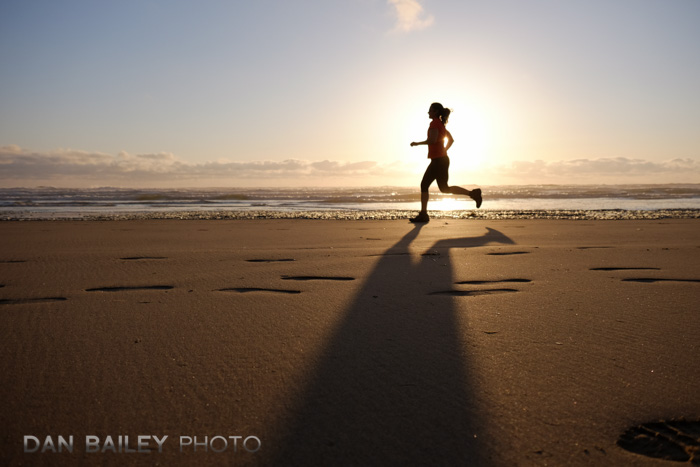
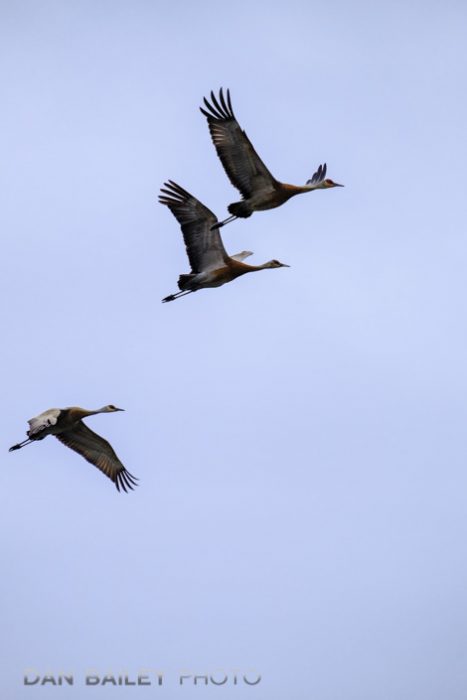
I guess what I mean to say is that any time of year is a great time for shooting action. In today’s post, I thought I’d give you a quick primer on how to approach trying to capture fast moving subjects. Keep in mind, these tips all apply, no matter if you shoot mountain biking, snowboarding, flying birds, (also known as FB’s), fleeing wilderbeasts, your kid who’s about to score the winning goal, your hyperactive grandchildren, or your new puppy.
After all, action is action, and the same camera and photography tips apply, regardless of what happens to be moving in front of you.

My Fast Action Camera Workflow
Although you don’t need top-of-the-line camera equipment to make jaw-dropping action photos, in this genre of photography, the gear does make a difference.
Higher end cameras and lenses have faster, more precise autofocus motors, more advanced AF algorithms and higher frame rates. In addition, faster lenses let in more light, which lets you use faster shutter speeds without having to crank up the ISO dial when the light gets dim.
That said, here are the four steps that will set your camera up for shooting fast action. They’re universal steps, but since every camera has a slightly different layout, you may need to refer to your manual to find the specific controls to set these parameters.
Practice these steps so you can do them by feel in about three seconds with your eyes closed. That’s what it will feel like when some amazing moment is unfolding right in front of you. If you have this stuff down, you shouldn’t even have to think. It should be second nature.
1. Set Your AF Selector Switch to AF-C
On many cameras, (except for Canons) you’ll find the AF Selector switch on the front left, and there are usually three choices: S, C and M, for Single Servo, Continuous Servo and Manual Focus. You want C, which puts your camera into Continuous-Servo AF Mode. If you don’t want to sound too nerdy, you can just call it Continuous, or AF-C. Also, it doesn’t matter if you like to use back button focus or do it the regular way, you’ll still want to be in AF-C.
AF-C mode sets it up to track moving subjects, and it’s optimized for the predictive AF algorithms that are programmed into your camera. Doesn’t matter what you’re shooting. If it’s moving, and especially if it’s moving directly towards or away from you, this mode is essential to helping you nail it. (Note: On Canon cameras, AF-C is called AI-SERVO mode. This is changed via the top deck LCD or inside the menus.)
2. Set Your Drive Control to CH
Often times, the key to grabbing that one awesome moment is to shoot a quick burst as your subject is flying by. It can be hard to know just when the exact right moment is when the entire scene is exploding in front of you, and it’s even more challenging to time it perfectly with your finger.
Shooting a sequence at 6, 8 or 10 fps will help you grab that perfect moment, even though you might not recognize it right when it’s happening. Sometimes you won’t know until you review the individual shots later.
Most cameras have the Drive Dial right on the top left. Find it with your finger and learn how to set it to CH without looking. If your camera requires you to go into the menu to access Drive Mode, learn where that is, and if possible, set it to a quick menu or a Function button.
3. Set Your Focus Mode/Pattern to Zone or Tracking
Even though your camera might be set up for tracking, you need to make sure your autofocus mode is set for tracking as well. Most cameras have a variety of autofocus patterns, so you probably want to refer to your manual to see which one will work best of the kind of subject you’re trying to capture.
With the Fujifilm X Series camera, I use Zone-AF as my default mode when shooting any kind of action. I prefer this mode over WIDE TRACKING, because it allows me to change the size of the zone to better match my subject matter.
With the Nikon cameras, you have Dynamic Area AF, which is similar to Zone-AF on the Fujis. You set the point where your subject starts, and it will continue to track, even the subject moves unpredictably around the frame, or briefly leaves that selected area. Auto Area on the Nikons is like Full auto autofocus. If you don’t know where the subjects will enter/move around the frame, then this is a good choice.
3-D Tracking on the Nikons allows you to change your composition and still keep your subjects in focus. It’s similar to selecting the largest zone in Zone-AF on the Fujis.
If you use Canon, I recommend using either Zone AF, Large Zone AF. You should experiment to see which of the two modes work best in different situations.
Some higher end cameras have an AF-C Custom Settings menu. This allows you to further optimize the cameras autofocus system for the particular type of subject movement you’re trying to capture. See my primer on using the AF C Custom Settings on the Fujifilm cameras here.
4. Set Your Desired Shutter Speed
Once you have your AF system set up and your camera set to Continuous High shooting mode, the last thing you’ll need to set is your shutter speed.
Of course, your desired shutter speed depends on a number of factors, including how fast your subject is moving, the focal length and speed of your lens, and what kind of creative look you’re going for. Do you hope to get a razor sharp subject in the frame, or do you want to capture the action with a motion blur technique?
Depending on these factors, you’ll probably need to make an adjustment to your aperture (open up for a fast shutter speed, stop all the way down for a slower shutter speed), and you may want to change your ISO to compensate for the light or for the speed of your lens.
With this in mind, STEP 4 might actually be a multi-threaded task, which is why it’s so vital to set the first three as quickly as possible. In some situations, you might decide to make this your STEP 1. If you already know what kind of look you’re going for, or how you’ll compensate for your light and equipment, it might make sense to get this stuff out of the way first.
If you have an inkling you’ll be shooting some action in the next few minutes, you can go ahead and set your ideal shutter speed as you’re walking up to your scene. This is where anticipation and a little bit of forethought can help you be a much more proficient photographer.
OK, You’re Ready to Shoot!!
Now that you have your camera set, you’re ready to bring your camera up to your eye and nail some great action shots… that is, after you anticipate the potential movement of your subject, gauge the light, search for the right background, find the best vantage point, decide which lens you’re going to use…
Oh sorry, I didn’t mean to overwhelm you there. There are a lot of creative methods that go into action and sports photography, (here are 3 simple tips to get you started), but if you can get these four steps out of the way first, that gives you more time to focus on the rest of the process.
PRACTICE, PRACTICE, PRACTICE
No matter what, the best way to be a good action shooter is to practice. Shooting on a regular basis and becoming more familiar you become with your gear is the key to success. Technical ability and confidence comes from repetition, so get out there and photograph some action as often as you can.
Even if you’re just fooling around and trying to get a sharp photo of your puppy or if you’re walking around with your camera on lunch break, practice my Action Photography Workflow until it becomes second nature.
Further Reading
If you’re a Fuji shooter, you can get even more in-depth action tips and learn how to optimize the settings on your X Series camera with my bestselling eBook X SERIES UNLIMITED. (You can also order the paperback version of X SERIES UNLIMITED here, or grab it on Amazon.)
You can also check out my Behind The Action eBook, where I take you behind the scenes and walk you through the specific steps and technique I used to create 12 different action photos. I’ll even give you a special discount code. Order the eBook here and use coupon code BEHIND20, and you’ll get a 20% discount on the book.
I’ve also got my book, Outdoor Action and Adventure Photography, which details everything I know about shooting adventure and action subjects. Even if you don’t consider yourself an “action shooter,” the information in this book will help you become a more efficient and proficient photographer.

[…] It’s summertime, and we all know that summer is the time for adventure and lots of outdoor sports, right? Ok, so maybe there are lots of good sports to photograph in the spring and fall too. And of course, there’s snow … Continue reading → […]
Thanks Dan!
[…] already have your camera settings dialed in, you’re going to miss the shot. (Check out my Action Photography Workflow post to see how to set up your camera or shooting […]