Lesson 3 – Focus on Something Other Than the Main Subject
Lesson 3
I hope you enjoyed your first two lessons so far, and have been able to get out and practice those techniques a little bit. Today we talk about a critical element in photography - FOCUS.
When we look at a photograph, our eyes lock onto the sharpest part of the image. We've been trained to deduce that this is the most important part of the shot.
Once we've established this in our minds, we relax and explore the rest of the image, checking out the wider array of shapes, colors, textures and tones that the photographer had presented us with.
In the end, we’ll always come back to that point of sharp focus, because, after all, it's the most important thing.
But what if it isn't?

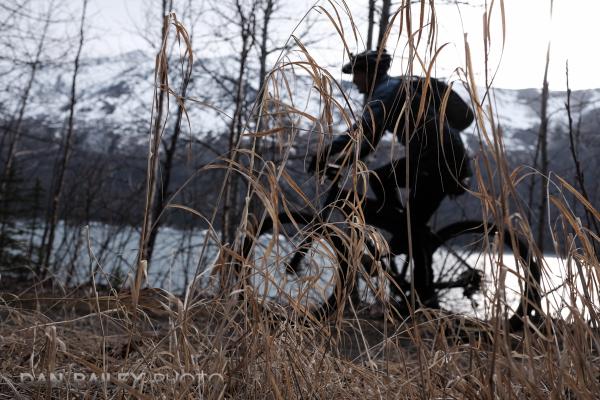
What if you play a little trick on your viewers and focus on something else in the frame that's NOT THE MAIN SUBJECT?
This is one of my favorite techniques in photography. It can help create a very compelling look, because it gives your viewer an unexpected starting point in the frame. It totally flips upside-down the notion that your main subject needs to be in focus.
It also implies a unique relationship between your subject and the other thing that's in focus, and creates strong visual pathways that would not have existed if you did things the "regular way."

For this technique to work, though, the “sharp” subject needs to be closer to the camera than the “main” subject. If the point of focus is behind your main subject, it will just look like you accidentally focused on the wrong thing and your picture will fail.

Creative Challenge #3
Want More?
Here's an article I wrote about combating creative block and self-criticism in photography.
Have fun with this one! In the next lesson, we'll talk about to give your subjects room to breathe.
