In my two most recent video lessons on my YouTube Channel, I’ve talked about how to ensure proper exposure when using mirrorless cameras, and also how you can use aperture, shutter speed, ISO and the histogram to gain even more control in your process of trying to get the best exposure.
In my latest lesson, I talk about about the most important decisions you’ll need to make into order for all of this to fall into place and get the best exposure for your scene. If settings like aperture, shutter speed and ISO are the ingredients, think of these decisions as your master recipe for getting a good shot. As good as modern cameras are, it’s these decisions that ultimately determine how your photos will look.
For as much information and detail that modern sensors can record, digital images still can’t match the tonal range that your eyes and brain can recognize out in the world. No camera can render accurate detail in both the extreme highlights and the darkest shadows at the same time. If there’s one thing you remember from this lesson, it should be that.
Of course, you can do this with HDR photography and by blending multiple exposures, but it doesn’t look quite real and our brains know that. That’s why a lot of HDR imagery has such a unique look.
Due to the way that camera sensors record light, it’s technically better to overexpose your images. However, that doesn’t take into account what looks aesthetically better to us as viewers. We actually prefer it the other way around. We’re drawn much more to darker, more saturated colors over less saturated highlights.
So how do we get around these limitations and contradictions and shoot imagery that is both appealing to your viewers and that preserves enough visual information without blowing out with too much white?
Here’s the answer:
Expose for the most important bright subject matter
This is where your own creative decision making process enters the equation. Knowing that the camera won’t be able to record everything you see, you need to evaluate your scene and prioritize your subject matter in terms of overall importance and go by this all important guideline.
If there’s one exposure rule that you permanently burn into your mind and remember for the rest of your photography life, it should be this:
Your BRIGHTEST SUBJECT MATTER and your MOST IMPORTANT SUBJECT MATTER must be IN THE SAME LIGHT, or else you’ll have too much contrast.
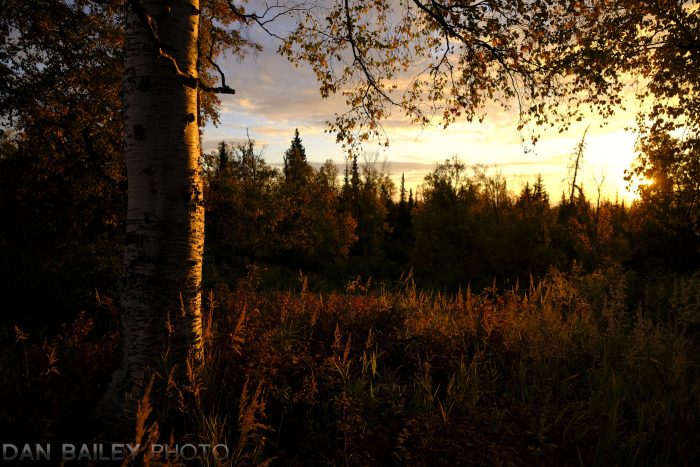
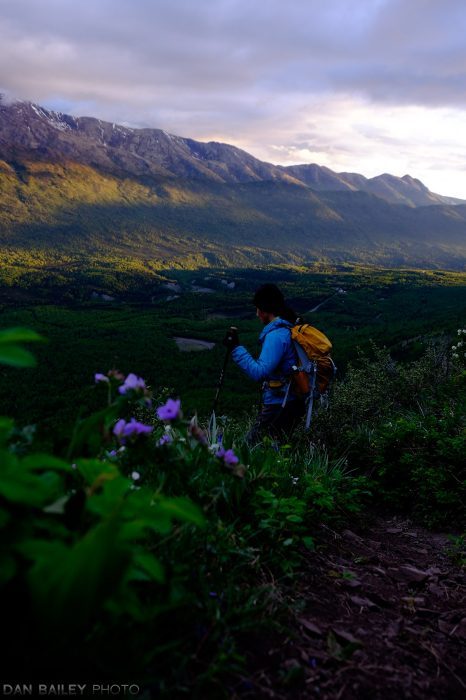
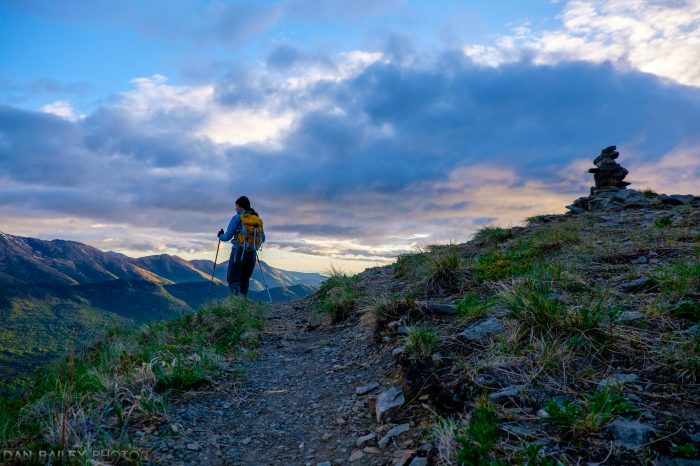
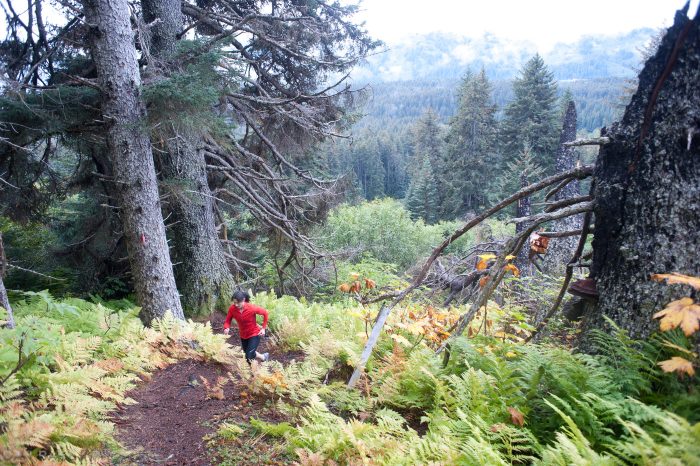
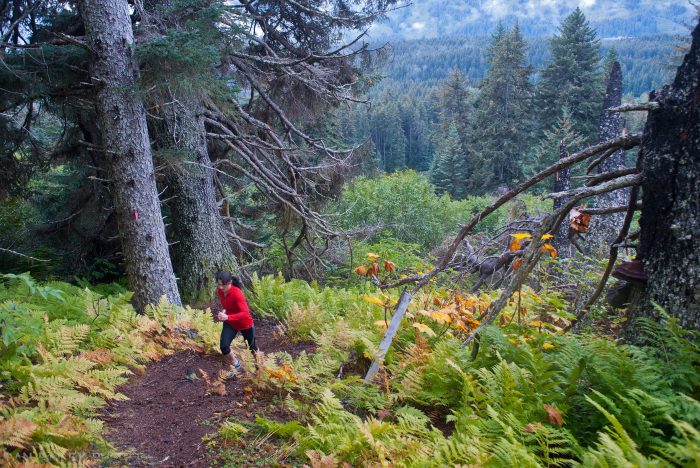
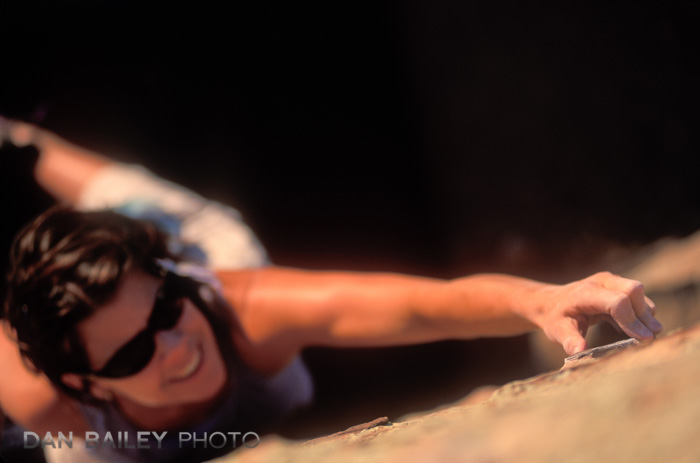
Let’s say you’re shooting a scene that contains both bright, colorful skies and dark shadows. And let’s assume that your subject is moving in and out of the shadows. Maybe there’s some important subject matter in the darker areas of the frame that, ideally, you’d like to preserve.
In this kind of situation, if you were to expose for the highlights, your shadows will drop to black and any subject matter in those areas will completely indiscernible. However, If you expose for the shadows, your nice, rich blue sky will end up as a washed out field of white, which as I pointed out above, won’t look very good.

So…
In order to shoot the scene in such a way that lets you create the most dynamic, exciting image, you need to establish the hierarchy of subject matter in terms of visual/creative importance and do one of these four things:
1. Wait for different light
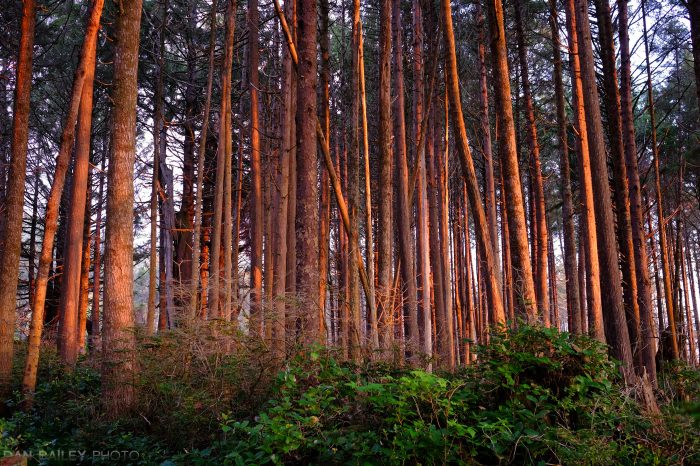
Wait until the shadows pass, or come back and shoot the scene during another time of day perhaps at sunset, or when the sun has shifted enough to illuminate your shadowed areas.

2. Wait for your subject to come out of the shadows
If your subject is moving, maybe you just need to wait a few seconds or minutes for them to pass through the shadows and come back into the sunlight. When they do, you’ll be able to capture the subject in the same light as the sky and preserve details in both.
3. Recompose and exclude the highlights
Instead of trying to show both, recompose your scene and exclude as much of the highlight detail as possible. This way you won’t have to worry about it washing out. Simply remove it from the equation. This could involve changing vantage points or zooming in with your lens.
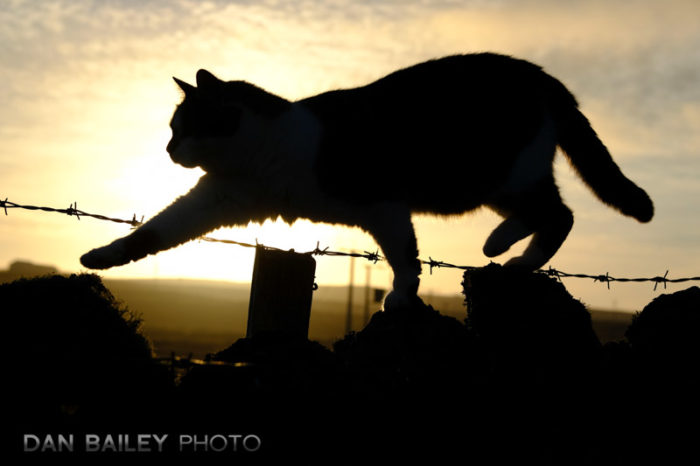
4. Let your shadows drop to black
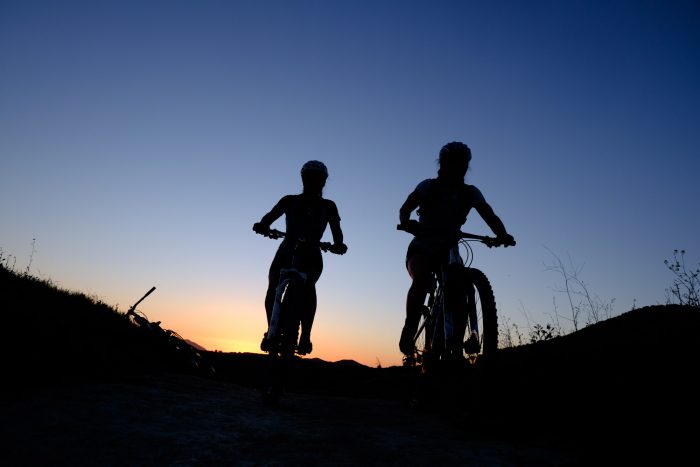
Instead of trying to look into the shadows, let them drop to black. If there’s no way you can get your subject out of the shadows, then take a different approach and shoot the scene as a silhouette. This will preserve your bright sky, (this works very well with a dramatic sunset) and it will create a suggestion of your subject.
With many scenes, you don’t actually need to show every single detail in the subject to tell the story. Sometimes the less you show, the more powerful your image will be. Silhouettes can make for very powerful compositions.
These four rules will allow you to better deal with high levels of contrast in your scene. Learn them. Remember then. Pull them out of your hat whenever you’re shooting in challenging light, and you’ll find that they’ll let you solve difficult contrast issues in a multitude of photography situations.
In the next post, I’ll bring it all together, and show you how to combine these decisions with your other exposure ingredients, so that you can effectively nail the look you want for your scene.