I just posted my latest video tutorial, Creating Custom Looks With Your Fujifilm Camera. You can watch it on my YouTube channel.
Expanding on the topics I covered in my previous lesson, where I outlined How To Use Fujifilm’s Highlight and Shadow Tone Controls, in this tutorial, I show you how to take your creativity and image making fun to the next level by tweaking the film simulations with some of the other creative tools and settings found in your X Series camera.
Buried in the Image Quality Menu and the Q MENU by default, you’ll find a set of useful, but little understood exposure controls. These consist of COLOR, SHARPNESS, SHADOW TONE, AND HIGHLIGHT TONE. On the X-Pro3, X-T4 and X100V, you now have a CLARITY control.
These controls are overlooked by many photographers, me included. We can all be forgiven, because the Fuji camera manuals don’t offer much explanation for what they do. I’ll admit that having been an X Series shooter for five years, I only recently started experimenting with them. I’m kicking myself for waiting so long, because they’re quite useful and they increase the times when you can get by without having to shoot RAW.
Basically, most of these controls go from +4 down to -2. (CLARITY goes +5 to -5.) “Plus” gives you more contrast and “minus” gives you less. Zero is neutral.
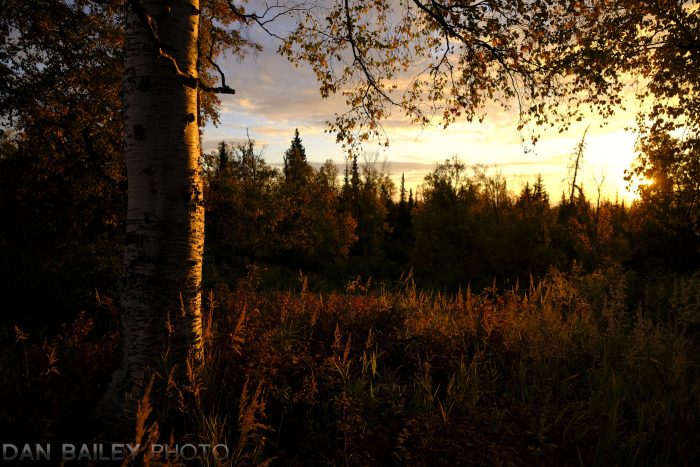
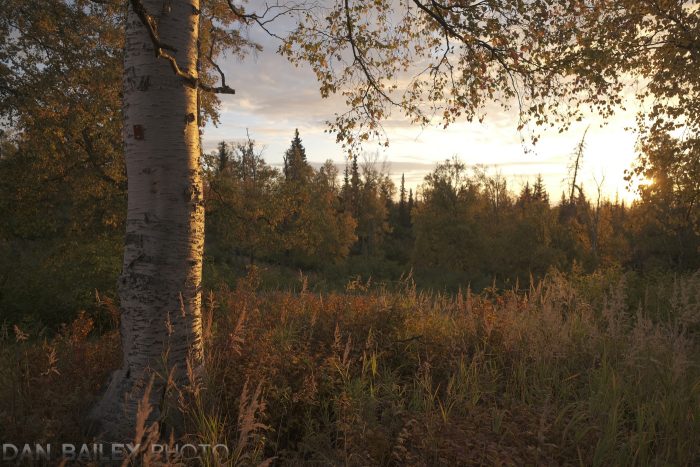
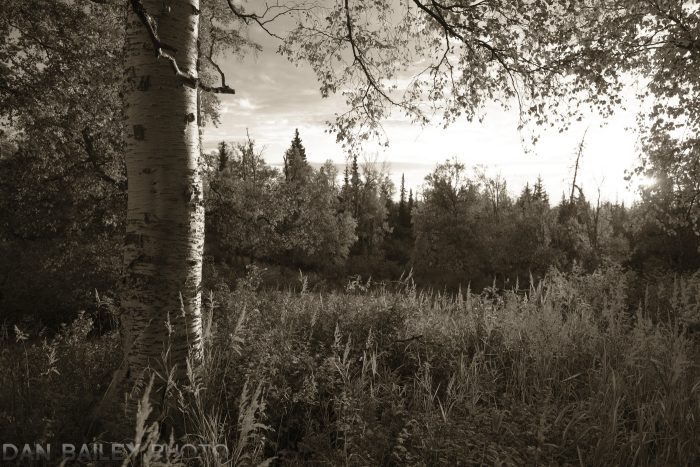
With Shadow and Highlight Tone, a setting of -1 or -2 can help rescue your lights and darks from the edge of the histogram.
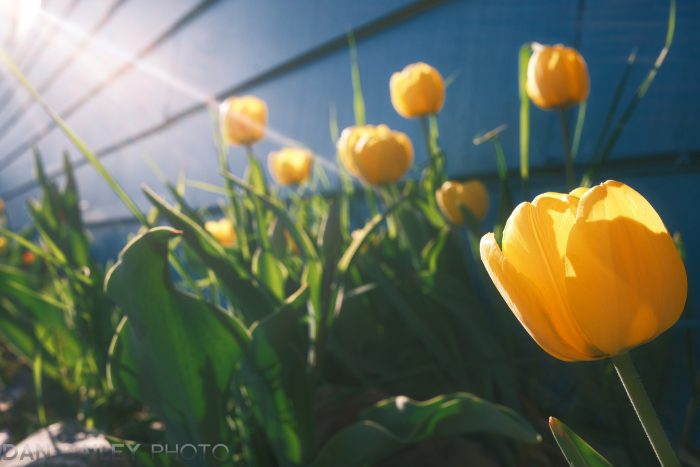
Color increases or decreases saturation and vibrancy, just like in Lightroom. Want to bump up Velvia even more, go +4 for maximum, candy-color pop. Make it a little less contrasty? Go minus on the Shadows. Want to mute ProNeg Low even more, go -1 or -2 on and you’re even softer. You get the idea. Finally, Sharpness is kind of like your Clarity slider in Lightroom. Plus adds crispness, minus softens things up.
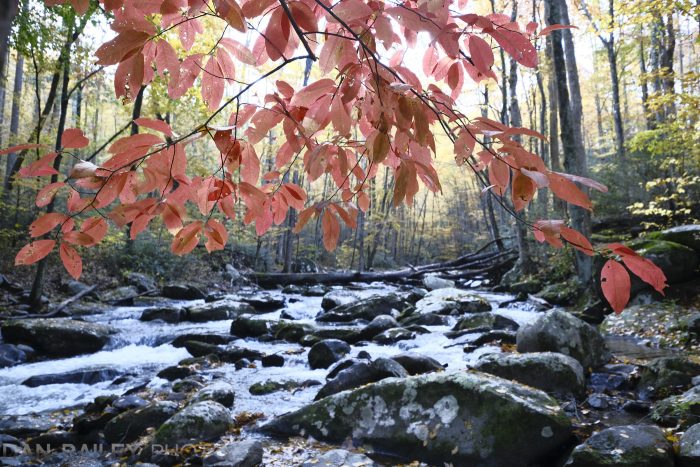
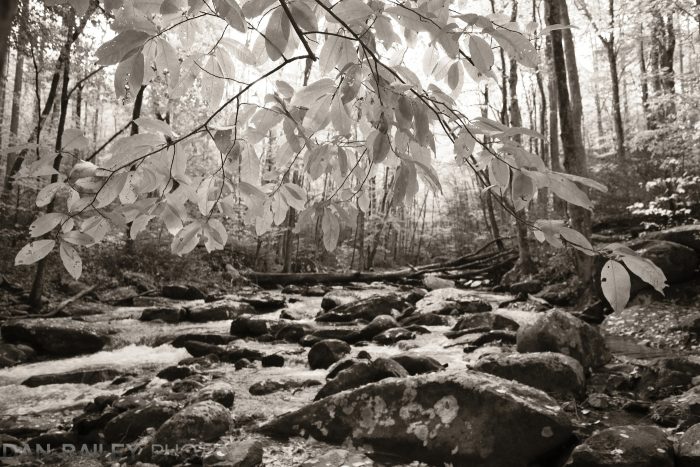
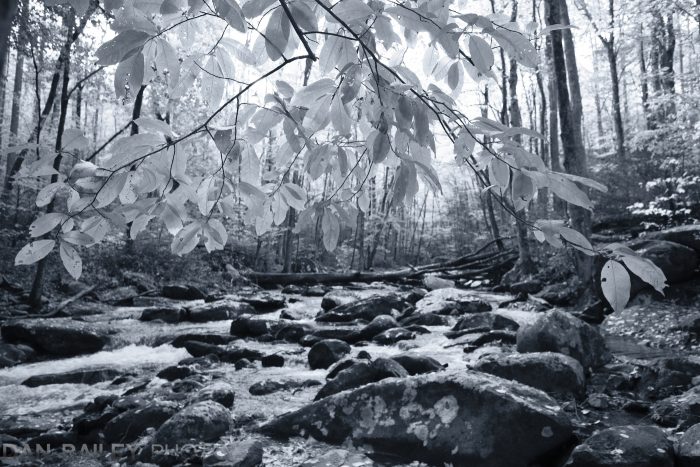
You realize how powerful these simple controls are when you start combining settings. In addition, you can even add White Balance as one of your saved parameters. Go a little blueish or greenish with your WB and you’ve got the cross-processed look. Tweak toward red or magenta and you can simulate the look of film that’s well past its expiration date. Go orangish yellow and you’ve just aged your photos by a few decades.
Think about it, the options are endless. Whether you’re simply rescuing lights and darks or radically altering colors, these simple controls offer a huge amount of creative flexibility.


Not only has my “film” approach to photography saved me an enormous amount of time, it frees up my brain to focus on being more creative on the spot. I’m more passionate about my photography now as I ever have been and I don’t feel that I’ve given anything up. On the contrary, I feel as if I’ve come full circle and gained every advantage on the way around.
I’ll occasionally shoot RAW when I’m faced with really challenging light, or if I’m shooting a complex assignment. For the majority of my photography, though, and I hear this from many Fuji shooters, I’m shooting JPEGs and loving it. I encourage you to experiment with this kind of film mentality and see what it does for your photography.
So check out the lesson on my YouTube channel, hopefully it will inspire you to start playing around with the creative settings inside your Fuji and come up with your own recipes as well!