Cyclocross season is here again!!! If you’ve followed my work for awhile, then you know that cyclocross is one of my favorite sports to participate in and photograph.
I love the mix of fast action combined with the chaos and combat of racing road-style bikes through mud, dirt, sand, water and deep grass, and the challenge of capturing all this energy with still imagery. Plus, many of the people racing are my friends, so that only adds to the fun! I love making my friends look like heroes.
I’ve been racing and shooting cyclocross here in Anchorage for a about six years now, and I like to vary my approach slightly with each race. I enjoy the challenge to try out different creative techniques and come up with fresh looks from one year to the next.
So far, we’ve had two races this season. Since I’m riding with the Expert/Master Men’s group, I’ve been photographing the women’s races. In this post, I’ll break down one of my favorite shots from last week.
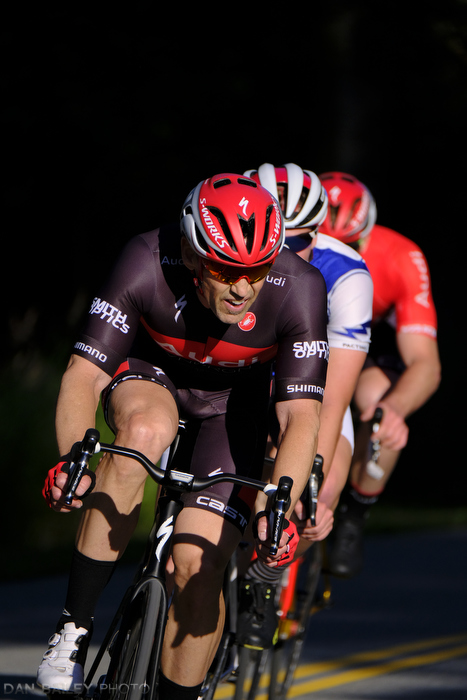
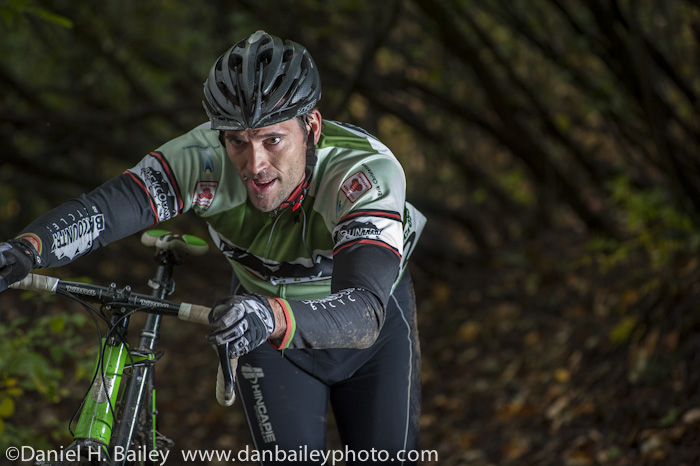
Often times I like to shoot a lit subject against a shadowed background, which can be a very powerful visual technique. You can see this style in the two examples below.
Switching it around, though, can give you quite a different feel. You have to be careful, though, because if you have too much contrast, you’ll end up with a silhouette, or a very dark subject that’s lost in the shadows.
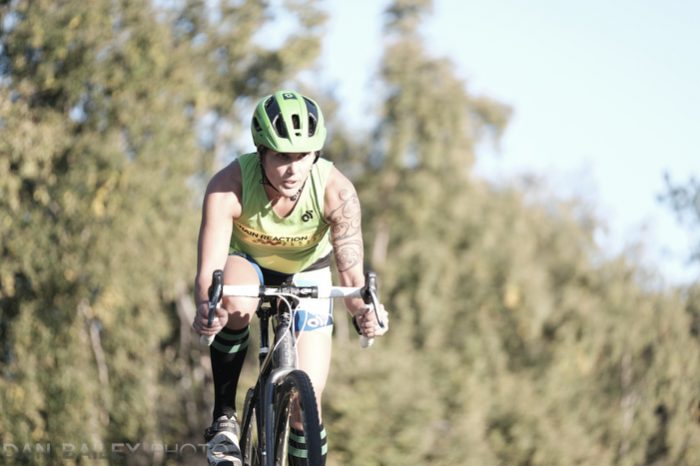
For this shot, (the lead off image) I wanted to capture my friend Amber as she crested over the small rise. I felt it would be an effective look if she was in shadow against the sunny trees in the background. However, I knew the scene would present challenges. Here’s how I worked them out.
First of all, I used a long lens on my Fujifilm X-T2. The XF 50-140mm f/2.8 is a great action lens and being a telephoto, it would compress the scene slightly and blur the background. My exact focal length here was 94.5mm, which means I had zoomed about halfway out. Enough to get some good impression, but still allowing me to capture the whole rider.
I also chose a vantage point with a clean background. This helped eliminate much of the busy-ness that plagued the shot above and made for a much cleaner composition.
I looked for a view that gave me an almost uniform palette of lighting across the entire bank of trees, with just enough shadow to give the scene a little texture and three dimensionality.
To solve the problem of light and shadow, I reduced the contrast levels right inside the camera. I did this by increasing my overall exposure and using one of the lower tonality film simulations on my X-T2.
I went with CLASSIC CHROME and dialed down the COLOR adjustment to -4 in the Q Menu. This helped reduce the prominence of the background even more. (Read more about how to customize the Fuji film simulations here.)
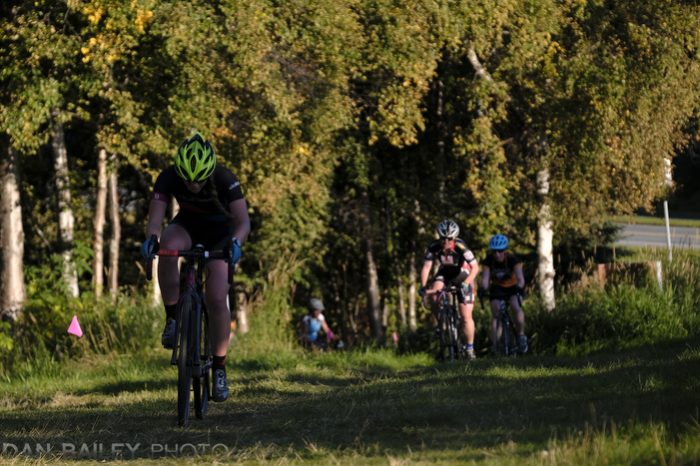
To compare, here’s a shot made under similar lighting using the much higher contrast Veliva film sim and no adjustments. You can see, the subject just gets lost in the busy-ness of the scene. The lead rider hardly stands out at all.
By brighting up the background and reducing contrast, I’m able to isolate Amber against the sunlit tress much more effectively. She has nice smooth, even lighting, with enough exposure to give her an adequate amount of detail for a main subject.
However, as you can see, as soon as the subject leaves the shade, the exposure is blown. She’s way too bright. This is where you need to follow the rule that says Expose for the brightest important subject matter, and at the same time, realize that this might change with a slight change in composition or camera position.
It can be especially hard to keep on top of stuff like this in the moment, especially when you’re shooting action sports and fast breaking subjects. It just takes lots of practice and understanding light and shadow comes into play.
Of course, you could solve all this by just shooting in RAW and processing later, but I like to get it right in the camera and nail my shots in the moment. For me, this approach is more satisfying and it makes me a better technical photographer. It keeps me on my toes.
Remember, the more you shoot, the better you’ll get at on-scene problem solving. So get out there and practice!!
To learn more about action photography methods and problem-solving, check out my Behind The Action eBook. It’s like standing over my shoulder and watching me work.
If you use discount code BEHIND20, I’ll even give you a 20% discount on the book.