After much anticipation, Luminar 4 has finally been released. In addition to getting an update to the user interface, Skylum has introduced some very powerful new processing tools, including AI Structure, AI Skin and AI Portrait Enhancer tools, and AI Sky Replacement.
Using algorithm-based processing, these adjustments allow you to make what might normally be very complex adjustments with simple slider moves. In many cases, the kind of visual effects you can achieve would often involve using masks and layers, but with Luminar, you can get the looks you want in a minimal amount of time.
Essentially, that’s Luminar’s keynote mission, to make the process of photo editing easy and allow you to get great results quickly.
In my own quest to simplify my photography life, I try to reduce the amount of time I spend at my computer, or at least make my computer time more efficient. In that respect, Luminar has become a very productive tool in my workflow. In addition, I enjoy the style of creativity that it inspires when I’m editing my imagery.
I wrote about some of the new tools in this recent post, and to help expand on this, I’ve posted three Luminar tutorials on my YouTube Channel. I’ve also embedded them in here this post so you can watch them all in one place.
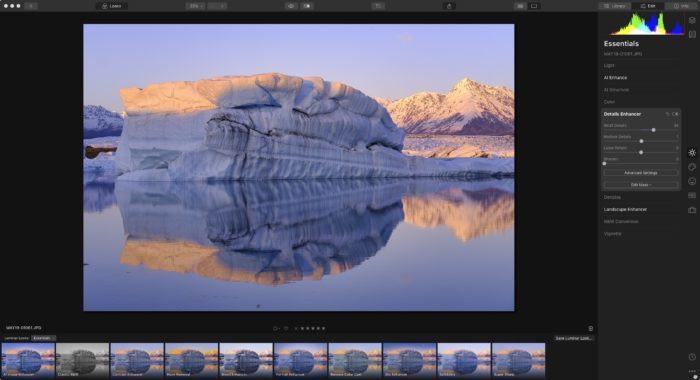
1. A Look at Luminar 4
In this video, I give you a basic look at the new interface in Luminar 4, highlight some of the new creative tools and show you how I typically use the program in my own photography workflow.
2. How to Use Luminar’s “Sunrays” Filter
In this video, I show off the Sunrays filter that’s included in both Luminar 3 and 4. It’s one of the “fun” tools that allows a wide range of creativity in your imagery, and when used correctly, you can enhance your image with some very realistic looks.
3. Using Luminar’s AI Sky Replacement Tool
Ok, I know this one is going to get a lot of “eye-rolls” from some photographers. I’ll admit, that was my first reaction when I saw that they had added this new tool. It’s not something that I would make much use of in my own photography.
However, sky replacement is a common practice in the pro photography world, especially if you shoot assignments or stock. Ad agencies and art directors have been replacing skies for years. I’ve had my own skies replaced on more than on occasion, and it wasn’t always done very well.
Even if you’re not a pro, there are times when you might have a great subject and a horrible sky. For whatever reason, you may choose to add in a different sky to match the personal, creative ideas you have for a particular image.
The AI Sky Replacement tool in Luminar 4 works exceptionally well. Despite being an initial skeptic, I was highly impressed the first time I tried it. In fact, this short video tutorial is actually a live session of the first and only time I’ve used the tool. The clip shows you just how easy it is to use and how convincingly it works.
I hope these tutorials give you an idea of the look and capabilities of Luminar 4 and show you the kinds of creative effects you can get with the program.
Luminar 4 runs on both Mac and Windows and it works as both a standalone photo editing app or as a plugin for Lightroom, Photoshop and Apple Photos. Given the power of the new tools and the highly versatile nature of the program for both beginning and advanced photographers of all styles, I feel that it’s a program that will appeal to a wide range of users.
If you order or upgrade here, use discount code DANBAILEY and you’ll save $10 on either the full version of the upgrade from a previous version. You’ll also get a free “Inspiration Looks” preset pack.
You can also take advantage of the 7-day free trial period to see if you like the program.
[…] Here’s a quick tutorial on how to use the new AI Sky Replacement tool inside Luminar 4. See more here: https://danbaileyphoto.com/blog/a-trio-of-luminar-4-tutorials-how-i-use-the-program/ […]
[…] A brief look at some of the new AI tools inside Luminar 4 and a tutorial on how I typically use the program to edit my images. See more here: https://danbaileyphoto.com/blog/a-trio-of-luminar-4-tutorials-how-i-use-the-program/ […]