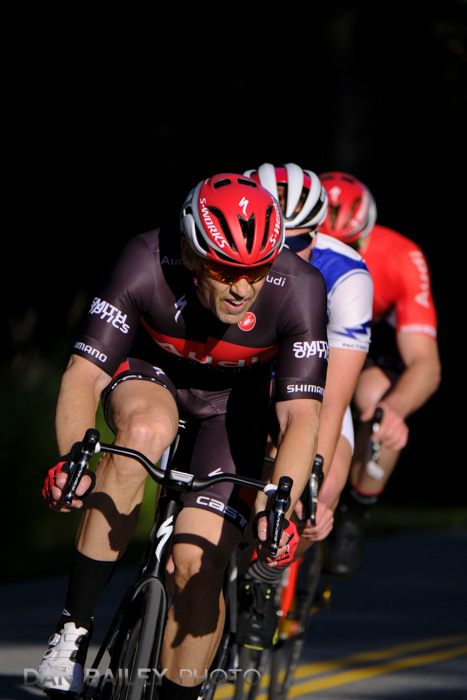
One of my favorite things to shoot during the past couple of summers here in Anchorage are the short track road bike “crit” races that happen every Wednesday evening from May through August. I got this image back in July of 2016, and it’s quickly become one of my favorite images.
I love how dynamic it feels, I love the simple palette of strong colors, and of course, I love the light. Such bold sunlight contrasting against deep, dark shadows and caught just at the right moment, when the riders are stacked 3-deep as they come out of the blackness and turn the corner.
This was a very challenging scene to tackle, and it certainly put both my skills and my equipment to the test. Although I’ve shown and talked about this image in my classes and presentations, and it’s featured in numerous posts here on my blog, I’ve never broken it down and talked about it was made.
First a little background. I’ve been an action photographer for over two decades, but I’ve never really considered myself an “event” or “race” photographer. However, shooting races is a great way to practice action technique and try out new styles and equipment.
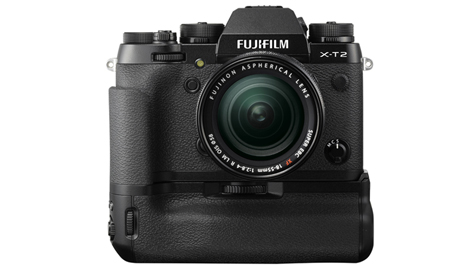
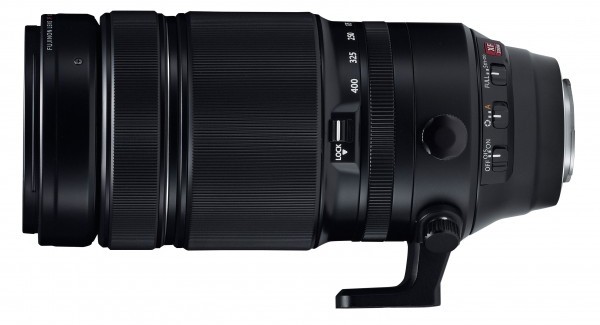
I had just gotten the Fujifilm X-T2, which was designed as an “action camera,” the Vertical Booster Grip, which makes it even more “action ready,” and the XF100-400mm lens. This seemed like an excellent opportunity to put all three to the test and see just how capable these tools were for relatively high speed sports photography.
After all, what better way to test your autofocus tracking system than by capturing races with a long zoom lens at 11 fps when they’re racing directly towards you at over 25mph in strong, contrasting light?
I’ve also been a bike rider for well over four decades, but I’ve never considered myself a “road bike racer.” However, racing with a bunch of dudes who are stronger than you is a great way to stay in shape and keep the heart and legs strong.
Plus, it’s a really fun scene out there, hanging with friends and teammates on a summer evening, riding bikes, shooting photos while standing really close and not trying to be run over, and yes, drinking beers afterward. What’s not to love?
Anyway, let’s get down to business.
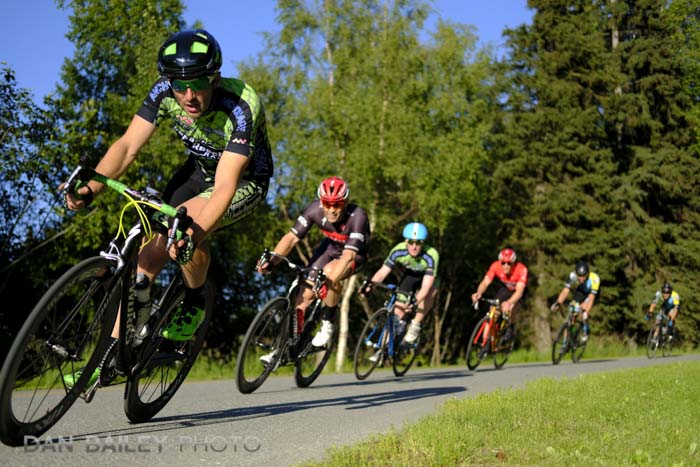
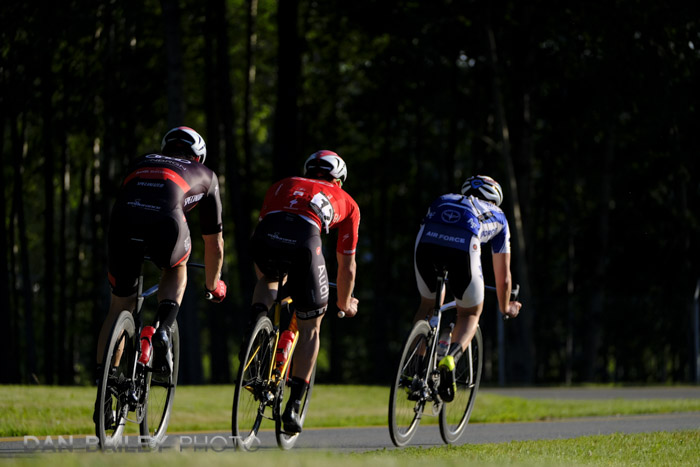
When I shoot subjects like this, I’m always trying to change things up by looking for different vantage points, varying my technique and using different lenses. I started with the XF35mm f/2 lens, because even though it’s not really considered an action lens, it’s good practice to get outside of your comfort zone.
As you can see above, the light is nice and strong, with direct sunlight. However, on that backstretch of the loop, there are a coupe of sections where the light is blocked by trees. This creates large areas of shade, or as we like to call them in photography, “Shadows.”
Shooting in the shade doesn’t often make for bold photographs, but shooting against the shade is a technique that can really make the subject pop. Not only do you get that isolation against a solid black background, anytime you put bright colors against dark, those colors appear more saturated.
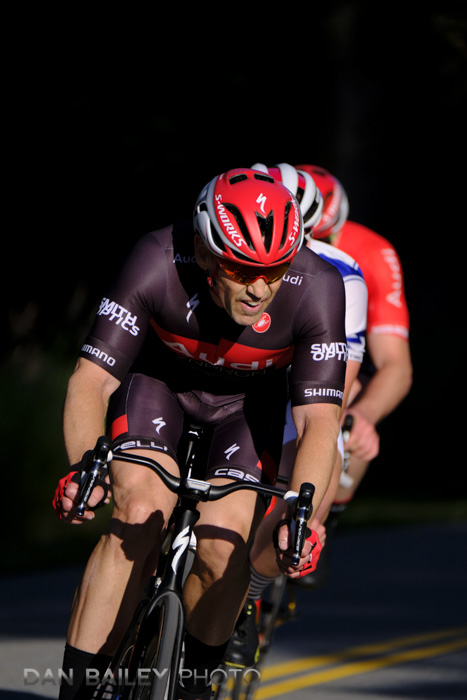
After trying out a couple of different locations, I found a great spot on the back corner. Shooting straight on with the 100-400 lens, my plan was to capture the racers right as they emerged from the shadows.
Although I had been shooting horizontally, I noticed that if I positioned myself just right, I’d be able to catch them “stacked together” as they drafted off of each other in the downhill turn. For that reason, I decided to switch to vertical, which I felt would play well with three closely stacked racers.
Manual Exposure
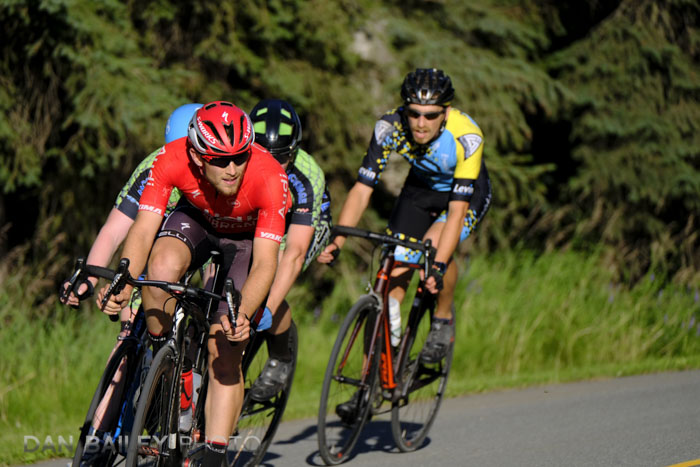
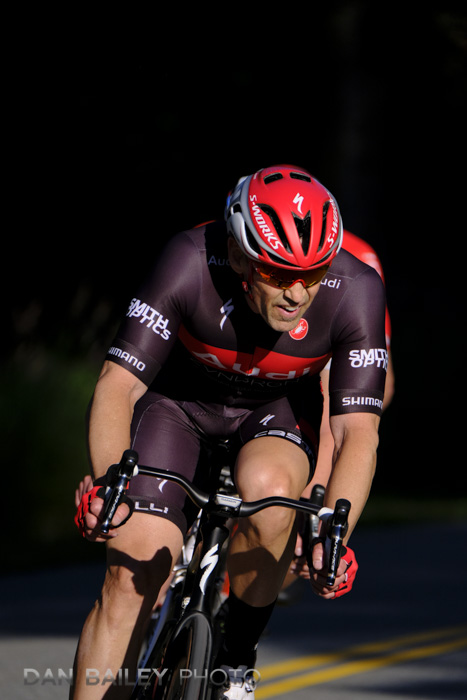
I knew that this extremely contrast of light and predominant shadow might make for a tricky exposure. If I used an auto exposure mode, that big wall of dark behind them would likely cause the camera to overexpose the scene, blow out the highlights and reduce the impact of the super bright colors, as it did in the shot below.
Also, autoexposure could very well have shifted things a bit as the riders got closer and filled more of my frame. In this kind of situation, you want consistency with your exposures.
In order to preserve the scene and keep all that wonderful contact, I chose to shoot in Manual Exposure mode. Basing my exposure on the bright sunlight, I set my camera to 1/2500 sec @ f/5.6 at ISO 400. Since I was trying to freeze super fast action with a very long lens, I wanted a very high shutter speed, and bumping up one stop to ISO 400 would give me a good jump with no loss in image quality.
AF-C and Zone Autofocus
The last problem to solve was focusing. The X-T2 has an incredibly capable autofocus system which features highly intelligent tracking algorithms. The XF100-400 lens has twin linear autofocus motors, making it one of the fastest AF lenses in their entire lineup. Although it’s a slower lens with regards to maximum aperture, it has a slightly faster AF motor than the XF50-140mm f/2.8. Both are pro-quality workhorse zooms.
Using Zone AF, I set the camera to AF-C to track the motion. I wanted to make sure I caught the riders before they came out of the shade, so I actually started tracking them while they were still in the shadows. Although the final image shows a background of inky black, the human eye, and the camera, can actually see into those shadows.
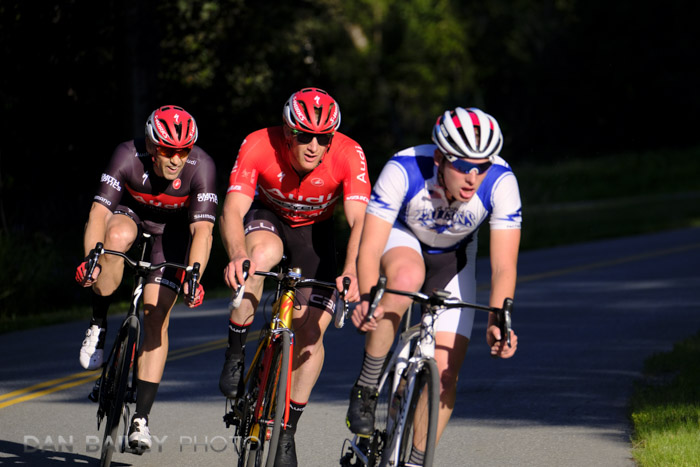
I was able to acquire and lock onto the riders, so that when they came into the sunshine, there was no delay. I could fire at will. With the Vertical Booster Grip on the X-T2 and the lens zoomed all the way out to 400mm, I was able to grab at a quick burst of four shots at 11 frames per second.
At that speed, even a split second can make a big difference framing. A second later, it’s over. In this sequence, the first frame was my favorite. I felt it had the best body position in the lead rider and the best “stacked” framing of the other two guys behind him.
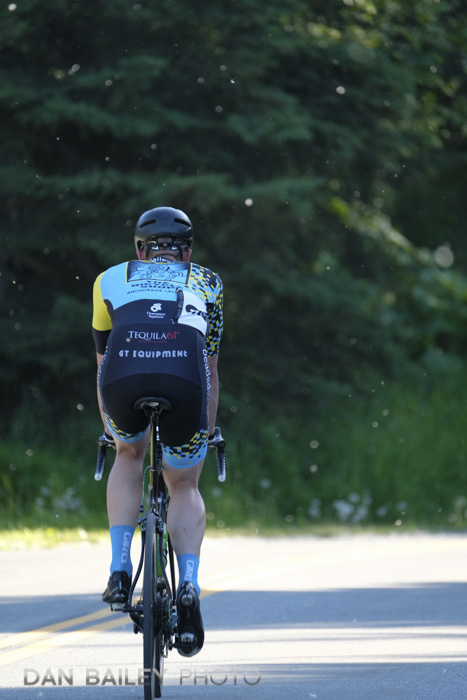
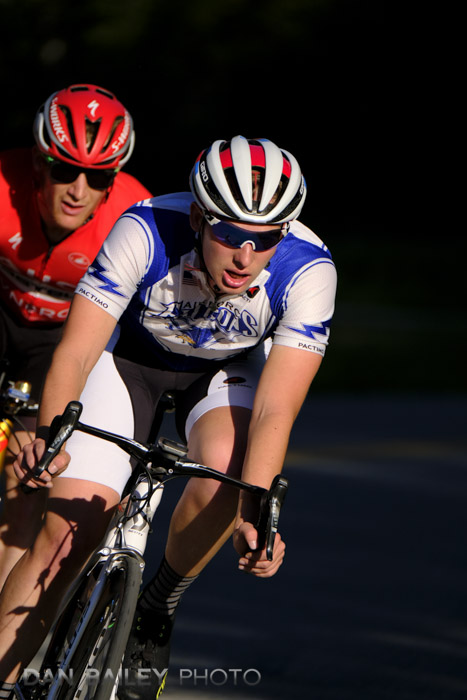
I parked myself in this location and shot a few more laps, but I never got anything quite as good. The next best one was this last image below, which is significant for two reasons. Not only did the guy in white make his move on the last lap and get the win, he’s the son of my friend John, a fellow photographer and bike rider.
So, to wrap, Manual Exposure, AF-C autofocus and the Vertical Booster Grip on the X-T2 make an excellent combination when you’re shooting sports and action with bold, high contrast light. If you use a different camera setup, then it’s all about bold light and manual exposure.
Ok, your turn. Spring is here and summer is right around the corner, so get out there and shoot some action!!
Hi Dan,
You mention using af-c autofocus, but I also think it is particularly important to mention the af-c custom settings and use thereof. I shoot mostly runners, 5k etc, but some bikers, so am usually shooting a slower moving target. I find the custom settings particularly useful, especially being able to customize my own setting (6), which I usually do. Shooting Zone, smallest zone, I set the tracking sensitivity to 2, speed sensitivity to 1 or 2, but the customizable setting I find most important is the zone switching setting. For my style, I find using the Front setting for runners works very well, where in many shooting situations this may not work well. Point is, try customizing your settings for optimum results.
I enjoy your X series ebook immensely (have read about 3 times), so thank you so much for always being willing to impart your knowledge and helping others.
Hi Vern,
Thanks for your comment. I do use the AF-C Custom Settings options on the X-T2 quite often. In my experience shooting action with subjects like cycling, trail running and flying birds, I find that settings #2 (Ignore Obstacles) and #4 (Suddenly Appearing Subject) seem to work best for me. I usually stick to the 5 stock presets but have occasionally played around with adjusting the Tracking and Speed Sensitivity and Zone Area Switching. Using these controls, you can really fine the AF system on the X Series cameras. Here’s a detailed primer on how all the AF-C Custom Settings options work.
Thanks for buying my ebook, I’m glad it’s been good resource for you. 🙂
-Dan