One time I asked Billy from The Fuji Guys what program he uses to convert his RAW files. His answer?
“The Camera.”
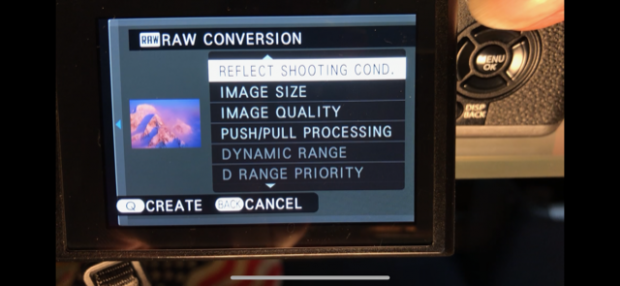
Inside the Playback Menu of every single X Series and GFX camera, you’ll find a special RAW CONVERSION setting. This unique and useful tool allows you to convert and save JPEG versions of your RAW files right in the camera.
Essentially, this tool allows you to convert and save JPEG versions of your RAW files right in the camera.
However the real power of this setting is that during the conversions, you can adjust your RAW image and apply any number of different shooting options to the new file. During the conversion, you can adjust exposure by up to +3 stops over and -2 stop under, you can apply a different Film Simulation or White Balance, you can increase HIGHLIGHT and SHADOW TONE, adjust the COLOR, NOISE REDUCTION, DYNAMIC RANGE, and shadow tone, adjust the color, noise reduction, dynamic range or even apply a different color space.
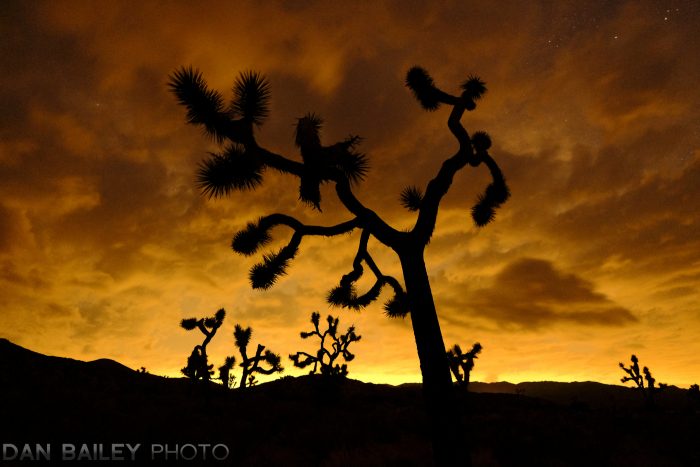
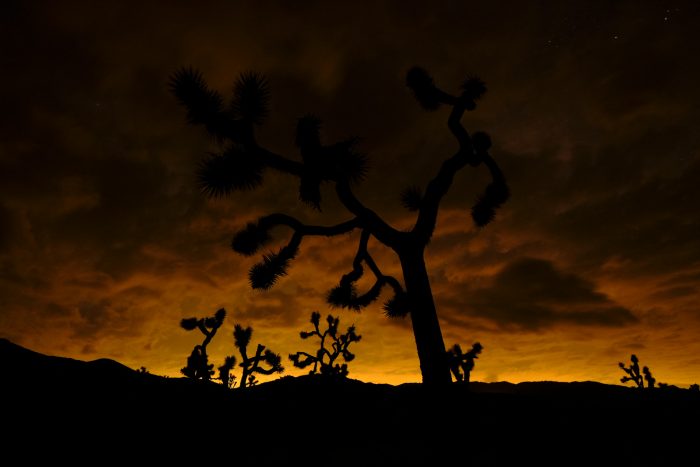
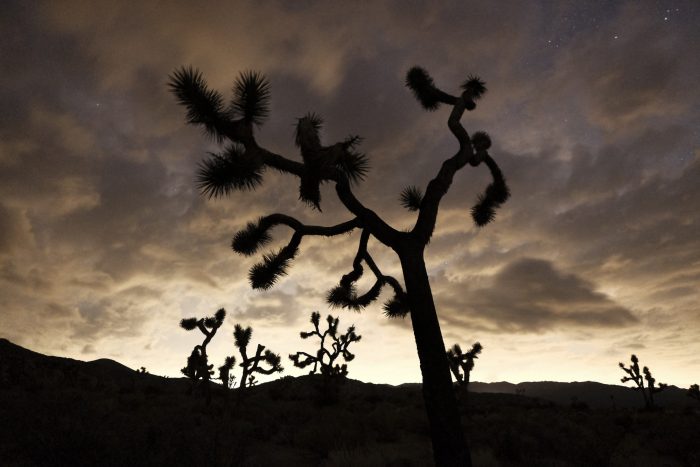
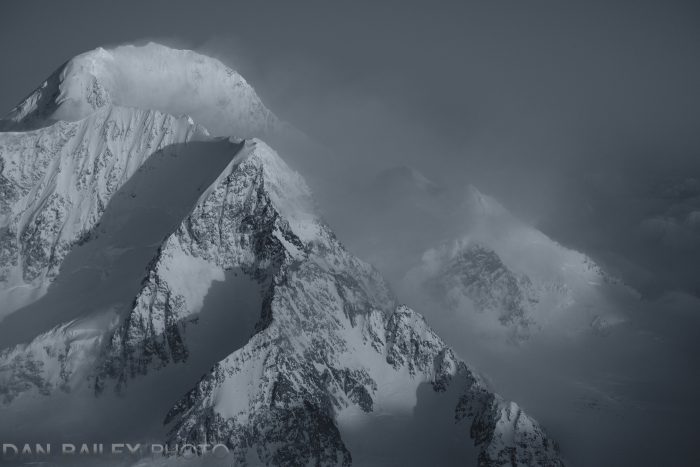
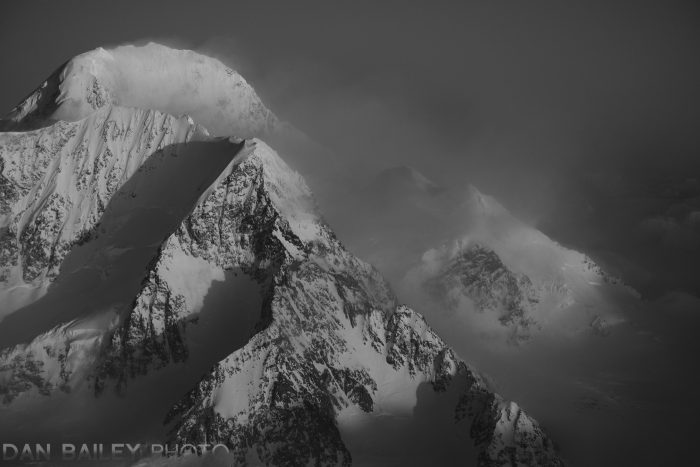
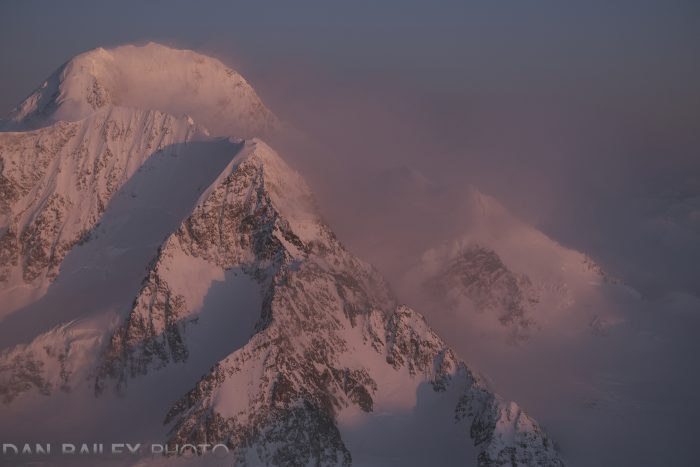
What if you shot a beautiful landscape photo using the Velvia Film Sim, but are curious to see what it would look like in black and white? Or, maybe you like the color, but think the image would benefit from a slight reduction in the SHADOW TONE? Or maybe you used Auto White Balance, but think that the Shade WB might have been better.
Maybe you’d like to add a slight COLOR CHROME EFFECT or add some GRAIN, reduce the overall noise in the image or make a dramatic exposure adjustment and rescue some lost shadows or highlights.
Using the in-camera RAW CONVERSION tool, you can make any of these adjustments, or you can make all of them, in any combination you wish. And you can do as many conversions as you want. Each one gets saved as a new high quality Fuji JPEG to the end of your memory card.

The main benefit of using this tool is that you can process your RAW images and try out different looks right inside the camera, you don’t have to wait until you get home. And while the camera obviously doesn’t offer the same processing flexibility that you can get with programs like Lightroom and Photoshop, there’s a huge convenience factor that can make this an appealing option when you’re away from the computer.
In addition, the Fuji RAW Conversion tool is particularly useful if you prefer to shoot in RAW only, but still want to share your work using the FUJIFILM Camera Remote app on your phone or tablet. This way, you can select and process only the RAW files you want instead of having a duplicate JPEG of every single shot you take, which is what you get when you’re shooting RAW+JPEG.
Here’s How it Works
To make your conversion, play back your selected image and then press the OK/MENU button to bring you to the PLAYBACK MENU. RAW CONVERSION is the second slot down.
Even faster, when playing an image back, simply hit the Q button to bring up the panel.
Once you’re there, perform your desired adjustments and then hit the Q button to preview the new images with your changes. If you like the restyle, hit Q again to save the image, or cancel with the BACK button.
And, here’s a tip: As long as you still have the original RAW file, you can stick it back on a memory card and put it back in the camera. Your Fuji will recognize the file as a valid file type you’ll be able to bring it into the RAW CONVERSION menu and process the file again. You may even be able to do this
Depending in what X Series model you use, here are all of the available settings you can apply:
- IMAGE SIZE
- IMAGE QUALITY
- PUSH/PULL PROCESSING
- DYNAMIC RANGE
- D-RANGE PRIORITY
- FILM SIMULATION
- B&W ADJ. (WARM/COOL)
- MONOCHROMATIC COLOR
- GRAIN EFFECT
- COLOR CHROME EFFECT
- COLOR CHROME FX BLUE
- WHITE BALANCE
- WB SHIFT
- TONE CURVE
- HIGHLIGHT TONE
- SHADOW TONE
- COLOR
- SHARPNESS
- NOISE REDJUCTION
- CLARITY
- LENS MODULATION OPTIMIZER
- COLOR SPACE
Here’s a video tutorial that goes even more in depth about how to do RAW Conversions with your Fuji camera. In this lesson, I cover some of the other benefits of using this setting and why it make sense to build this into your workflow, no matter if you like to shoot RAW only, or RAW+JPEG.