The Fujifilm X Series cameras have a variety of creative controls that allow you to vary the look of your subjects, right “in-camera.” This allows you to explore your creativity with a variety of different image styles right there on the spot without having to go process your photos later.
The huge benefit of shooting in this style is that you can walk, ride, or sometimes fly away from your scenes with finished images that match your own personal artistic vision of the subject. In my mind, this is often better than walking with a bunch of files that all but guarantee you more time at the computer.
Don’t you spend enough time at your computer already? I know I do, which is one reason I try to get it right “in-camera” as often as possible. Plus I like the challenge and mentality of shooting like film.
It’s often better to go with your on-the-spot creative ideas, rather than deferring a significant aspect of your creative process until later, when you’re far removed from the experiences and emotions you felt when you stood there watching the light and actually captured the photo.
Between all the different Film Simulations, the in-camera processing tools, like the Highlight & Shadow Tone controls, the Custom Settings, and the super fun Advanced Filters, you have a lot of options to vary and refine the look of your images without the need for additional processing.
Whether you just want to make slight tonal adjustments to your scene or experiment with radically different looks, the X Series has you covered. Let’s explore a few possible ways you can use these tools:
Peak 7460, Chugach Mountains, Alaska

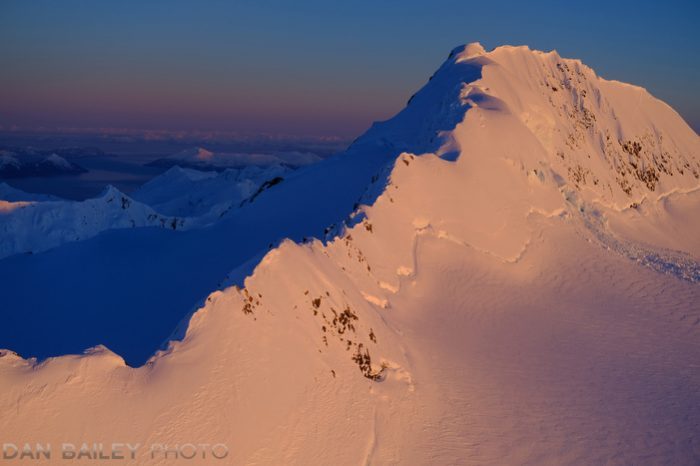
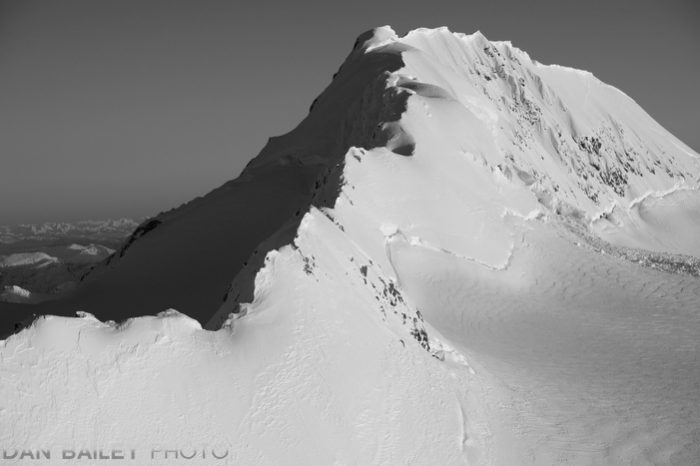
Peak 7460 is one of my favorite mountains to photograph in the Chugach. I’ve captured it from various vantage points during numerous aerial photography flights. This past March, I flew closer than I ever had before, which gave me a very dramatic view of this impressive peak and the knife edge ridge that leads up to the summit.
I already had amazing sunset light, so I was doing my normal method of shooting Velvia JPEGs on my X-T2. All of my aerials are straight JPEGs, because with this kind of rich, direct sunset light, the camera is able to nail all of my tones. Also, and this is the main reason, I absolutely LOVE the vivid and dramatic color profile of Fuji’s storied Velvia, and I’d never be able to match it 100% in any software.
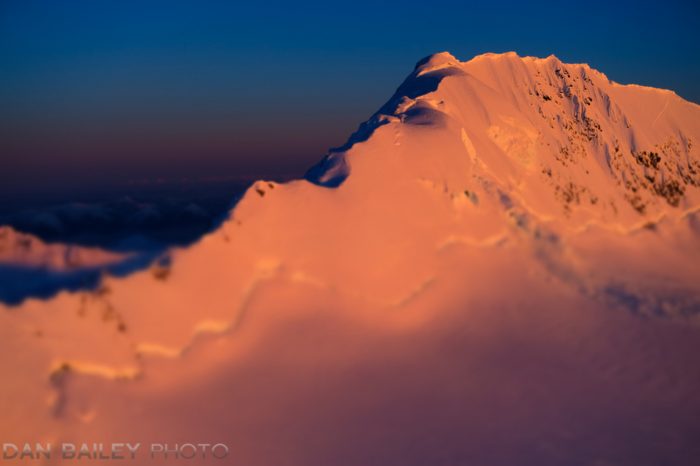
However, if I do want different looks, I can always vary them right in-camera. It only takes a few seconds to switch the camera from one setting to another, so during one particular pass, I shot one using the Velvia Film Sim, one using the ACROS Film Sim, and a third with the camera set to “Miniature Mode,” which is one of the Adv. Filters.
The result is that I get to fly away with a trio of very different looks, all of which I love, and which I feel need no additional processing. Mission accomplished.
Cessna on the Gravel Bar
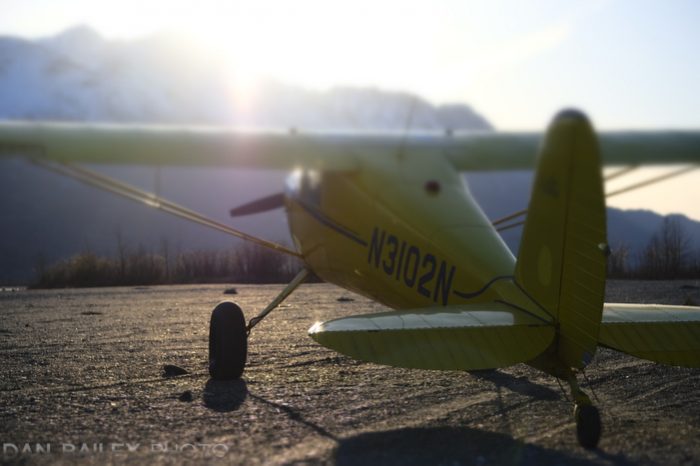
Here’s another example: My little yellow Cessna 120 in all her glory, parked on the gravel bar of the Knik River, about 40 miles east of Anchorage.
For this set, I shot four different images, just to illustrate the variety of looks you can get using the Film Simulations and a very simple adjustment found inside the Q Menu. The first photo is straight Velvia, the second is using the Classic Chrome Film Sim, the third is Classic Chrome with a Shadow Tone adjustment of +2 and the fourth is shot using Miniature Mode.
Sure, you could achieve these kinds of different looks by shooting a RAW photo and then adjusting the exposure and vibrance sliders in Lightroom, Photoshop or even Luminar. However, getting them in-camera saves you time later and it keeps you creative ideas right there in the moment.



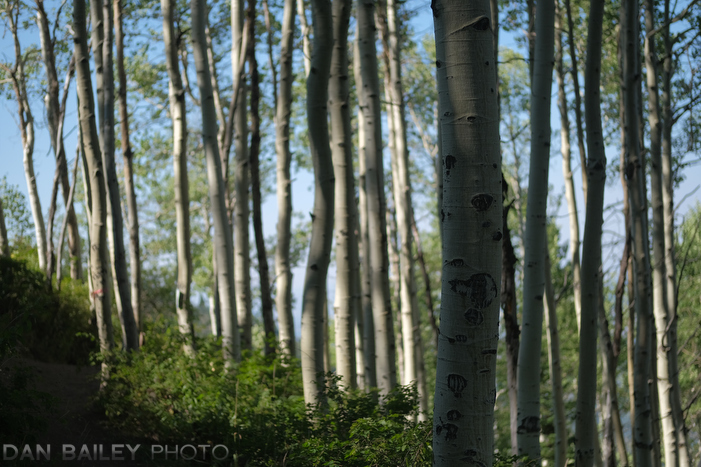
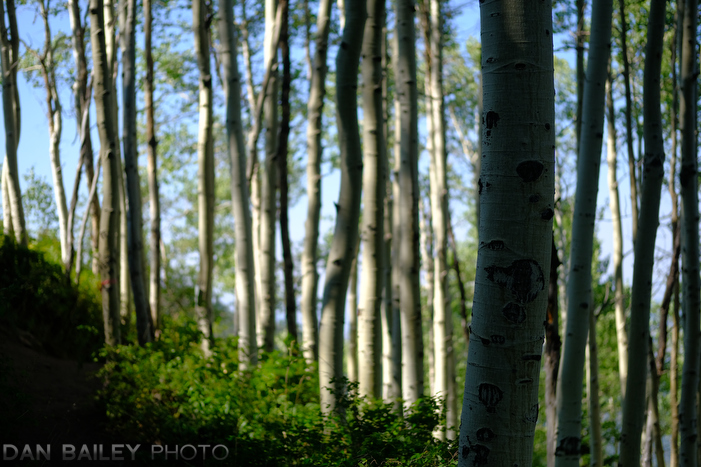
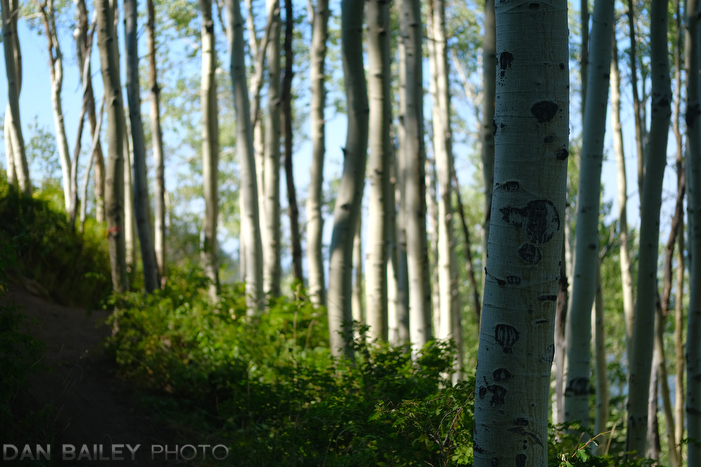
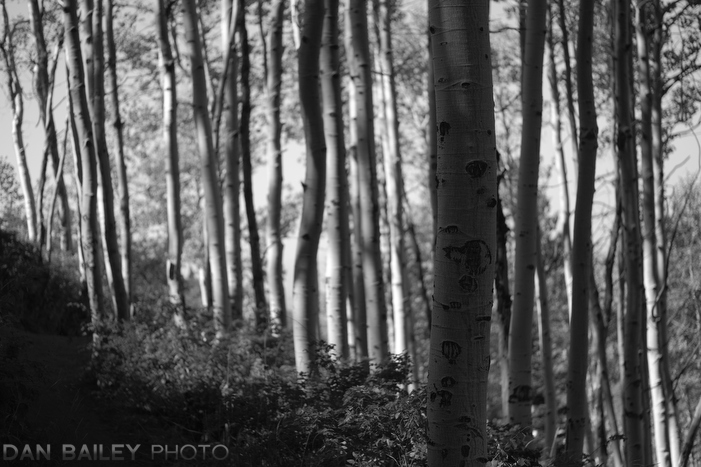
Aspen Forest, Wasatch Mountains, Utah
Last week I went down to Salt Lake City to teach classes at Pictureline. Since I was there for a few days, I took my mountain bike with me and did a few rides in the Wasatch Mountains in my down time.
During one ride, I found myself deep inside a picturesque aspen forest late in the afternoon. Shooting in the forest on sunny days can be tricky, since there’s so much contrast. In fact, this might usually be a time when you’d opt to shoot RAW, so you can try to reign in the extreme highlights and shadows.
You can get around this by using the Highlight and Shadow Tone controls in the X Series cameras, which are found inside the Q Menu. These controls allow you to rescue some of those difficult tones, which in many cases, might be all you need to walk away with a workable shot. Or, as we saw in the previous scene, you can use them to create more contrast in your shot.
Whether you’re making subtle changes or going in a totally new direction, between the different Film Simulations and the H/S Tone controls, you have some very powerful tools at your disposal that can help you control the scene and achieve the look you’re going for.
In this first shot, I used PRO Neg Std., which has the lowest contrast of all the Fuji Film Simulations. I then reduced both the Highlights and Shadows to reduce contrast even more, and boosted the Color control to bring the vibrance of the scene back up.
The other examples show the wide variation that’s possible for adjusting or changing the look of the scene. You can make subtle moves, or entirely change the look of the scene. When using the H/T Tone and Color controls, it’s important to remember that a “+” adjustment always gives you more contrast, while a “-” adjustment always gives you less contrast.
I encourage you to play around with some of the different controls of your Fuji and see if they help you better nail your scenes as you see them in your mind. At the very least, they can offer you a wide array of creative possibilities.
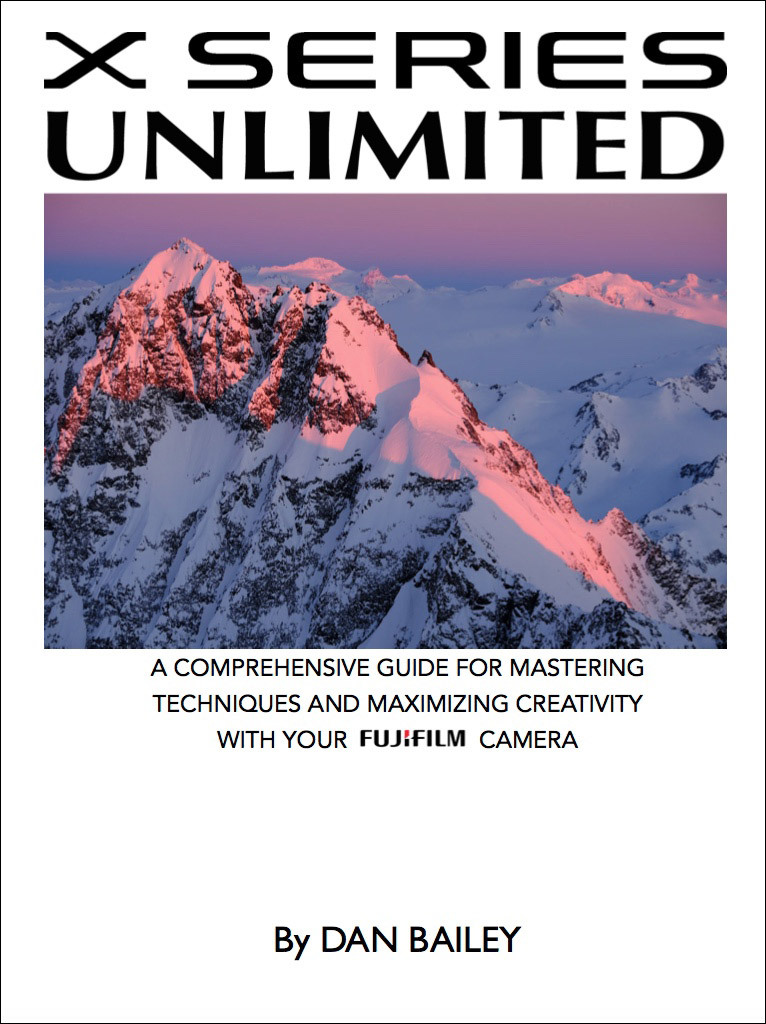
For more X Series tips and techniques like this, check out my bestselling ebook, X SERIES UNLIMITED, or the new paperback version, which was recently published by Rocky Nook.

[…] The Fujifilm X Series cameras have a variety of creative controls that allow you to vary the look of your subjects, right “in-camera.” This allows you to explore your creativity with a variety of different image styles right there on the spot … Continue reading → […]