 We were woken up by an earthquake last night at 12:30am. The house was shaking and the pots and pans were banging around in the kitchen for about 30 seconds during the Magnitude 7.9 event that occurred off the coast of Kodak island, 400 miles south of Anchorage.
The our phones started buzzing with Tsunami Warning alarms. So, that was pretty exciting. I shared the alert on Twitter and someone from CBS news found me and asked me to do a Skype interview. I guess I was on the CBS morning show this morning. Fortunately, the tsunami waves disputed before they hit land.
Anyway, today’s blog post is about Luminar. I’ve been using Luminar as my main image processing program for over a year, and it’s gotten even better with the latest version, which was released a back in November.
With a wide range of powerful and well-thought-out develop tools and easy-to-use presets, I have found it to be a very fun and quick solution for adjusting my images and enhancing me creativity with my photography.
Like Adobe Photoshop and many other photo programs, Luminar has a history panel, which allows you to “undo” and “redo” multiple steps as you try out different tools and make your adjustments.
When you’re done processing, you have two different options for saving your work, Save and Export. Both are found under the File Menu. I’ll briefly cover what each of those commands do and why you’d want to use one or the other.
Exporting Your Image
Exporting an image in Luminar saves your processed image to another folder. All of your work, including layers, filters, preset adjustments and any other develop tools you might have used, like Crop and Transform, are written permanently into the file.
Also referred to in the program as “Export to Image,” this is essentially a Save As… command, which allows you to save a copy of your processed image in whatever size, color space and format you wish.
Your format choices are JPEG, PNG, GIF, TIFF (with or without LZW Compression), JPEG-2000, Photoshop and PDF, and your color space choices are sRGB, Adobe RGB and ProPhoto RGB. You can also apply sharpening to your finished image, with settings of either Low, Medium, High or None.

If you’re saving an image for email or social media use, you’ll probably choose JPEG as your Export option. However, if you want to save a high res version for print or as a master processed image in your image catalog, or if you anticipate doing additional processing in another image editing program, you might want to save as a hi res TIFF file.
If you export your image as a Photoshop file, Photoshop will open it as if it were a PSD file, and it will be recognized by other programs which support the PSD file format. However, there are limitations. While most adjustments will carry over, at this point, Photoshop will not recognize Layers that were created in Luminar.
In addition to using the Export… command under the File Menu, you can also export by clicking the Export icon on the Top Right of your Luminar Window. From here, you can Export to Image, or you can choose to export or share your image to a number of other services, including Mail, Message, Facebook, Flick, SmugMug and 500px.
Luminar has these options coded right into the program, which means you can log in right from Luminar and, add titles, captions, and keywords, depending on what service you choose, then select your desired album or folder for upload.
This is a great option for people who regularly post to sites like 500px, or photographers who use SmugMug to host their galleries. There are a lot of professional portrait and wedding shooters who use SmugMug for client previews and selling prints to their customers. This helps you cut valuable workflow time and offers one-stop processing and upload right to your site.
Saving Your Image
The Save… command in Luminar operates in a similar manner to saving as a PSD file in Photoshop. With this option, you’re not really saving an image file, instead you’re saving the file as a Luminar Document in the program’s native file format, which has the .lmnr file extention.
The main benefit of this option is that it lets you save your entire develop history, and it’s what allows you to process your images in Luminar with a non-destructive workflow. If you want to come back and later and continue editing your image, then you’ll want to the Save… command. (Cmd+S on the Mac, Ctrl+S on a PC.)
When saving an image as a Luminar Document, you have three checkbox choices:
Save original resources to Document – This save your original image to the file. In other words, it induces your RAW file, if you’re processing from RAW. (Note, this is Mac only. It’s already saved by default in the Windows version.)
You don’t have to check this option, because you probably have the original RAW file saved somewhere else. However, it does give you access to all of the resolution and exposure latitude that exists in the original RAW file, so it’s probably a good idea. Keep in mind, it does create a much larger file.
Save history to Document – You’ll definitely want to check this box. This saves your processing history and all of your edits. By checking this option, you’ll be able to go back later and undo or redo those edits. (Note: This option is coming to the Windows version later this year.)
Windows compatible – Checking this box creates a file that can be saved on a Mac and opened Windows. It saves your original resources and your processing history.
By using the Save command instead of the Export command, you can create a “master document” and pick up right where you left off, or use that to export and share additional copies of your image.
The only downside is that most image catalog programs like Lightroom, Capture One or Photo Mechanic won’t recognize files with the .lmnr extension. So, you’ll probably want to save these files to a separate “Luminar folder” which contains all of your master Luminar documents.
That said, when Skylum releases their upcoming asset management module for Luminar later this year, I’m sure that you’ll be able to view your Luminar documents right along with all of your other image thumbnails in your catalog. Your develop information will be saved much like it is Lightroom.
You can check out my full review of Luminar 2018 here and, if you decide to purchase the program, be sure and use coupon code DANBAILEY and you’ll save $10 on the software.
As I said above, I’m really enjoying using Luminar to process my images, no matter if I’m just adding some additional zing to my JPEGS, or doing more heavy lifting when processing my Fuji RAW files.
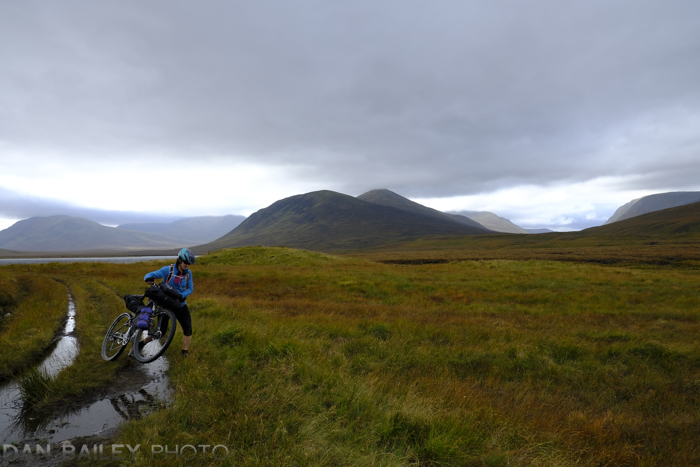
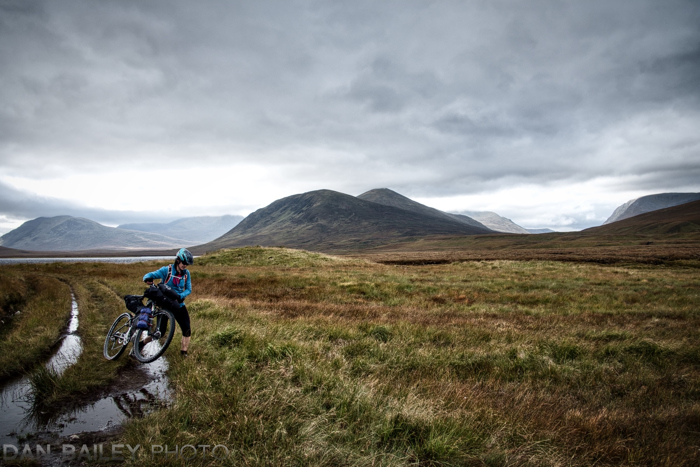
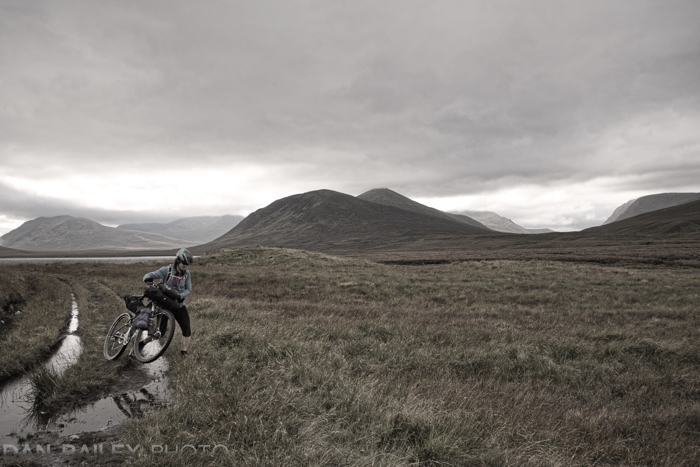
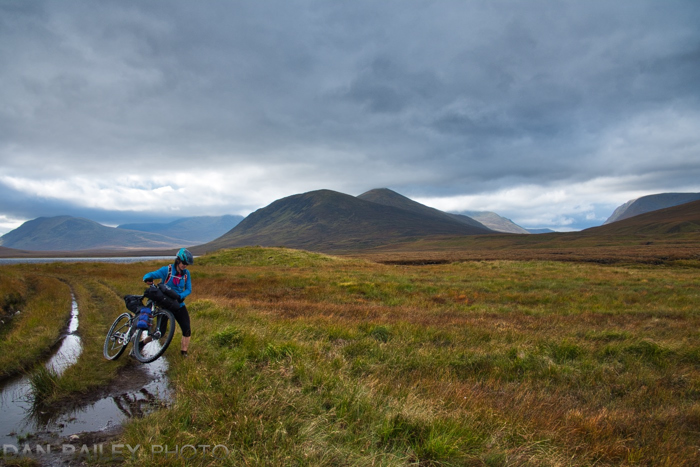
I like the “easy creativity” the program offers, and the Scotland bikepacking images in this post give you an idea of some of the different kinds of looks I like to play around with. They’re all the same shot, just processed with different ways.
[…] We were woken up by an earthquake last night at 12:30am. The house was shaking and the pots and pans were banging around in the kitchen for about 30 seconds during the Magnitude 7.9 event that occurred off the coast of … Continue reading → […]
[…] love how easy Luminar is to use, it’s been my processing software of choice for over a year now. It’s packed with a huge selection of tools that vary from straightforward image […]
What is this best resolution to set for jpeg files in Luminar 4? Is 100% always the best choice?
Cindy, in my experience, anything over about 70% will generally look pretty good. You don’t need 100%, anything up to around 90% will give you good results with reduced file sizes.