I was prompted to write this post after waking up and seeing a familiar photo staring back at me on the Revelate Designs Instagram feed this morning.

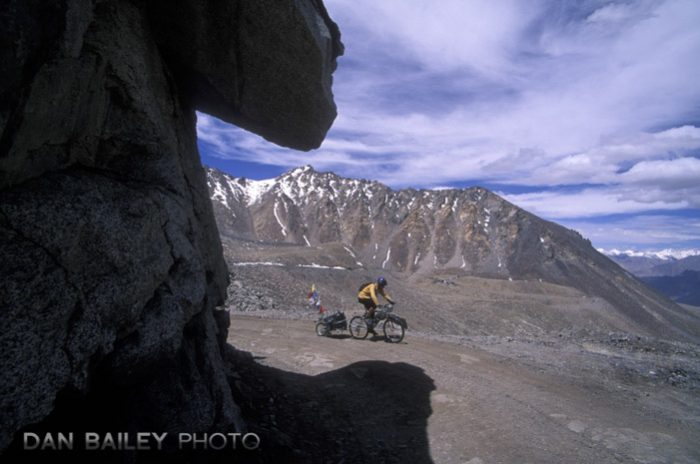
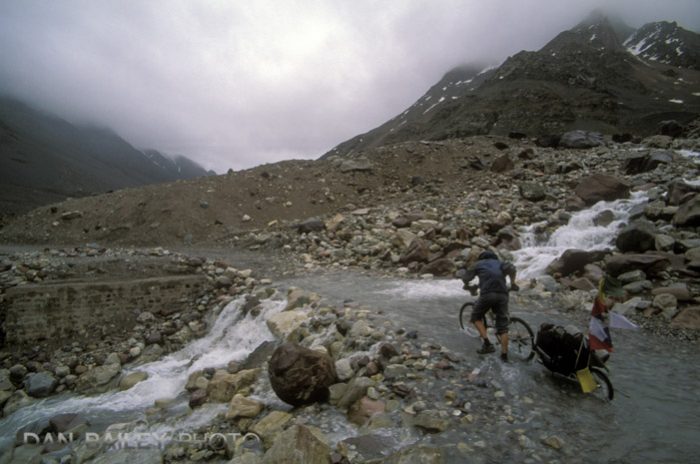
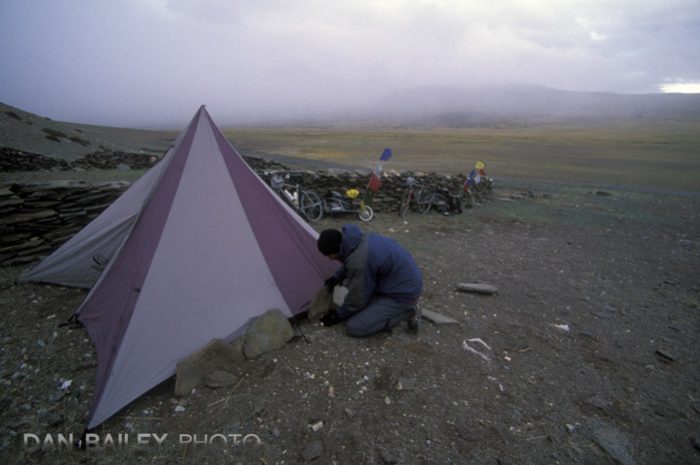
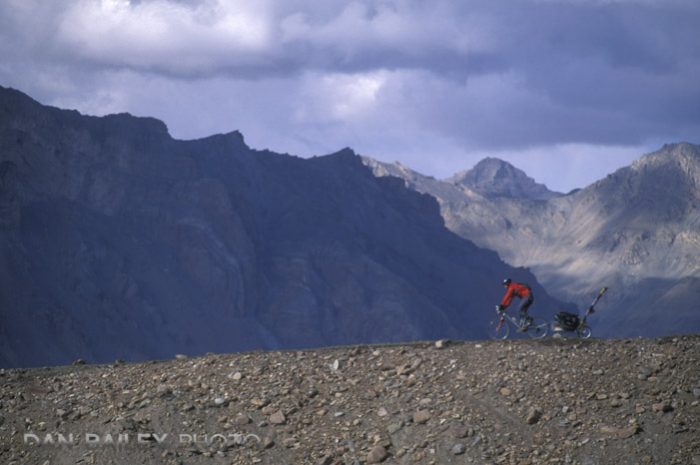
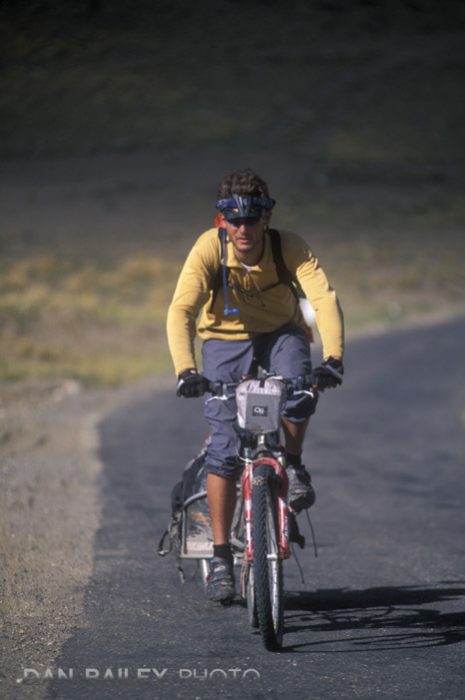
It immediately sent me back down memory lane, because I shot this photo in July of 2001 during a mountain bike touring expedition to Ladakh, India with my friend Eric Parsons, who is currently celebrating the 10-year mark for his company that makes bike bags.

Eric lived around the corner of me in Fort Collins, Colorado, back when I was a budding professional photographer. I met him around 1998; he was the housemate of Pat Goodman, who was one of my main climbing partners.

At the time, all I knew about Eric was that he liked to ride his bike. Apparently, he would wake up, shove a bunch of food in his mouth, most of which consisted of peanut butter & banana sandwiches, then go pedal for about four hours around Horsetooth Reservoir and Lory State Park.

Then, he’d come home, take a nap, shove more food in and go for another ride. Or else, make bread. A talented baker, Eric is a devotee of Daniel Leader, master baker and owner of Bread Alone in the Catskill Mountains and back in those early days, Eric spent a lot of time experimenting with recipes and making some very tasty loaves.

This was a big plus for me, especially during those few months when he crashed on my couch after our India trip.
I started hanging out with Eric more often and we hit it off like long lost brothers. We spent a lot of time mountain biking, hiking around Rocky Mountain National Park in ridiculous conditions, and always trying to come up with even more ridiculous and stupid adventures to challenge ourselves.

I remember one particular morning when he tromped down the stairs to my basement apartment and announced “Let’s go destroy ourselves,” as he proposed a 50-mile VERY hill road bike ride up Buckhorn Canyon, a road that features some notoriously steep hills. I gladly obliged, because hanging out with Eric made me stronger. And because he’s such an awesome partner in the outdoors.

One of my favorites adventures was our 10-Mountain Traverse in RMNP. I had the idea that we could start at Long’s Trailhead and hike Meeker, Long’s, Pagoda, Chiefshead, McHenrys, Powell, Taylor, Otis, Hallett and Flattop. Ten peaks, about 30 miles and thousands of feet of climbing.

Aside from the small fact that I ended up getting caught in the fog on Flattop Mountains and ended up sitting down and bivy-ing in the rocks all night so as not to accidentally wander off the sheer north face of Hallett Peak in the dark, we were successful, elated and extremely tired. If I hadn’t stopped, we would have made it in 24-hours.

Then there was the time that we tried to hike up to the top of Long’s Peak on the evening of December 31, 1999 to watch the all the Midnight New Year’s fireworks on the front range when the year 2000 hit.

Unfortunately, Eric had injured his shoulder earlier that day, so between that, and trying to slog through heavy snow conditions up high, we barely made it above treelike before retreating, trying to sleep in our respective, freezing Toyota truck beds, and finally saying goodbye and driving back home.

By the way, we both still have our same trucks, and they still run.
About eight months later, in the summer of 2000, I was shooting on a big photo/TV commercial travel assignment in New Brunswick, Canada. One of the film guys named Paul was an avid motorcycling touring enthusiast, and he’d often to big tours after finishing up on big projects; movies like Titanic, Delores Claiborne, The Shipping News and K-19: The Widowmaker.

Anyway, one evening Paul showed me pictures he’s shot the previous summer while motorcycle touring along the world’s highest road in a magical place called Ladakh, India.

I was fascinated, and that evening, I called Eric on the phone and said, “I know what we’re doing next summer!” Never mind that neither of us had ever done a multi-day bicycle tour. We figured that we knew how to pedal long days and we knew how to camp and endure horrendous weather. How hard could it be?

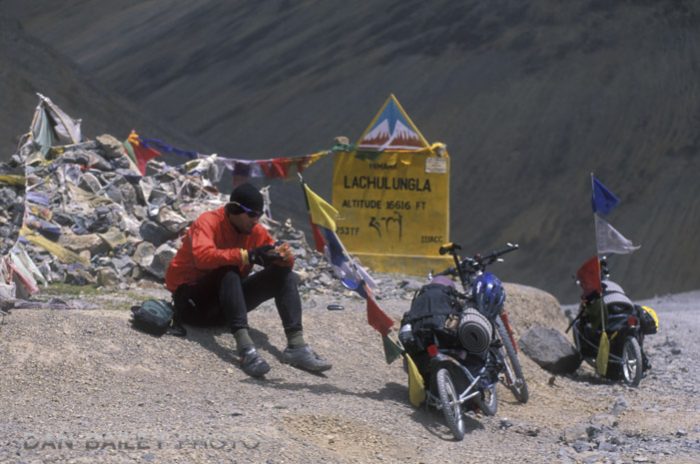
The next summer, we flew to New Delhi with our bikes in big plastic cargo cases, took a 17-hour bus ride along swerving mountain roads up to the town of Manali and spent the next month biking the Manali to Leh Highway, a 300-mile, mostly unpaved, often bumpy, occasionally treacherous and generally bad stretch of road up into the capital city of Ladakh. They use the world “highway” quite loosely.

Along the way, the road crosses a number of high passes, including the Rotang La, at 13,060′, the Baralach La at 16,500 ft, the 22 hairpin Gata Loops and Nakee La pass at 15,547 ft, the Lachlung La at 16,616 ft, and the Tanglang La at 17,480 ft, before dropping into the Leh valley, which sits in an arid plain just below 12,000 ft.

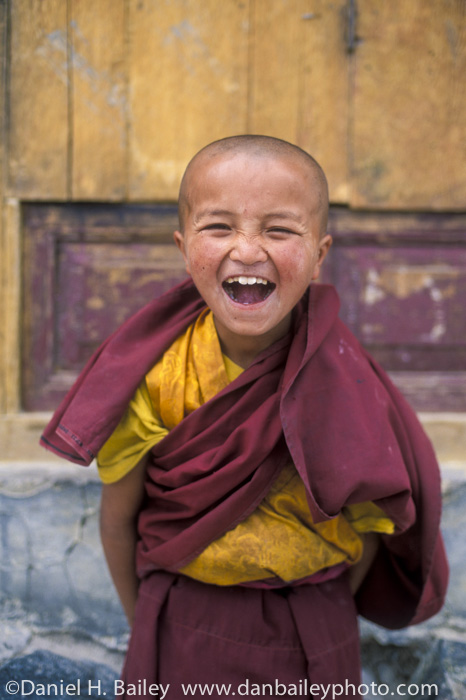
Beyond Leh, we pedaled up and over the world’s highest road pass, the mighty Khardung La, at 18,380 ft, and down into the Nubra Valley, where I shot my photo of the little laughing lama at the Diskit Monastery. I’ll just say that it ended up being really freaking hard.

Over all of this, I carried my Nikon N90s, a handful of lenses, including the 3 lb. 80-200mm f/2.8D and two Ziploc bags filled with 80 rolls of Fuji film, mostly Velvia.
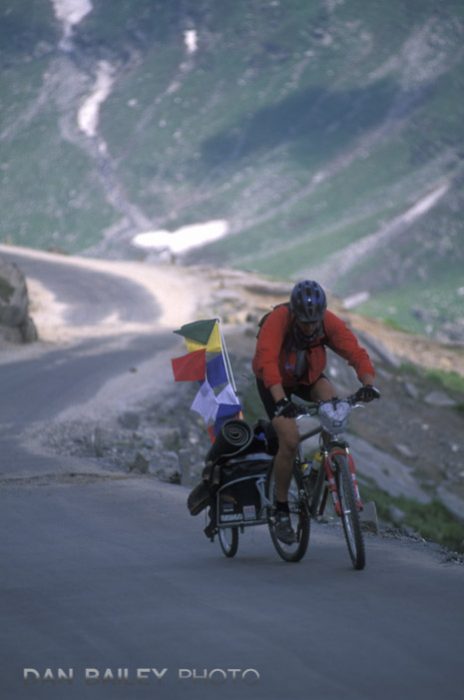
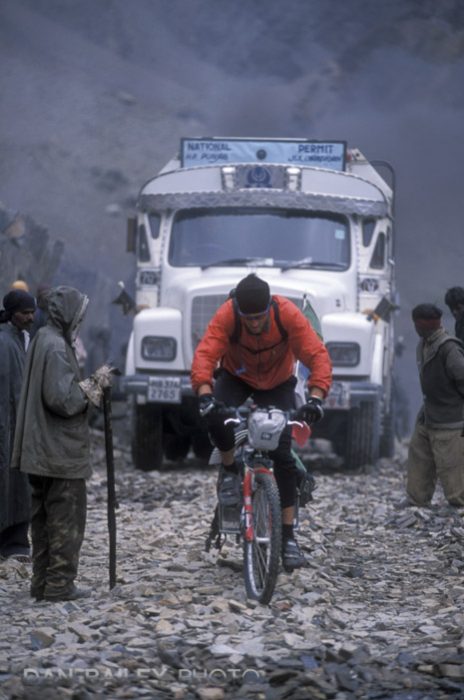
To this day, I look back on our India bike trip, seventeen years later, as the greatest adventure of my life. It checked every single box, and having ridden our bikes along this amazing route before digital, before cell phones, before social media, before Instagram, before drones, before YouTube, before Strava, I simply cannot see ever topping this…although I continue to try.

Eric and I shared a truly bonding experience during those few weeks backing 2001, and although we’re still fast friends, and oddly enough, still neighbors once again in Anchorage, Alaska, it’s funny how rarely we see each other or do anything together outside. Self employed. Wives. Dog. Cats. His little boy, Finn. Bad planners. You know how it goes. We try, though.

After we got back, I did a number of slide shows and sold quite a few photos from the trip. Patagonia has used quite a few in catalogs over the years, and even chose one for their book Unexpected: 30 Years of Patagonia Catalog Photography. This trip did a lot of for my photography career and to this day, Eric is my most published model of all time. He’s been in numerous catalogs, magazines, book covers and calendars.

And of course, my experience on this adventure gave me the confidence and inspiration for doing more bike trips in other parts of the world. It ignited a true passion in me for exploring and photographing the world by bicycle. I’m still riding bikes with my cameras, only the biking gear has gotten way better and my cameras are a a lot smaller now.
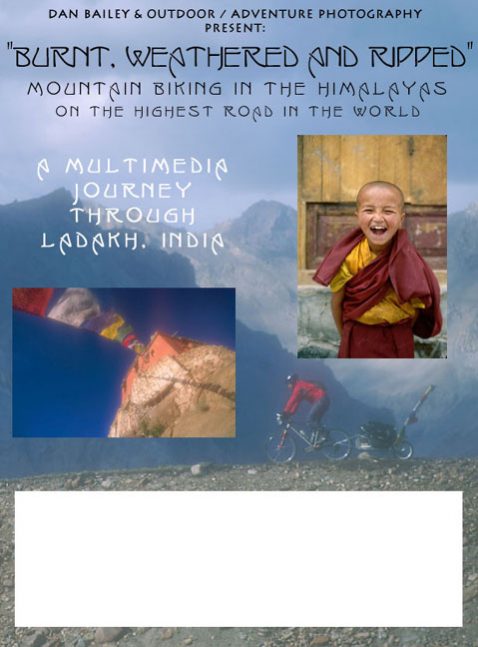
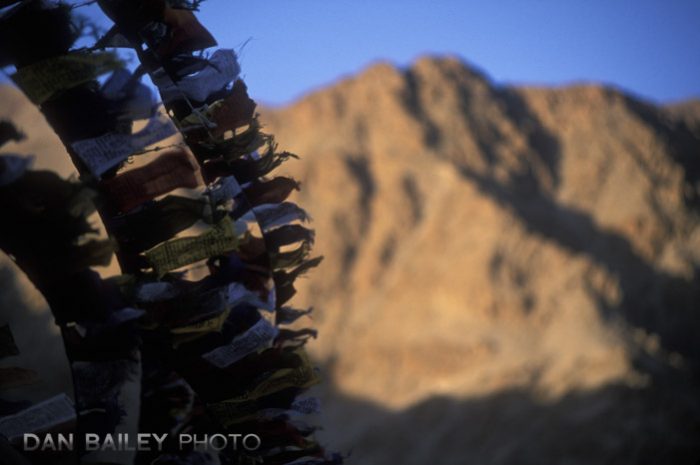
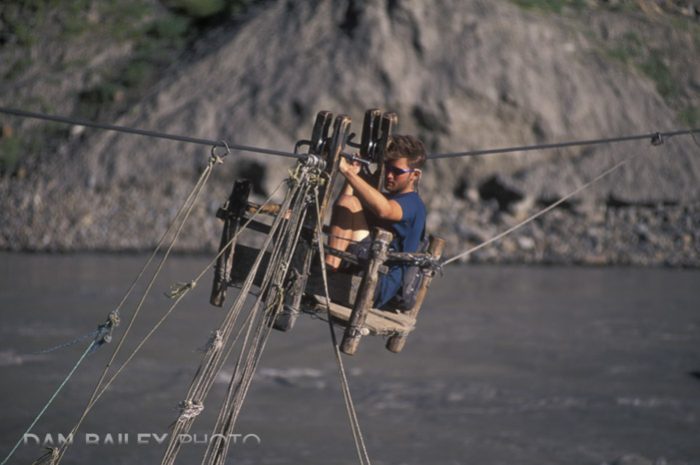
After this trip, Eric swore off trailers. He broke his during the trip, and after a bad welding job in the village of Keylong that quickly failed, we finally fixed it with a hose clamp and carabiner. He’s always been hard on his gear, but as it turns out, that’s a good thing.

During the next few years, he started tinkering with different ways of carrying things on a bike. Eric moved to Alaska, started sewing his first frame bags and selling them to local ultra racers. When his backorders reached about 100 pieces, he decided to quit his job as an engineer and start his company.

This month, Eric is celebrating the 10-year mark for Revelate Designs. It’s amazing to see how far he’s come and the incredible impact and influence his ideas have had on the industry. Back then, we just called it mountain bike touring. Now, the term is “Bikepacking,” and the entire concept was pretty much invented and made popular because of Eric and his designs. They even sell his stuff at REI.

As with any industry, there are tons of copycat companies who sell similar gear, but there is only one Eric Parsons. His ideas, innovations and product engineering are second to none and he continues to be the leader in this industry. Whether you tour on or off-road, there is simply no better way to carry stuff on your bicycle. 

I would like to dedicate this post to Eric and congratulate him on his 10-year mark. Having just hit my 22-year mark for being self-employed, I know how big a milestone that 10-year mark is. I’m excited and proud of my friend, I’m proud to be one of his ambassadors and I’m excited to see where his ideas take him in the next phase of his career.

We moved to Alaska right after he quit and started sewing full time, in fact we even lived with him for a few months and helped him cut fabric in the garage. It’s so cool to have seen Revelate Designs grow from the very beginning, and even before the beginning, when it was still just a seed of an idea formed on those bumpy roads in Ladakh.

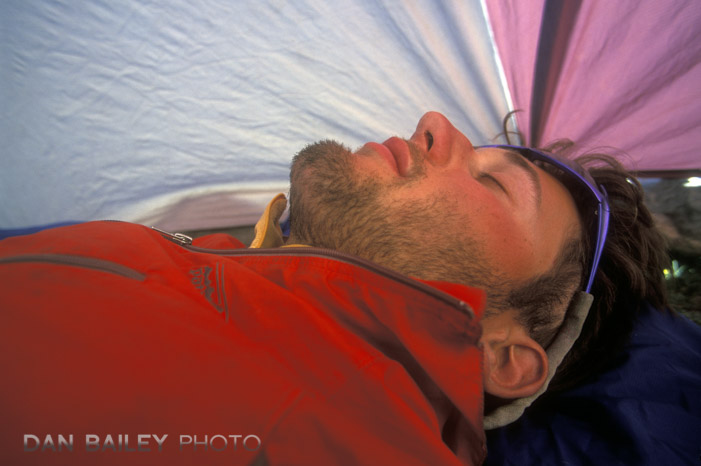
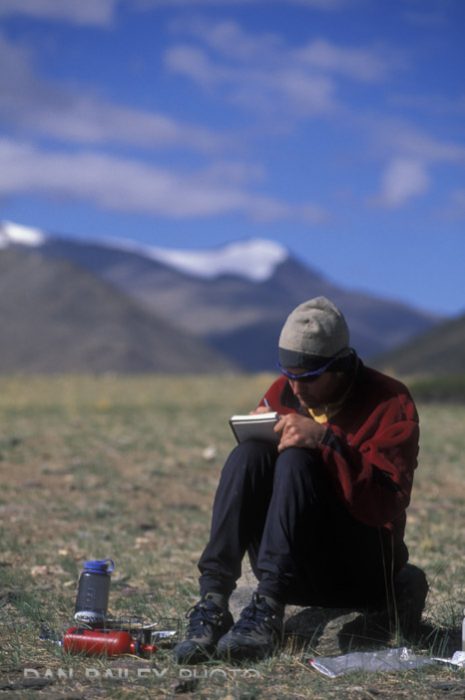
More than anything, though, I smile when I see the guy in all these pictures and think about our India trip. It’s so cool to remember riding our bikes over the highest road in the world so many years ago and see where that experience has brought us.

Congratulations Eric, here’s to you and your success! I look forward to sharing more adventures with you in the future.
October 22, 2018
See this post
Looking Back on our 2001 Himalayan Mountain Bike Trip

When searching for our subject matter, photographers often look for scenes with diverse color palettes and wide tonal variation.

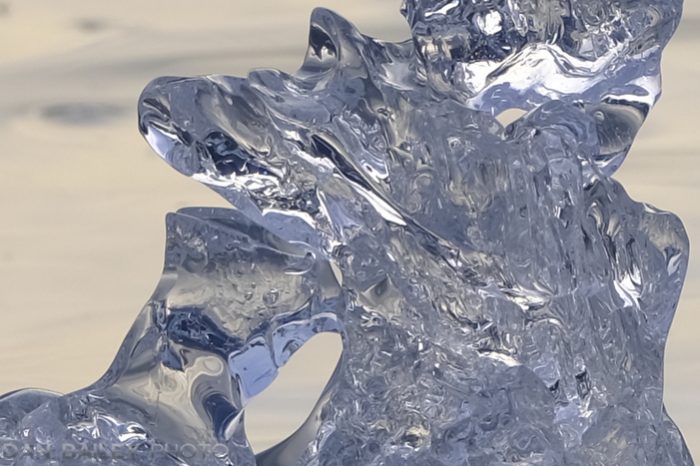
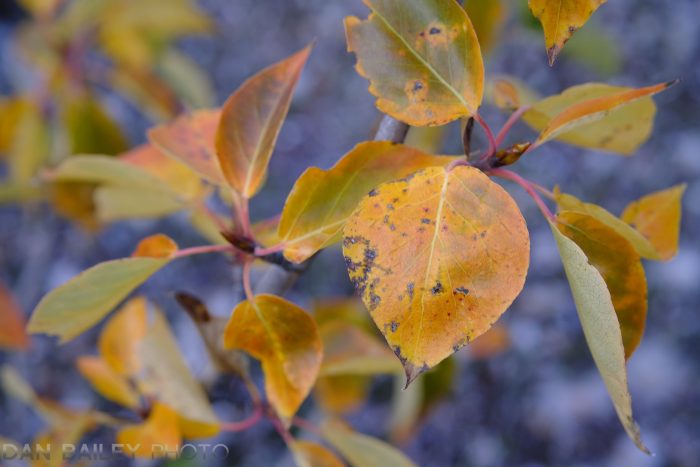
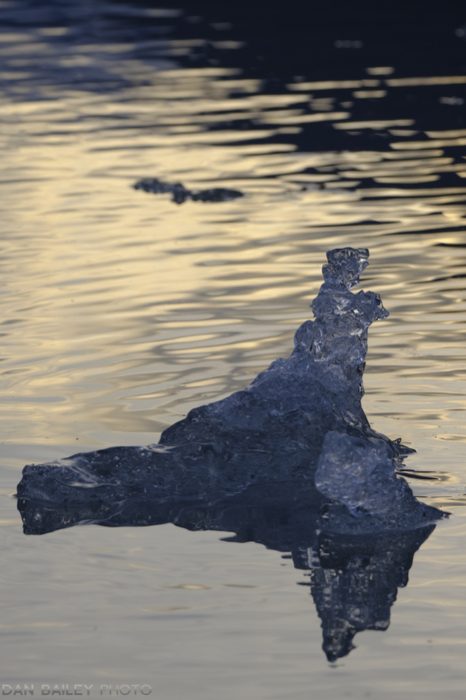
By using a mix of contrasting hues and strategically placing small instances of hot colors against cooler backgrounds, you can create differing levels of tension and balance within your composition. This helps direct your viewer’s eye around the frame.

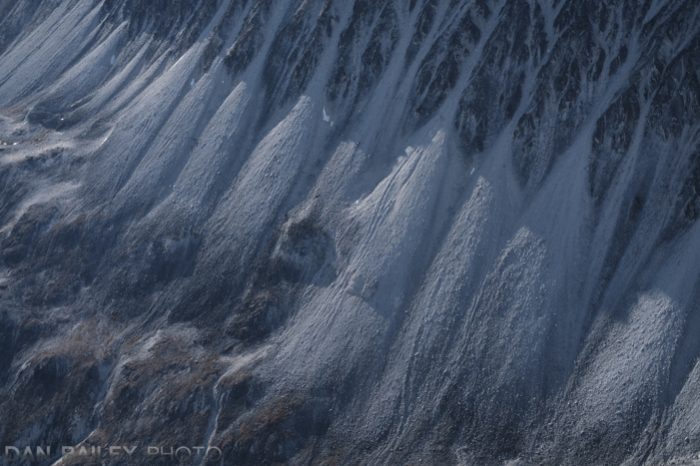
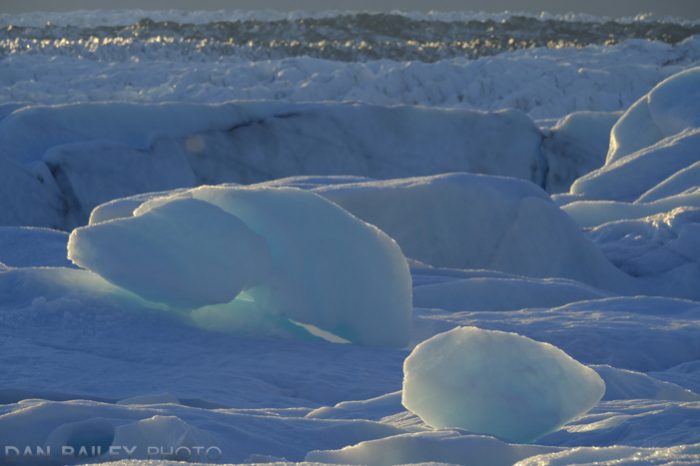
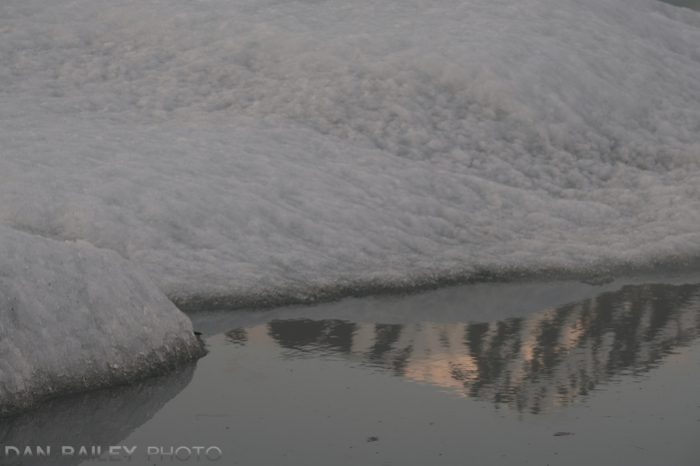
But what if you go the other way and pare your colors down to a single dominant tone? What if you eliminate the element of color contrast in your composition and only feature a single hue or a very narrow range of hues in your photo?

I refer to this approach as shooting monochrome in color.

As much as I like playing different colors off of each other and creating high contrast levels in my images, I really enjoy experimenting with this technique.

The reason that black and white images often have such powerful visual impact is that they present the subject without the distraction of color. Since we naturally see in color, removing it entirely from a photograph creates a medium that suddenly becomes separate from our real life experience.

By narrowing down the content of your images to a single hue, you remove most of the color, and this creates a similar effect for your viewer. It denies you the most prominent visual element in your own creative palette, which forces you to get back to the basics of light and framing.

That said, since you’re not limited to using only black, white and varying levels of gray, your creative options are wide open. You can use any color as the basis for your scene, but the trick is to try and use only that color, or hues that are in the same family, or that live near each other on the color wheel.

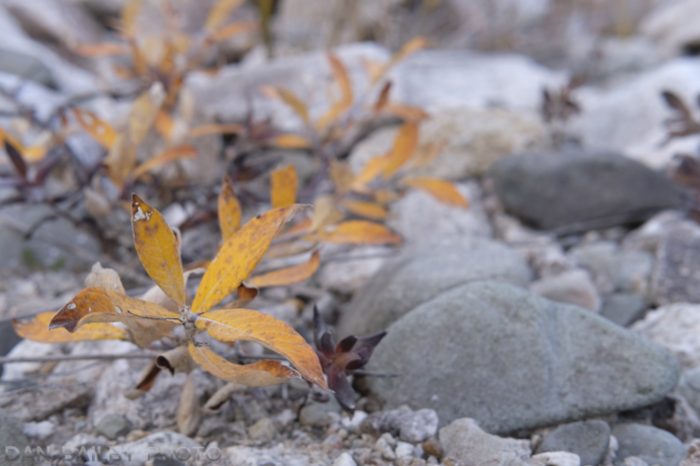
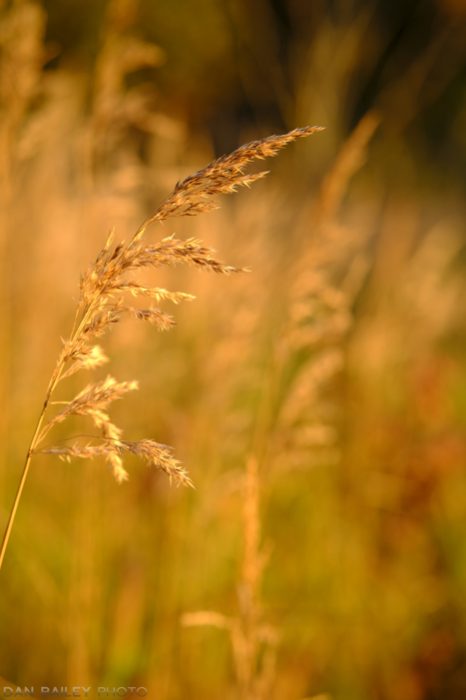
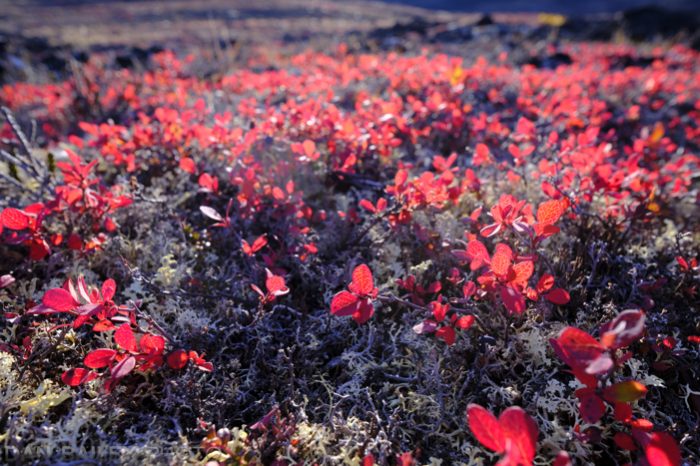
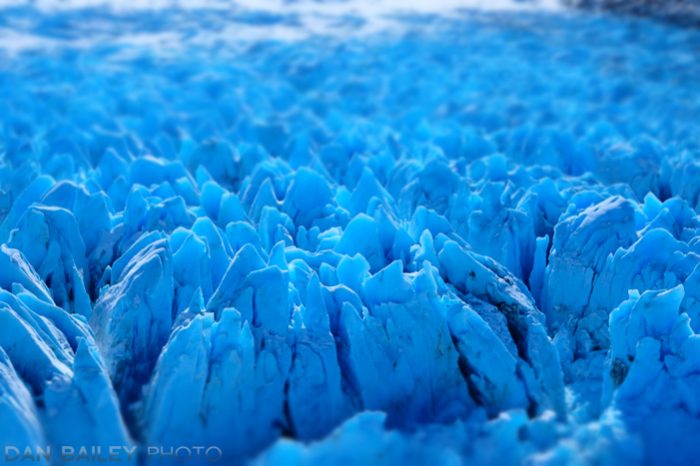
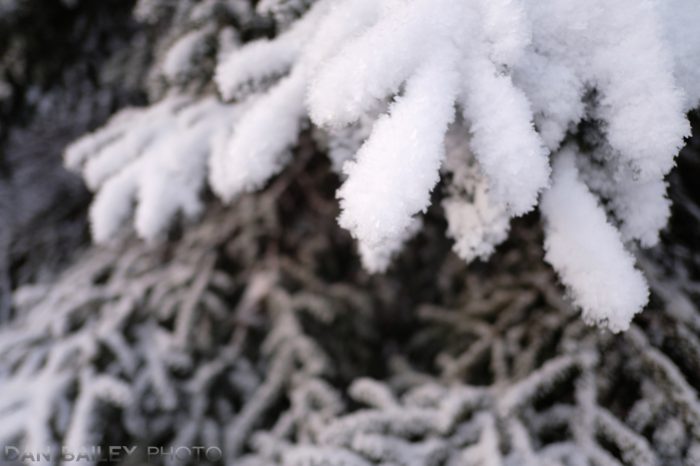
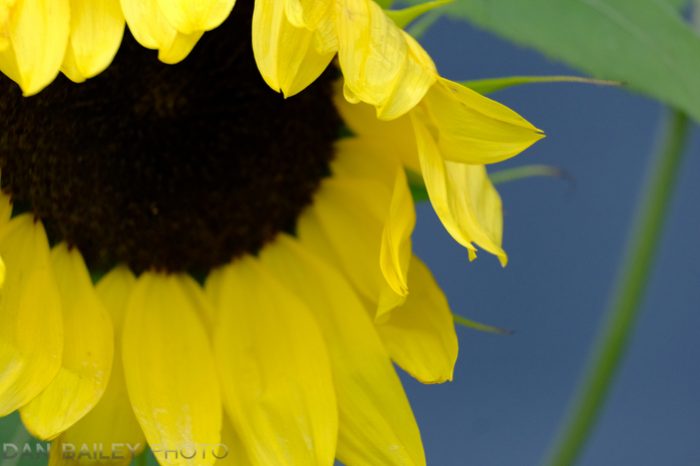
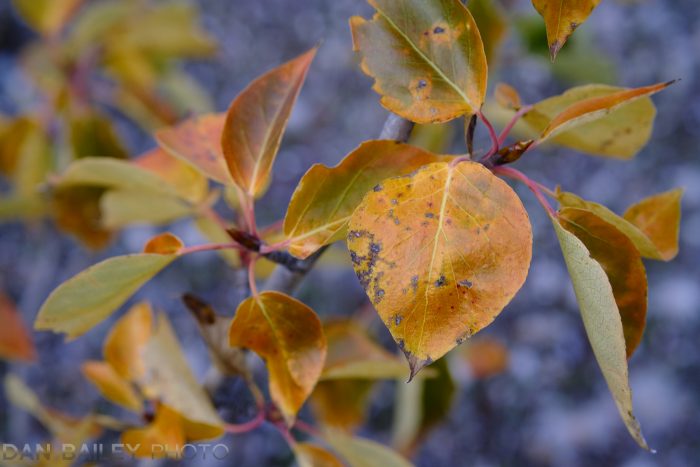
You’ll find that your technique for creating these types of images will vary greatly. With some subjects, it will be relatively straightforward. Think closeups on foliage, flowers, or other monochromatic landscapes. These kinds of scenes easily lend themselves to a single color approach.

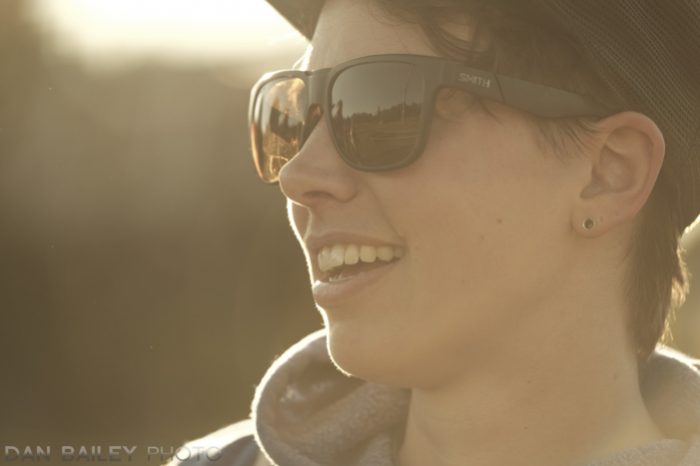
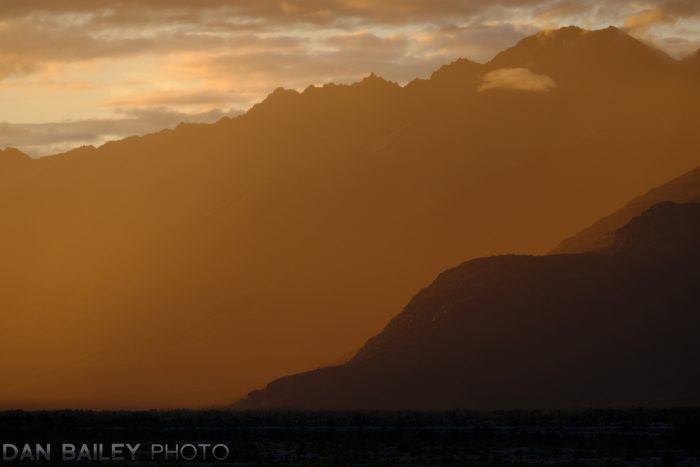
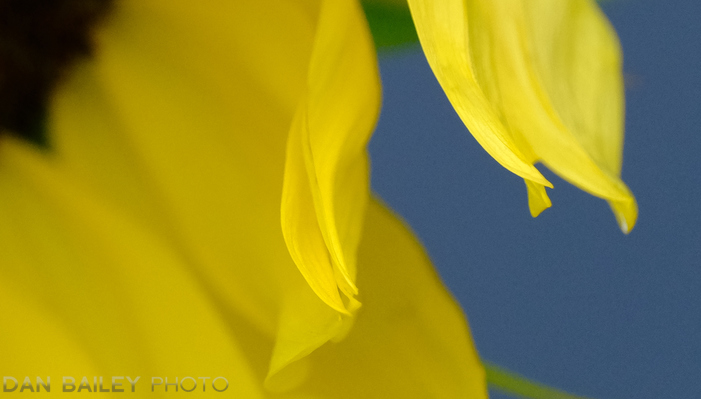
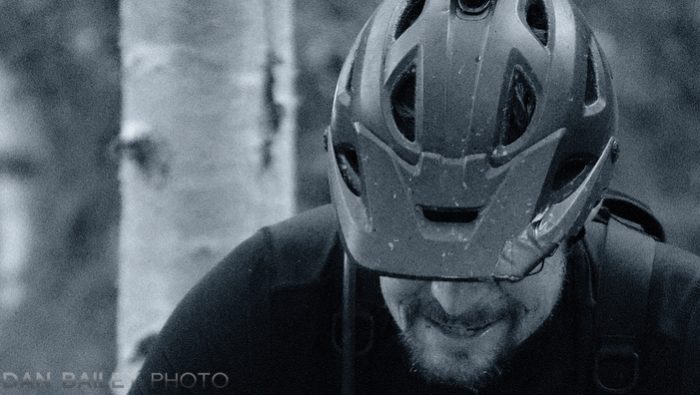
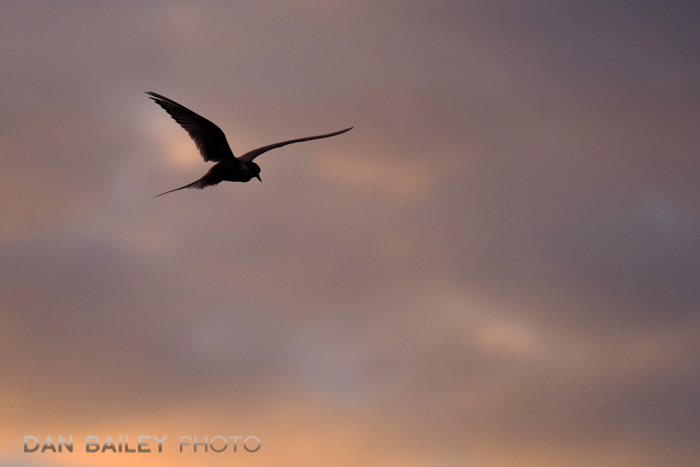
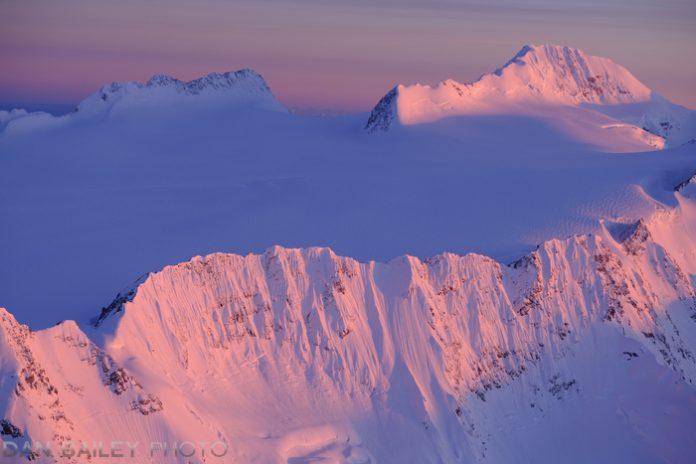
Other times, your effect will be created largely by the prevailing light, as with the portrait above, and sometimes you’ll need to stretch your visual skills and use creative framing in order to make this work. You can also create these kinds of effects with post processing.

How much color you use in your imagery is totally up to you. There are no rules; you can use a single hue or add small bits of other color in the image for added interest. Personally, I like the challenge of minimizing or entirely eliminating secondary colors other than the primary hue.

I’ve enjoyed using with this approach in my photography, and I encourage you to try playing around with it as well. By adding this technique to your own bag of tricks, you can expand your image making options in new and exciting ways. Your own visual senses will suddenly be tuned to fresh, fun, unique creative possibilities, and you’ll begin to see the world in a whole new way.

October 15, 2018
See this post
Experimenting with Monochromatic Color Photography

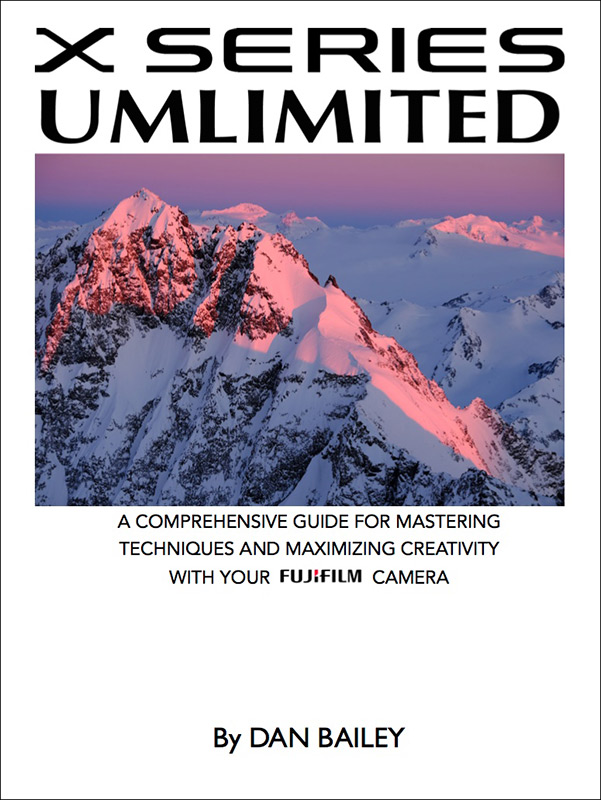
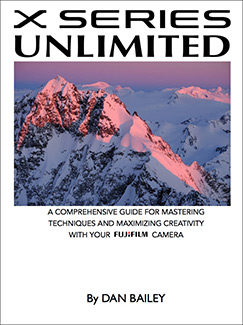
I have just released a major update to my X SERIES UNLIMITED eBook.

The new October 2018 Revision contains full info on the X-T3, as well as the X-H1 and all the recent firmware updates that have been released during the past six months.

The X-T3 has a whole bunch of new settings, including PRE-SHOT ES, COLOR CHROME EFFECT, D-RANGE PRIORITY, B&W ADJ., and a huge humber of new video features.

I cover every new feature on the X-T3, and I also cover all of the settings on the X-H1. The X-H1 was released right when I was about to release my last update, so I only mentioned a few key points. This update includes the full list of settings and menu items.

If you have an X-T3, X-T2, X-H1, X-Pro2, X-T20, X-E3 and X100F, there’s a lot of new and relevant information for you inside this brand new version of X SERIES UNLIMITED.

If you have an older Fuji, like an X-T1, X-T10 or X-Pro1, any of the X-A series or the new X-T100 & XF10, my book is still highly relevant to you, because many of the Fuji settings are coming to all models, even the original X100 and X10. There’s a ton of info that will help you get the most from your camera, customize it to your own style and expand your creativity.

X SERIES UNLIMITED has been a labor of love for me. I wrote it last year to help my fellow Fuji users better understand what their cameras are capable of, and in just a few months, it became a hugely successful, GO-TO guide for X SERIES photographers all over the world. It’s introduced me to even more Fuji shooters and has allowed me to connect with photographers I might not ever have met. In that way, it’s been a very fulfilling journey for me as well.

The new version is available today, so if you purchase the book for the first time, you’ll be getting the latest information, and you’ll also receive future update for free.

If you’ve already purchased the eBook version of X SERIES UNLIMITED, then the update is free. You should have already received an email notification and download link.

You can read more about X SERIES UNLIMITED here.

Or, just take these peoples’ word for it that X SERIES UNLIMITED is an essential investment for all Fujifilm X SERIES shooters and order your copy right now. I promise, you won’t be disappointed.

Thanks. The ebook is fantastic. It provides answers and tips to help me get the most from my X-T20.

Allan McAvoy

I purchased your X-Series Unlimited ebook and have spent a little time each night reading with the camera in front of me. It has been very helpful. You do certainly have an interesting life style and I do enjoying checking out where you have been, along with seeing your photos.

Also, I find I'm not as hung up on always shooting RAW. Shooting JPEG and playing with the simulations, bracketing and adjustments was something I picked up from you.

Ric Aarssen

Your book is of tremendous help and it ranks as my number one reference guide in my iBooks library.

Eric Geerts

SaveSave

SaveSave

SaveSave

SaveSave

SaveSave

SaveSave

SaveSave

SaveSave

SaveSave

SaveSave

SaveSave

October 2, 2018
See this post
I Have Just Updated X SERIES UNLIMITED to Include the X-T3

The Fujifilm X-T3 has a brand new 26 MP “Back Side Illuminated” sensor. The BSI technology essentially means that the silicon wafer has been flipped so that the circuitry is now on the back of the sensor, instead of on the front, where it lies on most sensors.

The result is that the photoreceptors have slightly more light gathering ability. On a sensor of this size, it’s about half-stop. Combine this with the copper wiring and more powerful image processor and you have a camera with slightly smaller pixels that’s able to perform even better in low light.

Just like the X-T2 showed improvements over the X-T1, the new X-T3 shows even further improvements in image quality and noise reduction when using higher ISO settings. Although the jump not as radical as it was from the X-T1 to the 2, it’s still an upgrade going from the X-T2 to the 3.

I’m someone who doesn’t shy away from using higher ISO speeds, whether it’s through a need for higher shutter speeds or simply because I love the “film grain look” that the higher settings give me on the on the X Series cameras.

Having put the X-T3 through a variety of shoots during the past few weeks, I’m highly impressed with the sharpness and clarity of the images that are coming out of the camera. And I’m talking straight JPEGs. Since most software doesn’t support X-T3 RAW files yet, (as of right now, Iridient X-Transformer now supports the X-T3) I haven’t had a chance to the RAW file performance of the 3, although I’m sure it’s awesome.

In this post, I’ll show you a few images examples of what the X-T3 images look like when shot at ISO 800 through ISO 12,800.

ISO 800

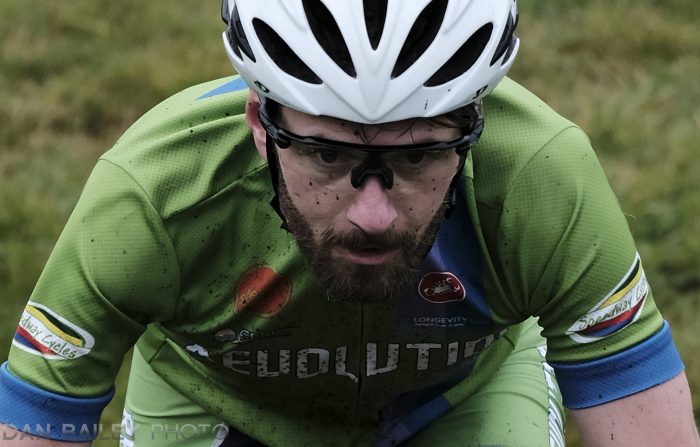
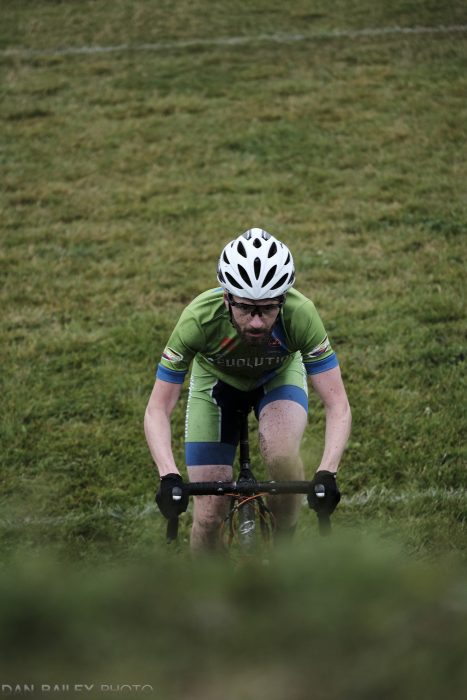
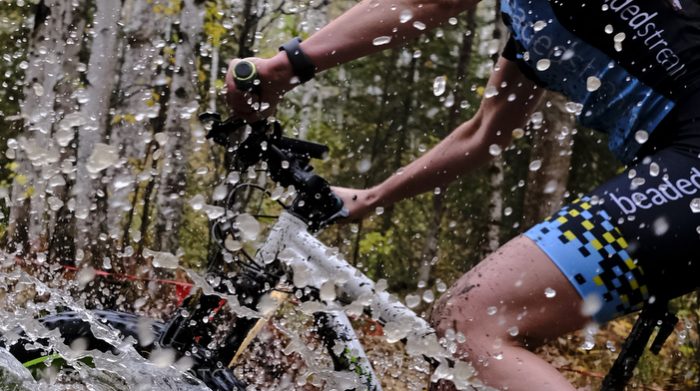
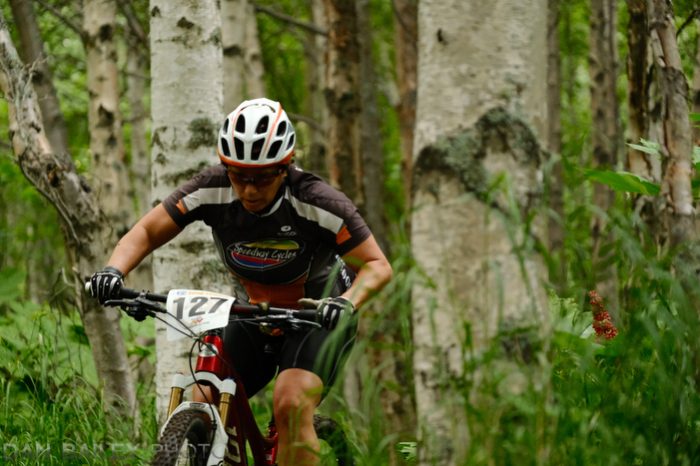
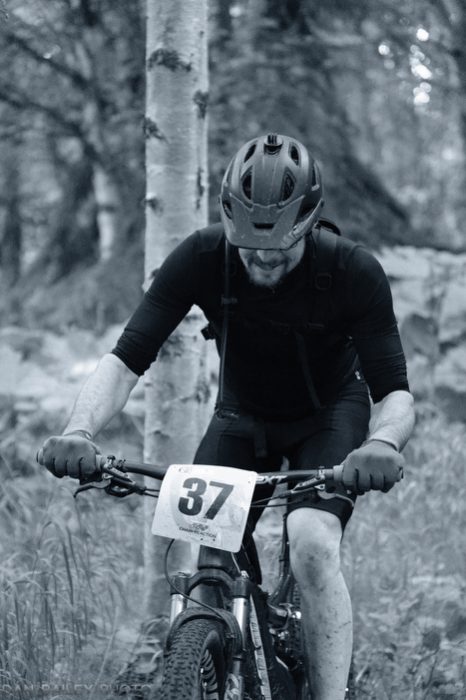
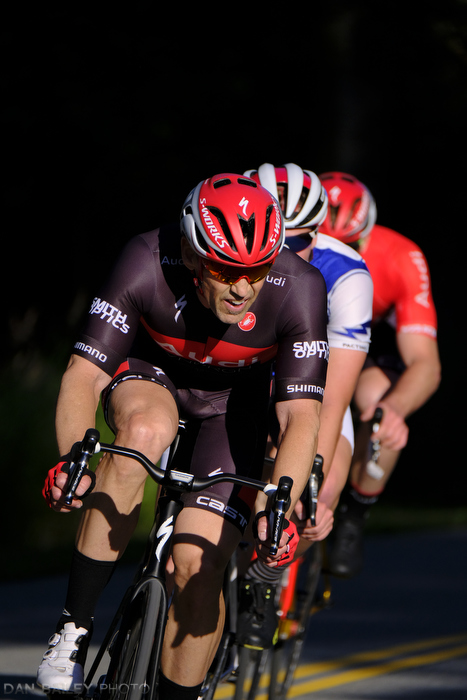
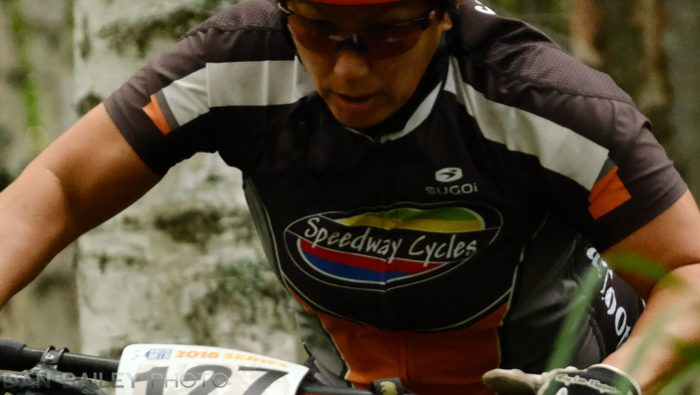
The first shot here is a full 100% zoom of a photo shot at ISO 800. As you can see, detail is amazing, (look at the writing on his jersey), there’s almost no noise and the skin tones show remarkable clarity.

Skin tones are one of the first things to suffer at higher ISO settings. Often time people remark that portraits shot at high ISO have a “waxy” look. There’s none of that here.

Click to view at full res.

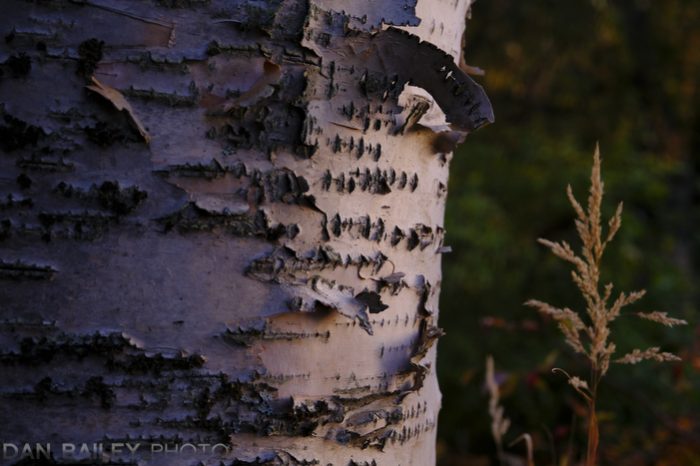
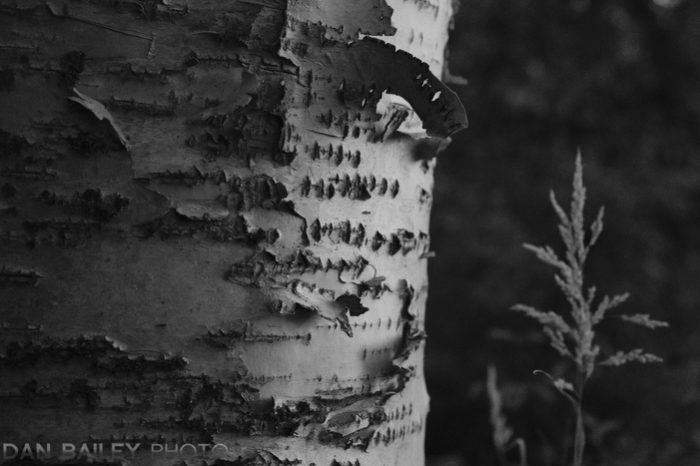
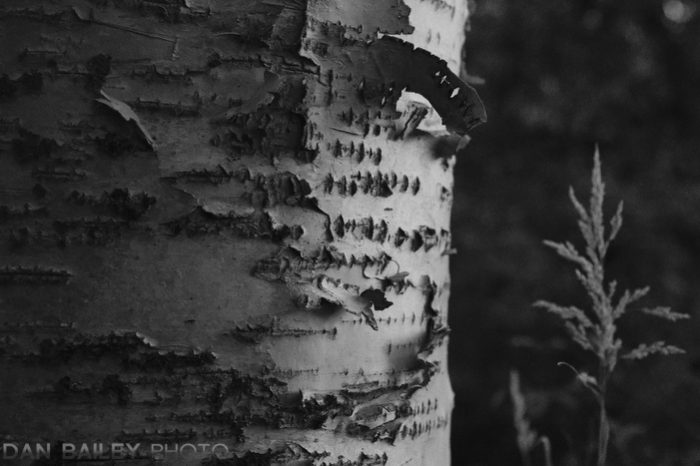
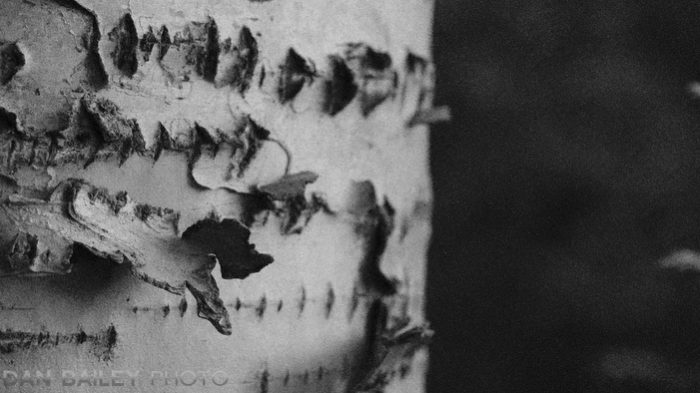
Here’s another example shot handheld at ISO 800, just as the last light from the sun was fading from the front of the tree. It was made with the X-T3 and the XF 50mm f/2 WR lens, which is one of my favorites. Exposure was 1/80 sec. @ f/5.6.

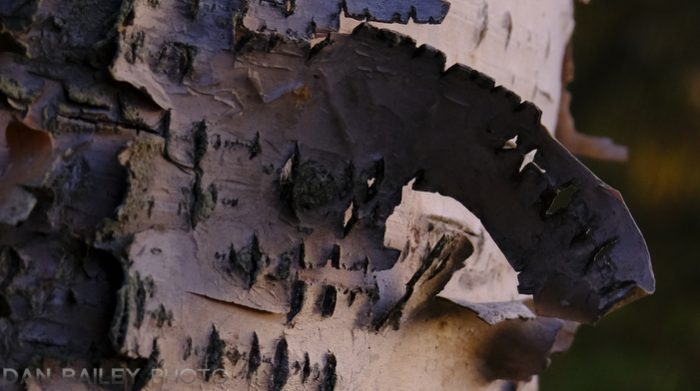
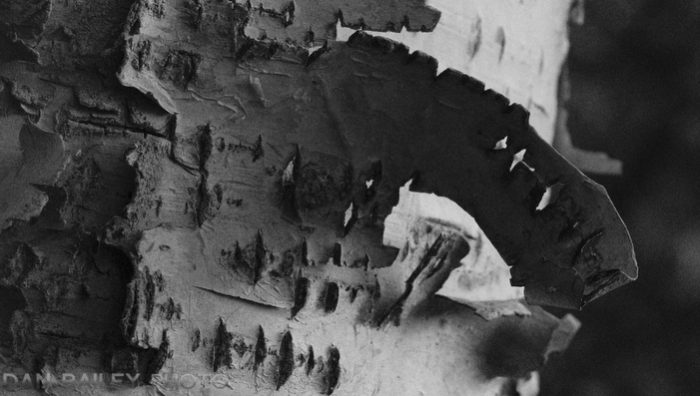
When zoomed to 100% at full res, you can start to see a little bit of noise in the transition area where the light turns to dark, right above that piece of peeled-away bark. It’s hardly noticeable, and more or less invisible when you zoom out to regular size.

Detail in the bark is still amazingly sharp, and considering that it was shot with a short telephoto, there’s a nice depth of field. It’s not too shallow. This is one of the reasons why you’d want to shoot at higher ISO settings. Super low settings give you maximum clarity and detail, but often at the expense of DOF, especially if you’re shooting handheld without a tripod.

Overall, ISO 800 on the X-T3 looks amazing and with the DOF flexibility it gives you, I’d say there’s no reason not to shoot ISO 800 with any subject.

Click to view at full res.


ISO 1600

ISO 1600 on the X-T3 is pure magic. You start to see a tiny bit of grain, but that’s what it is: grain. Beautiful, rich, traditional film grain, and as I like to say, a little grain never hurt anyone. Not then, not now. Not ever.

When zoomed in, the detail still holds with astonishing clarity, but the grain starts to break up in spots. That’s perfectly ok, though, because you’re not supposed to view images at 100%. You never are. There’s never any reason to do so. It’s akin to standing in front of a giant poster inside the airport terminal with your nose touching the glass and shouting “Ha! There it is!! I can see noise!!” 

Photographs are meant to be viewed at a distance that’s relative to their size, and if you don’t see an offensive amount of grain or noise at relative distance, then the sensor has done its job.

Anyway, here are a few examples shot at ISO 1600.

Click to view at full res.


Click to view at full res.


Click to view at full res.


ISO 3200

I’ve always loved ISO 3200 on the X-T2. Things start to break up in a much more noticeable way, but the Fuji image processor manages to keep it tight and give it this wonderful film grain quality. It looks truly amazing on the ACROS film simulation, which is tailor made for shooting at higher ISO settings.

With color, ISO 3200 can start to show its limitations, especially with those tricky skin tones. However, the X-T3’s new sensor and processor clearly show improvements in this area. In addition, the level of detail is still exceptionally high with crisp edges and minimal softness for a setting like this.

When you zoom all the way in, you can definitely see an increase in noise. That said, are you a photographer or a pixel peeper? Does it really matter? With certain subjects, the added grain of higher ISO settings like 3200 can add an incredible level of visual style to your imagery. I see these setting as a creative tool as much as problem solving tool.

Click to view at full res.


When we look at a black and white image, shot using ACROS, the results are even better. Just like on the X-T2, the images take on a gorgeous, film-like quality with wonderfully appealing grain. It’s not offensive at all; it’s beautiful, and the level of detail is incredible.

As I indicated above, the ACROS film simulation is actually designed to look better at higher ISO settings. It has a very complex grain striation that only gets more delicious when you crank the dial way up. Personally, I think ACROS looks its absolute best at 3200, but that’s not to say that it doesn’t look equally cool at even higher settings.

Click to view at full res.


ISO 6400

On the X Series cameras, ISO 6400 is my least-used setting. I figure why stop there? If 3200 isn’t quite enough, I usually just hop over 6400 and slam the dial all the way to 12,800. That said, 6400 is still useful when needed, and it really doesn’t look that bad.

Sure, there’s noise everywhere, especially when you zoom in to 100% *ahem*, but it’s workable. If that’s all the light you have or if you need a faster shutter speed with that long lens, then sometimes you have no choice. Zoomed out, things definitely get softer and you can see some grain, but things are still totally doable.

Shift to black and white, though, and it looks just fine. Lots of rich film grain that speaks of an older, simpler time when all they had was grain.

Click to view at full res.


Click to view at full res.


ISO 12,800

At last we find ourselves at the end of the dial. As with the X-T2 and all the other current X Series cameras, the highest native ISO setting on the X-T3 is 12,800. Pretty crazy when you think about it; just a few years ago, this setting was considered “fully ridiculous,” unless you absolutely NEEDED to get the shot and that’s all the light you had available.

As with ISO 6400, it’s noisy when zoomed in, especially with color images and skin tones, but it’s doable in dim conditions. Zoom out and you’re surprised at the fact that it’s not nearly as bad as you thought it would be.

When shooting in ACROS, though, it’s just damn cool. Lots of contrast and big grain, very much like Kodak’s old T-MAX 3200 black and white print film. To me to looks awesome. Deliberately gritty and full of meaning.

Click to view at full res.


Click to view at full res.


Click to view at full res.

As you can see, the Fujifilm X-T3 shows remarkable clarity and tightness at all ISO settings. The new BSI sensor and processor make for a very powerful camera that’s even more capable of getting good results, no matter what kind of light you’re shooing in.

As with any sensor, noise and grain show up with the most prominence in medium and lower midtowns, especially in out-of-focus areas. It’s less prominent on sharp subject matter, so keep that in mind when using these kinds of settings.

When compared side-by-side with the X-T2, X-T3 images do show an incremental improvement in low light performance and overall tonal rendering, although the different is not as drastic as it was going from the X-T1 to the X-T2. Even though the X-T3 does have a more advanced system, don’t expect to see a huge, night and day difference between the X-T2 and 3 in terms of low light performance.

If you’re coming from an older X Series camera, like the X-T1, X-T10 or X-E2, this might be the time to finally upgrade. The X-T3’s level of performance is nothing short of outstanding and they’re shipping now.

If you haven’t read my full review of the Fujifilm X-T3, you can check it out here.

[iframe]<iframe width=”120″ scrolling=”no” height=”240″ frameborder=”0″ style=”border:none;” border=”0″ src=”https://mer54715.datafeedfile.com/widget/aff_widget_prdt_generate-2.0.php?aff_num=6746&aff_net=1&widget_num=8183&sid=” marginheight=”0″ marginwidth=”0″></iframe><iframe style=”width:120px;height:240px;” marginwidth=”0″ marginheight=”0″ scrolling=”no” frameborder=”0″ src=”//ws-na.amazon-adsystem.com/widgets/q?ServiceVersion=20070822&OneJS=1&Operation=GetAdHtml&MarketPlace=US&source=ss&ref=as_ss_li_til&ad_type=product_link&tracking_id=danhbaisadvph-20&language=en_US&marketplace=amazon&region=US&placement=B07H49QWN4&asins=B07H49QWN4&linkId=44560257fbad0490c02345157d9d0a9e&show_border=true&link_opens_in_new_window=true”></iframe><iframe style=”width:120px;height:240px;” marginwidth=”0″ marginheight=”0″ scrolling=”no” frameborder=”0″ src=”//ws-na.amazon-adsystem.com/widgets/q?ServiceVersion=20070822&OneJS=1&Operation=GetAdHtml&MarketPlace=US&source=ss&ref=as_ss_li_til&ad_type=product_link&tracking_id=danhbaisadvph-20&language=en_US&marketplace=amazon&region=US&placement=B07H5HW3CR&asins=B07H5HW3CR&linkId=d3fa2345b7ca75208d052be5399b1bb6&show_border=true&link_opens_in_new_window=true”></iframe>[/iframe]


September 28, 2018
See this post
Shooting Higher ISO Settings on the Fujifilm X-T3
Click to see this image at high res and get the full effect.

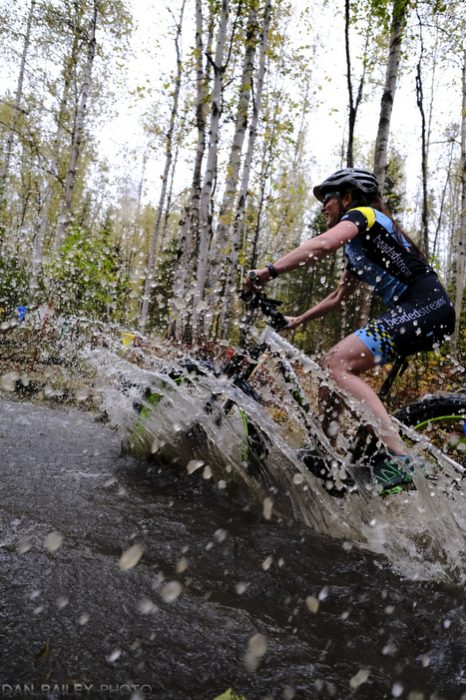
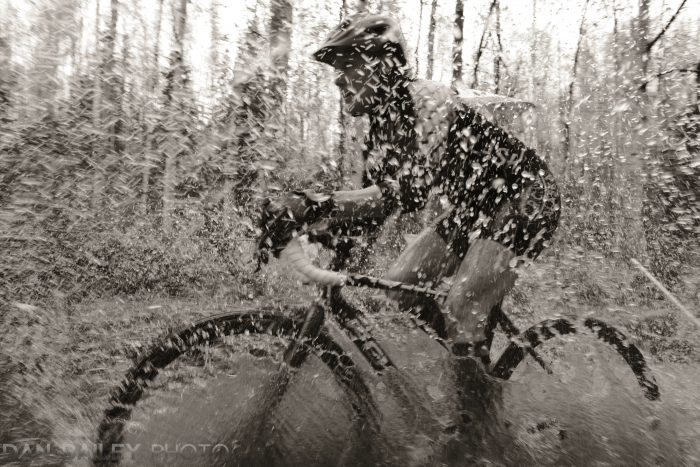
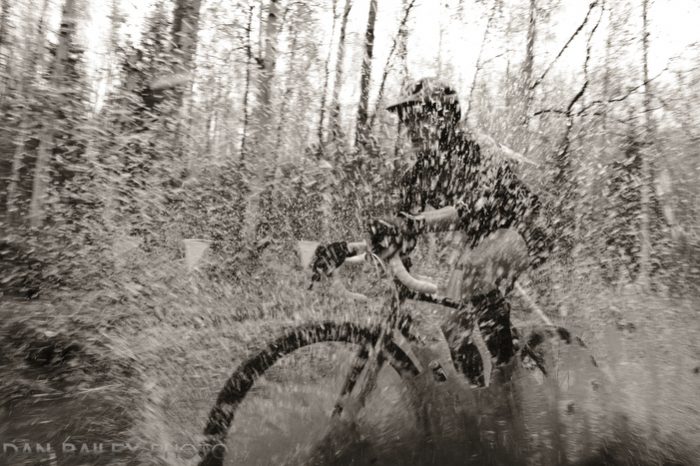
This is the coolest action photo I’ve ever shot. I made it with the new Fujifilm X-T3 during last Saturday’s cyclocross race.

I realize that’s a tough claim to make, considering that I’ve been shooting photos for 28.5 years, and I’ve been a professional action and adventure photographer for just about 22 years now.

Over the years, I’ve shot a wide variety of very exciting sports, including rock and ice climbing, kayaking, mountain biking, skiing/snowboarding, hiking and mountaineering. Even without scrolling through my Lightroom catalog or flipping through the pages of my old slide boxes, I can bring up a number of my all time favorite action images that have been permanently burned into my memory.

Those are the photos that defined my career and my style as an adventure photographer. Those are the scenes I cut my teeth on while I worked to make a name for myself in the industry. Those are the kinds of jaw-dropping shots I’ve always aspired to capture and that I still aspire to get every single time I put the camera in my hands.

That’s the great thing about photography, you never stop learning and improving. I’ve been shooting action sports for half my life and I’m still motivated to keep trying to nail even better, more exciting photos each time I go out.

I’m always trying new techniques, building on what I’ve learned in the past and applying new methods and styles to my approach. Through experience, I know what works, so that kind of gives me a head start. I usually have a pretty good idea where to begin, but sometimes that all goes out the window when I get on the scene and the dirt, or in this case, when the water starts flying.

Even though the technical stuff is second nature to me, each scene is unique, so I try to blend experience with on-the-spot creativity to come up with new ideas of how to portrait my subjects in the most exciting way possible.

It’s always a balance between doing what I know works well and launching into uncharted territory. Doing what works is playing it safe. I know I’ll get a good shot, but is it the best shot I can possibly get? Jumping off into the deep end is a gamble, because I might come up with something truly great, or I might biff it and walk away with nothing. I could have stood back and gotten the “safe shot,” but would that make me feel the most satisfied as a creative image maker?

The camera gear makes a difference too. In my 22 years a pro shooter, the camera gear has improved just as my own skills have improved.

As I mentioned, I shot this with the Fujifilm X-T3. It’s basically an X-T2 on steroids. With a faster processor, improved AF algorithms and a new sensor that has 4 times the number of Phase Detect autofocus pixels, it’s tailor made for shooting fast action, providing you have the skills to keep up with it. (Read my full review of the X-T3 here.)

Since it’s brand new, this was my first chance to shoot cyclocross with the X-T3. I was super excited on Saturday morning, because this was my first opportunity to put it through its paces and see if it’s up to the task. In other worlds, could it keep up with me?

Here was my chance to find out.

I shot a lot of photos that day; 1103 frames to be exact. I tried a lot of different techniques and settings. I went back and forth between the mechanical shutter at 11 fps and the Electronic Shutter at 20 and 30 fps. I tried out the new PRE-SHOT ES mode, which starts capturing images as “half press” and writing them to the buffer.

I used different film simulations and played around with the warm/cool tints that can be applied to the monochrome looks. I shot telephoto. I shot wide. I tried out a variety of different vantage points as I ran around the course looking for killer locations.

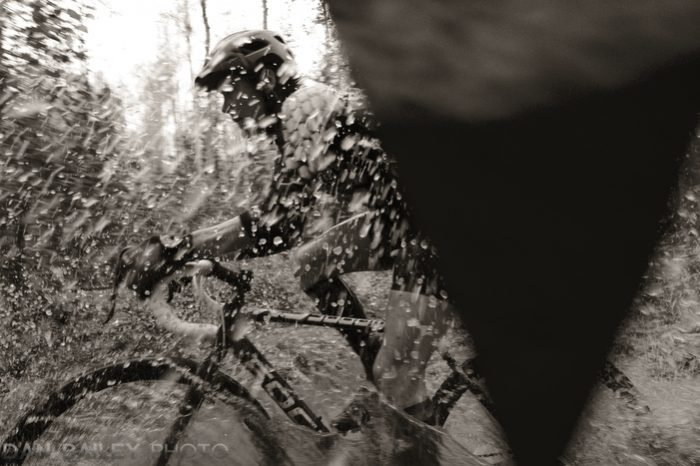
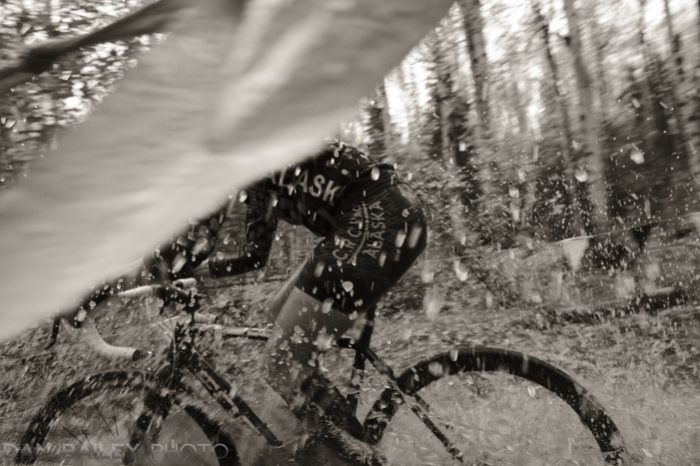
This giant puddle seemed like it had a lot of potential, so I parked myself there for quite awhile. I shot a total of 698 frames here, hoping to get something truly amazing. At 21:21pm, I saw my friend Amber Stull coming through on her 4th lap. I’d been shooting vertically for the previous 50 frames or so, but when I saw her approaching the puddle, I flipped the camera horizontally. Crouching down, I snapped off four frames in a quick, 11 fps burst as she flew in between the course flags that partially concealed my field of vision.

The second frame was THE ONE. It’s the culmination of everything I’ve learned as a photographer, combined with my well-defined creative ideas about what I want to show in my work.

To me, it perfectly captures the hair-raising, high energy, messy off-road chaos of cyclocross racing, and it has the perfect amount of speed and blur, the perfect exposure, the perfect framing and a gorgeous tonal palette. I love that you can see Amber’s incredibly toned muscles, the determination on her face and her race number fluttering in the breeze on the back of her jersey through all that water.

Part of the reason I like shooting cyclocross is that I know most of the racers up here. Essentially, I’m just trying to make my friends look like heroes and it’s never very hard to make Amber look like one. She happens to be the subject of my last cyclocross post I ran last week, too. Go figure.

Amber is an amazing athlete who’s been competing and inspiring others to do their best for years up here in Anchorage. She’s won many races and triathlons, and this year, she took 2nd place in the 2018 Alaskaman race, a brutal 143-mile extreme triathlon with 11,335′ of climbing.

She and her husband Jamie own Chain Reaction Cycles and 9:Zero:7 Bikes here in Anchorage, and they’re just such great people. Both class acts all around, and very proactive in our Anchorage cycling community. I always enjoy seeing them and their two highly athletic daughters, who keep getting faster every year. In fact, a few minutes after I shot this photo, Amber’s older daughter Cadence passed her up the final hill and beat her mom for the first time ever. What a huge milestone for both of them.

—————

It’s always exciting to nail those amazing moments and walk away with photos that blow you away. It never gets old. That’s what it’s all about, right? And it doesn’t matter who you are or whether you’re a pro or not, we all get the same sense of elation and satisfaction when we capture a truly compelling image.

As I constantly improve as a photographer, I feel like my photos keep getting better as well. Every skill and technique that I’ve practiced over the past 20+ years, and ever single photography experience, success or failure, has led me up to this point, where right now, I’m the best photographer that I’ve ever been.

And if that holds to be true, then it logically follows that this image of Amber is the coolest action photo I’ve ever shot in my entire life. That is, until I pick up the camera again and find myself in another equally exciting situation with equally exciting subject matter. That’s the great thing about photography: It only gets better from this point forward.

If you can’t tell by now, I’m super proud of this image. Here it is again. Make sure you click on the photo to see it nice and big at high res. Thanks for reading.

September 24, 2018
See this post
The Coolest Action Photo I’ve Ever Shot
Click to see this image at full res.

The new Fujifilm X-T3 has officially been released and it’s now shipping, so I thought I’d celebrate by showing you some more image examples to give you an idea of the quality and colors it can produce. (If you haven’t seen my full X-T3 review post, you can find it here.)

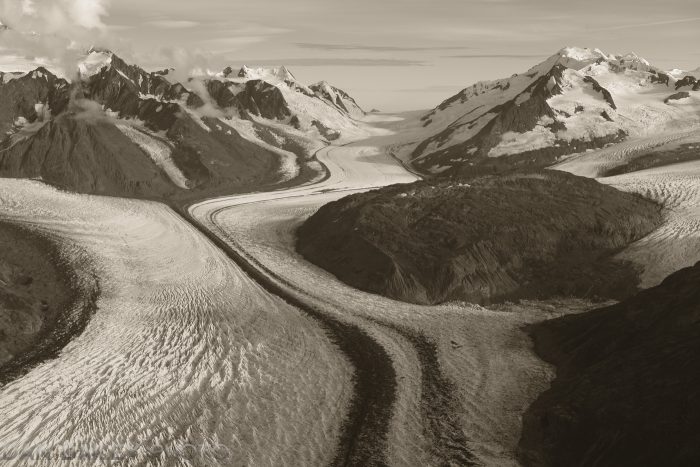
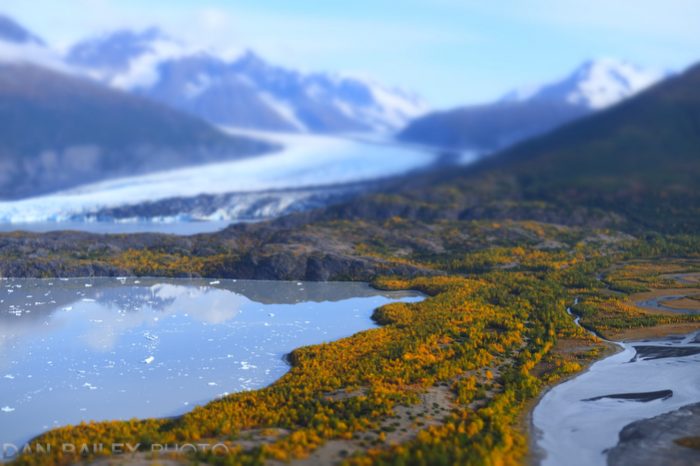
I took the X-T3 on a little flying adventure yesterday, shooting a variety of landscapes and mountain scenes. I started with some aerials, then landed by one of the glacier lakes and focused on closer up nature scenes and details.

I took my favorite landscape photography lens kit: the 14mm f/2.8, 35mm f/2, 50mm f/2 and the 100-400mm, which is currently $300 off. In fact, most of the X Series lenses are on sale right now.

I was pretty psyched to get out flying with the X-T3 yesterday. The weather was so bad during my initial test period last month, I went about three solid weeks without being able to get off the ground. I was like a kid in a candy store yesterday, hitting all my favorite places as I blasted off frames and tried out some of the new creative settings.


Click to view this image at full res.

I remain as impressed with the camera as I was on the first time I shot with it, and it’s been fun to dig in and experiment with some of the new settings. I’ve even done some side-by-side shooting with the X-T2 to compare quality and color reproduction. I’ll get those images up in a future post.

I will say that the differences are slight. The X-T2 is still an amazing camera and it holds well up next to the X-T3 in terms of quality, but the new hardware and capabilities on the X-T3 definitely put it ahead with regards to performance and creative options.

One of my favorite features is the new B&W ADJ. Setting, which allows you to add a warm or cool tint to your ACROS and MONOCHROME images. The lead off shot above was made using the ACROS film sim and +7 on the warm side. (The adjustment is up to 9 steps on each side.)


Click to view this image at full res.

The new sensor on the X-T3 has an even higher signal to noise ratio, which in layman’s terms, means less distortion, i.e. lower noise, and it has a lower native ISO speed of 160. This allows for even more sharpness and detail in your images.

Of course, packing 2 million more pixels onto the same size APC-C sensor means that each pixel is slightly smaller than the pixels on the X-T2. With traditional sensor design, smaller pixels mean less light gathering area, but the Back-Illumination architecture, which puts the wiring behind the photocathode light gathering layer makes up for this difference and actually lets in 1/2 stop more light.

Combine that with the new quad-core processor and the use of copper wiring, which yields better signal transmission and conducts at lower temperatures, and you get fantastic light gathering capabilities, superbly sharp detail and even better low light performance.


Click to view this image at full res.

I’m rather intrigued by the new ETERNA film simulation. Designed primarily as a color profile suited for motion pictures, it has an even lower level of saturation and tonality than Pro NEG.STD, making it the most muted of all the Fuji film sims.

I wasn’t sure what to think at first. Honestly, my initial impression was that it was way too flat, but after trying it out, I recognize how it can be effective in certain situations. As much as I love Velvia and bold colors, there’s something very cool about pulling back and being subtle with your color. It activates the imagination of the viewer in a different way.

It plays right into the notion that photography isn’t about exactly reproducing your subject matter, or always bumping the colors and tons way up, it’s about creating a representational idea of your subject in a way that draws your views in and engages them as an active participant in the viewing and interpretation process of your images.

Where Velvia gives that “larger than life” look to your imager, ETERNA pulls back and “suggests” your subject with a softer, less “in-your-face” palette. It invites the imagination in different ways. It’s not dull, rather it’s meant to symbolize. Black and white imagery does this as well, and the new BW warm/cool tints only add to this effect.

Image shot with Velvia Film Sim.
Image shot with ETERNA Film Sim.

In playing around with the body, I’ve had more time to notice and appreciate the slight design differences that Fuji put into the X-T3. As I mentioned in my review, it’s very similar to the X-T2, but the body is a tiny bit the X-T3 is about 1mm deeper from front to back.

In addition, the dials on the X-T3 offer slightly more resistance and the main buttons and the front and rear command dials all press with a noticeably more forceful “click.”

I really like the new LCD “swipe gestures,” which effectively operate as four additional Fn buttons. I set “left swipe” as yet another Playback control, which gives me three total, since I like to set the AF-L button as a Playback button too.

Another plus is that you don’t need the vertical grip to shoot at ultra high frame rates. The X-T3 can go up to 11 fps with the mechanical shutter and up to 30 fps with the electronic shutter, even without the grip. Of course the grip gives you more battery power.

Another addition is the new COLOR CHROME EFFECT. Based on a Fuji fortia slide film that had even more vibrancy and contrast than Velvia, the X-T3 is able to add increased tonality to any film sim with either a STRONG or WEAK setting.

Here’s an example of the COLOR CHROME EFFECT applied to a Velvia image at the STRONG setting. As you can see, it adds a very small amount of color saturation and shadow detail, most noticeable on the main leaf.

I’m looking forward to putting the X-T3 through even more tests as well go forward this fall. I plan to shoot cyclocross with it this weekend. Right out of the gate, the X-T3 has already proved itself to be an incredible camera, retaining everything that’s great about the X-2 and adding some impressive new features and performance upgrades.

And, I’m sure you’ll be happy to hear that I’m already working on the next revision to my X SERIES UNLIMITED eBook. The next update will include the X-T3 and all the recent firmware updates that Fuji released since this spring. For anyone who has purchased the book, you’ll get an email notification when the new version is ready for download. I’m hoping it will be done within the next two weeks or so.

As of today, B&H has the X-T3 in stock, so if you’re hoping to get one, you can order the camera here. Or visit your local dealer, they should have them by now as well.

[iframe]<iframe width=”120″ scrolling=”no” height=”240″ frameborder=”0″ style=”border:none;” border=”0″ src=”https://mer54715.datafeedfile.com/widget/aff_widget_prdt_generate-2.0.php?aff_num=6746&aff_net=1&widget_num=8183&sid=” marginheight=”0″ marginwidth=”0″></iframe><iframe style=”width:120px;height:240px;” marginwidth=”0″ marginheight=”0″ scrolling=”no” frameborder=”0″ src=”//ws-na.amazon-adsystem.com/widgets/q?ServiceVersion=20070822&OneJS=1&Operation=GetAdHtml&MarketPlace=US&source=ss&ref=as_ss_li_til&ad_type=product_link&tracking_id=danhbaisadvph-20&language=en_US&marketplace=amazon&region=US&placement=B07H49QWN4&asins=B07H49QWN4&linkId=44560257fbad0490c02345157d9d0a9e&show_border=true&link_opens_in_new_window=true”></iframe><iframe style=”width:120px;height:240px;” marginwidth=”0″ marginheight=”0″ scrolling=”no” frameborder=”0″ src=”//ws-na.amazon-adsystem.com/widgets/q?ServiceVersion=20070822&OneJS=1&Operation=GetAdHtml&MarketPlace=US&source=ss&ref=as_ss_li_til&ad_type=product_link&tracking_id=danhbaisadvph-20&language=en_US&marketplace=amazon&region=US&placement=B07H5HW3CR&asins=B07H5HW3CR&linkId=d3fa2345b7ca75208d052be5399b1bb6&show_border=true&link_opens_in_new_window=true”></iframe>[/iframe]

September 20, 2018
See this post
More Fujifilm X-T3 Image Examples and Camera Impressions

Cyclocross season is here again!!! If you’ve followed my work for awhile, then you know that cyclocross is one of my favorite sports to participate in and photograph.

I love the mix of fast action combined with the chaos and combat of racing road-style bikes through mud, dirt, sand, water and deep grass, and the challenge of capturing all this energy with still imagery. Plus, many of the people racing are my friends, so that only adds to the fun! I love making my friends look like heroes.

I’ve been racing and shooting cyclocross here in Anchorage for a about six years now, and I like to vary my approach slightly with each race. I enjoy the challenge to try out different creative techniques and come up with fresh looks from one year to the next.

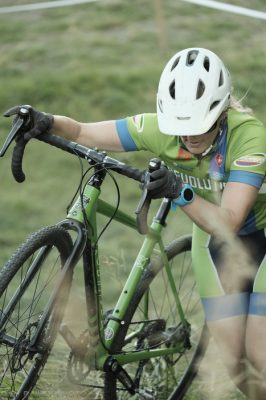
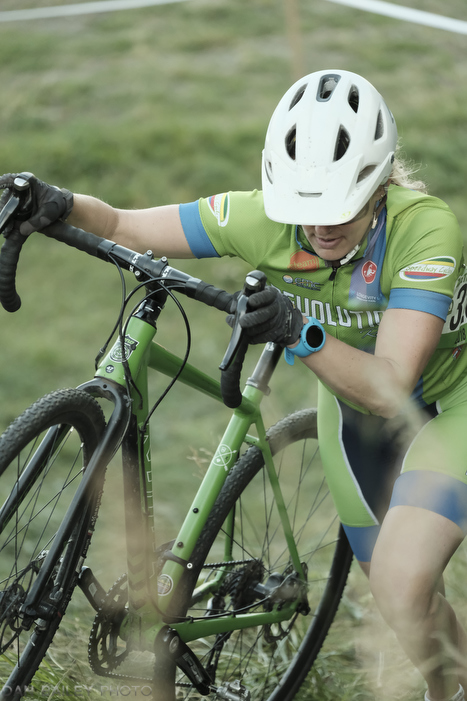
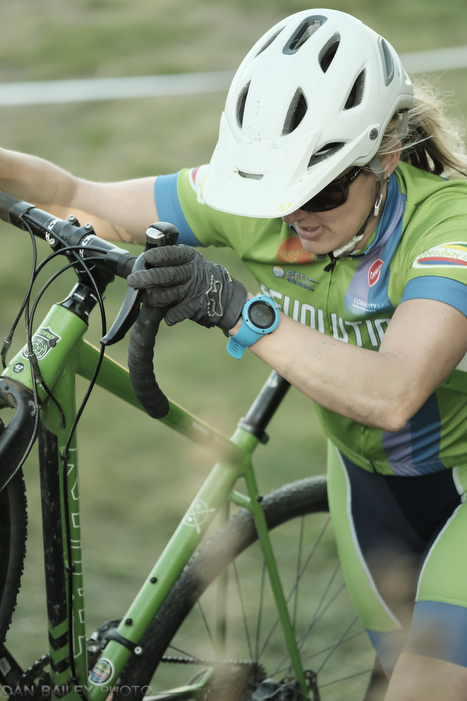
So far, we’ve had two races this season. Since I’m riding with the Expert/Master Men’s group, I’ve been photographing the women’s races. In this post, I’ll break down one of my favorite shots from last week.

Often times I like to shoot a lit subject against a shadowed background, which can be a very powerful visual technique. You can see this style in the two examples below.

Switching it around, though, can give you quite a different feel. You have to be careful, though, because if you have too much contrast, you’ll end up with a silhouette, or a very dark subject that’s lost in the shadows.

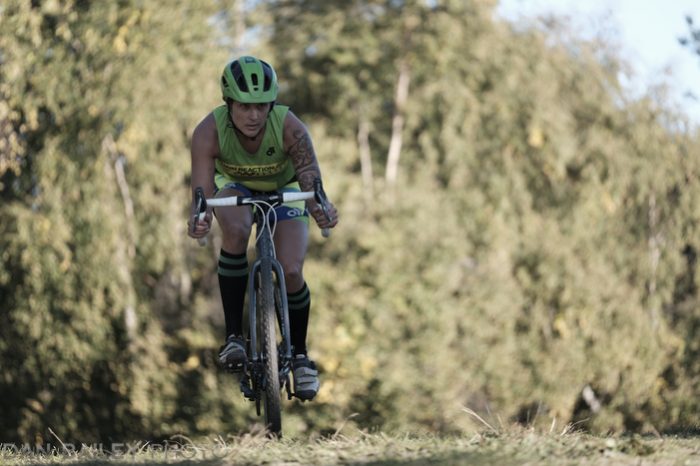
For this shot, (the lead off image) I wanted to capture my friend Amber as she crested over the small rise. I felt it would be an effective look if she was in shadow against the sunny trees in the background. However, I knew the scene would present challenges. Here’s how I worked them out.

First of all, I used a long lens on my Fujifilm X-T2. The XF 50-140mm f/2.8 is a great action lens and being a telephoto, it would compress the scene slightly and blur the background. My exact focal length here was 94.5mm, which means I had zoomed about halfway out. Enough to get some good impression, but still allowing me to capture the whole rider.

I also chose a vantage point with a clean background. This helped eliminate much of the busy-ness that plagued the shot above and made for a much cleaner composition.

I looked for a view that gave me an almost uniform palette of lighting across the entire bank of trees, with just enough shadow to give the scene a little texture and three dimensionality.

To solve the problem of light and shadow, I reduced the contrast levels right inside the camera. I did this by increasing my overall exposure and using one of the lower tonality film simulations on my X-T2.

I went with CLASSIC CHROME and dialed down the COLOR adjustment to -4 in the Q Menu. This helped reduce the prominence of the background even more. (Read more about how to customize the Fuji film simulations here.)

To compare, here’s a shot made under similar lighting using the much higher contrast Veliva film sim and no adjustments. You can see, the subject just gets lost in the busy-ness of the scene. The lead rider hardly stands out at all.

By brighting up the background and reducing contrast, I’m able to isolate Amber against the sunlit tress much more effectively. She has nice smooth, even lighting, with enough exposure to give her an adequate amount of detail for a main subject.

However, as you can see, as soon as the subject leaves the shade, the exposure is blown. She’s way too bright. This is where you need to follow the rule that says Expose for the brightest important subject matter, and at the same time, realize that this might change with a slight change in composition or camera position.

It can be especially hard to keep on top of stuff like this in the moment, especially when you’re shooting action sports and fast breaking subjects. It just takes lots of practice and understanding light and shadow comes into play.

Of course, you could solve all this by just shooting in RAW and processing later, but I like to get it right in the camera and nail my shots in the moment. For me, this approach is more satisfying and it makes me a better technical photographer. It keeps me on my toes.

Remember, the more you shoot, the better you’ll get at on-scene problem solving. So get out there and practice!!

To learn more about action photography methods and problem-solving, check out my Behind The Action eBook. It’s like standing over my shoulder and watching me work.

If you use discount code BEHIND20, I’ll even give you a 20% discount on the book.

September 19, 2018
See this post
Breaking Down a Cyclocross Shot: Shooting A Shaded Subject Against the Light

Fall is like a symphony for photographers.

After winter, we dust off our instruments, (I know that many of you shoot throughout the colder months, but just bear with me for the sake of this metaphor), we take stock of our and our skills, and once again, we begin practicing and reacquainting ourselves with our equipment.

As the first colors of spring emerge from beneath the melting snow, we ease into our rudiments, practicing basic skills like exposure and composition, as if we’re brushing up on our scales and chords.

When muscle memory returns and our fingers find their familiar places on the aperture ring, the EV dial, and the shutter, our hands grip our instruments with returning confidence. As technical proficiency beings to flow more freely, our creative brains let loose and allow our eyes to start gathering the shapes, colors and contrasting elements in the landscape into concise visual collections.

As the weeks and months progress, we see noticeable progress in our technical ability and our compositional talents as we cleverly orchestrate foregrounds and backgrounds, color and contrast, shape and shadow. Our visual concertos become more intricate and elaborate, our intended messages more clear.

With summer in full swing, we’re hitting our stride, photographing on a regular basis, playing regularly with light and tone. We’re playing gigs in different locations, and always trying new things, working with different modes and altered scales in our constant attempt to redefine and expand our message and convey our feelings and impressions of the world.

The Crescendo of Color

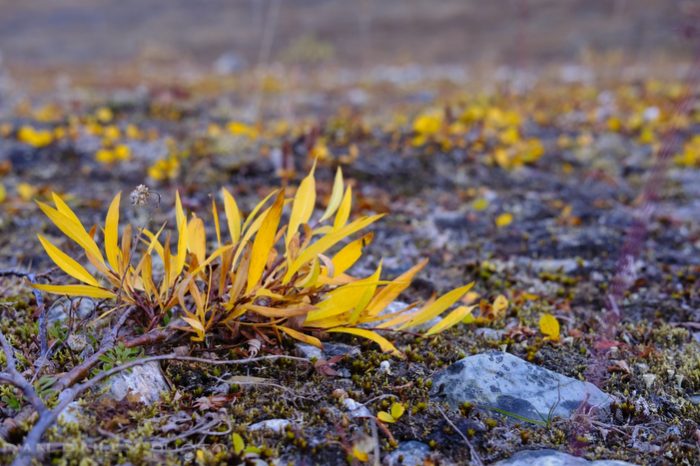
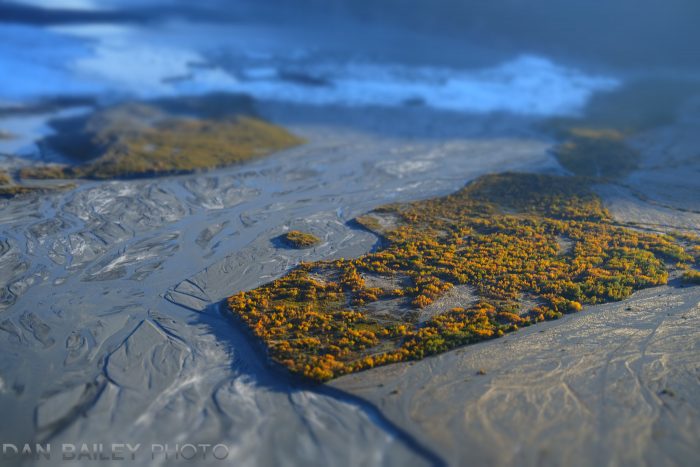
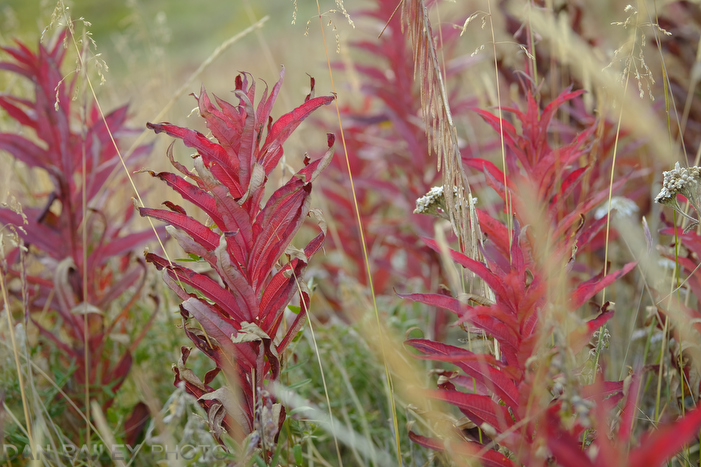
Of course, in the back of our minds, we know the fall symphony is coming. That one big performance. The crescendo of color, when the hues of the earth change from stable green to fiery, attention grabbing, visual alarming tones of red, yellow and orange.

That one special time when the mid to higher latitudes of the planet become a patchwork of technicolor magic and we get to experience brilliant colors that only show themselves for a few short weeks every year.

As the season approaches, we can feel the sense of alarm and anticipation within ourselves, too. We know the increasingly complex visual arrangements can only go on so long before they peak.

We only have a brief time to perform as technically and visually adept artists and outdoor photographers as we strive to capture a photo essay’s worth of compelling autumn imagery before the big finale. It almost becomes a race to explore and create a collection of visually stunning imagery before the final note sounds, before those magical colors fade and the foliage begins to wither and fall from the branches.

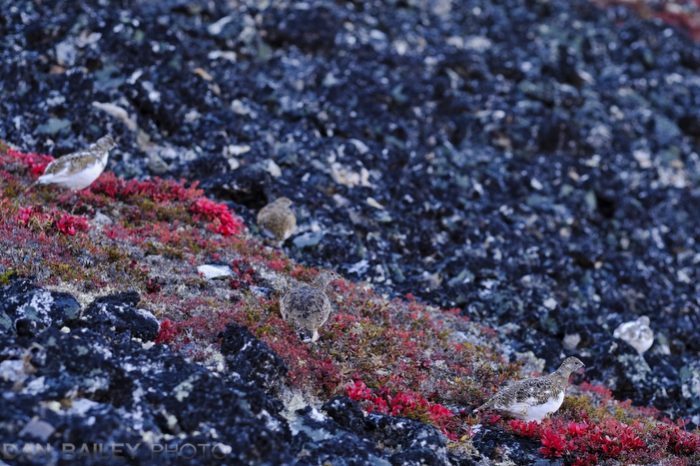
You can’t see these ptarmigan. They’re hiding.


As outdoor photographers, it would seem that these brief few weeks of autumn are what we practice for all year, even if it’s a subconscious anticpation. This is the season many of us look forward to most out of all the different times of year.

The truth is that every season is fleeting. Every activity, season, magical display of light and every exciting or especially serene moment is merely a momentary event in the course of our non-stop lives. We practice  with our cameras in the hope that we can capture any of these special moments that occur throughout the year.

We strive to make intriguing photos of notable moments and events no matter when they happen, but there is something about the brief season of fall that captures our imagination and creative urges like no other time of year.

Perhaps it’s because there are so many symbolic elements intertwined with fall, aspects like change, comfort, balance (the equinox typically denotes equal durations of day and night), letting go, impermanence, harvest and the beginning of the increasingly massive holiday season.

Fall has always been a special time for humans, but for photographers and visual artists, it seems to be even more special, simply because we’re even more attuned to those magical displays of color.

The Symphony of Autumn is definitely underway here in Alaska. Down in town, we’re just starting to hear the first notes of the introduction; up on the high tundra, it’s already well into the third and fourth movements and heading towards a magnificent finale. The weather has been glorious lately, which has made for some very enjoyable and satisfying fall photography.

It doesn’t last very long up here, and soon we’ll have snow, but not before we have a few big wind storms blow all the brittle, brown leaves off the trees. Then we’ll be on our final crash course towards winter.

I wish you the best of luck with your own fall performances this season. This is what you’ve been working towards. This is what you’ve been waiting for all year. Make the best of it, and have fun.

September 16, 2018
See this post
The Symphony of Autumn

I’m going to let you in on a little secret. Shooting sports and action is really hard. It’s easily one of, if not THE most challenging genre of photography, simply because you have so little time to think about what you’re doing.

When the dirt is flying and the athletes are racing by, there’s no time to ponder camera settings and exposure values, you just have act, which means if you don’t already have your camera settings dialed in, you’re going to miss the shot. (Check out my Action Photography Workflow post to see how to set up your camera or shooting action.)

Perhaps the most challenging aspect of shooting sports and action is nailing focus. Modern autofocus systems are astoundingly capable. They’re built with highly sensitive phase detection systems and complex predictive algorithms that anticipate movement and compensate for the lag between when your finger starts to press the shutter and when it actually reaches the bottom of the button and closes the circuit.

However, they’re not infallible. There’s an inherent flaw in the system: Us. We’re the weak link the process. While cameras aren’t perfect, more often than not, it’s our own lack of technique that prevents us from getting sharp images.

In this post, I’m going to give you 10 essential tips that will help you increase your percentage of sharp images when shooting things that move, whether they’re birds, bike racers, motor sports, puppies, kids playing soccer or your hyperactive children/grandchildren.

I’ll also cover and troubleshoot some common problems to help you overcome the typical barriers you’ll face when shooting fast moving subjects.

1. Practice, Practice, Practice

I hear from a lot of people who say that they’re unable to get very many sharp images, or that their success rate is not very high. Often times they chalk it up to the camera, and resign themselves that their particular model is not up to the task.

While the gear can make a difference, more often than not, it’s simply a matter of practice. As I said, shooting action can be incredibly challenging. I’ve been doing this for over 20 years and it’s still hard at times.

Today’s high end camera, even mirrorless cameras, are totally capable for nailing fast action. I’ve shot a wide variety of action with all of my Fuji cameras, and I can attest, they’re definitely up to the task, as are most other systems, providing you know how to use them.

To be an effective action shooter, you have to know your gear and your AF system like the back of your hand, and you have to know how to use it in a variety of situations. Autofocus competence comes with practice, especially if you move to a new system. Nothing will make you a better action shooter than photographing action on a regular basis.

The reality is that if you don’t have your technique down, then it’s probably not the camera, it’s just that you need to get more experience under your belt.

2. Shoot a Lot of Frames & Accept Some Failure

The best way to ensure success with your autofocus is to shoot a ton of frames. If you’re shooting action, your camera should be set to Continuous High (CH) mode. No matter what camera you’re using, accept that you’ll never get every single frame sharp, and accept that even if you have a super expensive camera system, some frames will come out blurry, or the wrong thing will be sharp.

The top pros don’t even come close to a 100% success rate and you won’t either, but the more frames you shoot, the better your chances will be for nailing a great image.

Remember, your goal isn’t to get very photo sharp, your number one goal is to nail that one awesome moment that captures the peak of the action, the perfect expression and the best placement in the frame.

This doesn’t necessarily mean you have to burn 100 frames for every single action scene. That’s not very efficient, and it will only make for more editing later on. In fact, you’ll find that shooting short busts at a high frame rate will get it done, providing you can exercise tip number 2.

Finally, if you try a certain shot and it doesn’t work, try it again. And again. And again. With complicated shots, it may take a number of attempts to nail sharp focus with just the right framing. Ask my models. They’ll tell you what “one more time” really means.

2. Anticipate The Moment

This is one of the best technique you can have as an action photographer. If you can learn to anticipate when the right moment will happen, you’ll have a much better chance of nailing it if/when it unfolds in front of you.

Whether you’re shooting wildlife, adventure or conventional sports, seeing and anticipating is the most important and effective tool in capturing a great image. Knowing when, or having a pretty good idea when a compelling moment is about to happen will better allow you to recognize the optimum moment to shoot or begin capturing your series.

For more insight on anticipating your scene, check out this post.

3. Take Time to Get in Your Groove

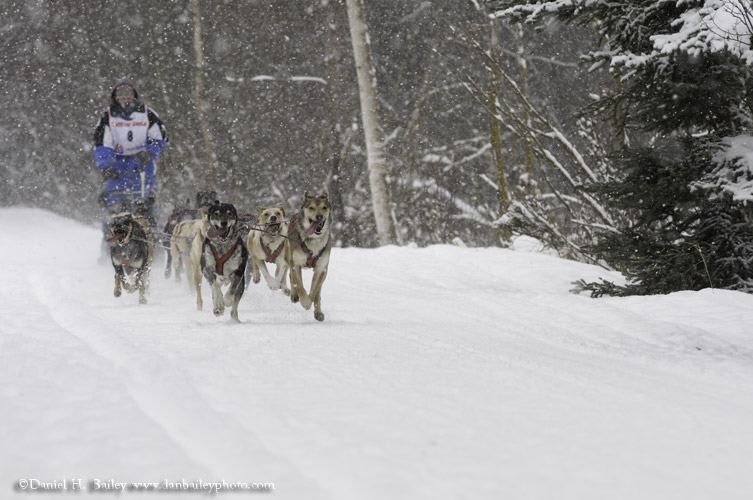
Sled Dog Racing, Anchorage, Alaska

Shooting cold rarely results in your best images. It does happen, but more often, you need to allow yourself adequate time to warm up and find your groove. This means trying different compositions, varying your approach and looking for unique vantage points, and forgiving yourself if your first sets of images don’t jump out at you.

Whenever I got on location, I look for an obvious place to start and I go from there. I often find that my first few frames aren’t stellar, but that’s ok. It’s all part of the process. After a few minutes, when my creative juices start flowing a little more freely, I loosen up and start seeing more options.

Once I’ve burned a few frames, I have a good idea of what’s working and what’s not. By then, I’m getting into a groove and my my shots are getting much more exciting.

4. Make Sure You’ve Got Enough Light

This is a big one. Autofocus sensors need light. And contrast. If you don’t have very much of either of those two things, then your system probably won’t perform very well and you end up with a lot of blurry shots.

The good news is that low light AF detection performance keeps improving with every new generation of sensors. However, even though higher-end cameras and lenses are better at acquiring subjects in low light, every AF system will have a much harder time in dim, flat or low contrast scenes.

I hear from a lot of BIF photographers who say their focus system are tracking very well, but often times they’re shooting birds flying close to the ground in low contrast environments or in light that registers with very low EV levels. That’s asking a lot from your AF system.

A super fast (ahem… super big and super expensive) lens might be able to track this, but any slower zoom lens is going to have a hard time in dim light. Even if you do achieve a good lock, your shutter speed might be too slow to freeze the action.

The reality is that a f/5.6 telephoto zoom, like the “budget” $2,000 Canon and Fuji 100-400 lenses have really good glass, but they simply won’t track in low light like an equivalent f/2 or f/2.8 lens. However, super fast telephotos cost 2-3 times as much.

It’s all about tradeoffs. Do you REALLY need to capture that bird flying through the shade at dusk, or do you need money for the next few mortgage payments? If you’d rather keep your house, then look for vantage points where you can photograph birds against the sky instead of the dark marsh.

Same goes for you guys who shoot indoor sports with long lenses. Gauge the light and be realistic about what to expect from your gear.

Also, be aware of situations where the sun is out and there seems like there’s enough ambient light, but you’re trying to focus on the shaded side of your subject. This can cause problems and lead to photos that aren’t sharp.

In low ambient conditions, you can try to crank the ISO up, but at some point, you just might not have enough light for the system to track very well.

I’ll say this again, because it’s important to remember. Even if you are able to track, your shutter speed might end up being too low to freeze the action. Sharp subjects shot at low shutter speeds can still be blurry. In these kinds of situations, your best option might be to do motion blur pans at lower shutter speeds. Or use a flash.

5. Use The Right AF Pattern

In order to maximize your success with autofocus, you need to use the optimum AF pattern on your camera. Keep in mind, the right pattern can vary depending on how your subject is moving within the frame. You should read up on exactly how your camera’s AF system works and how each pattern behaves. 

Most cameras have an AF pattern that’s designed for fast action tracking. On the Fujifilm X Series cameras, I find that Zone AF works best. Canon also has Zone AF, Nikons have Dynamic Area or 3D Tracking.

In certain situations, especially if the subject motion is totally unpredictable, and depending on how your camera’s AF system works, you might choose to use use a Full Auto AF pattern. Again, this will take some experimentation to figure out when this this might be appropriate. Keep in mind, when using the “Full auto” AF modes, you’re giving up some control and letting the camera decide what to focus on.

6. Adjust the Size and Position of Your AF Zone

With most cameras, you can adjust the size and position of your highlighted autofocus area selection box inside the viewfinder. The size and placement of the box should roughly match the anticipated movement area of your subject as it moves through the frame, or it should at least match where you want to first begin tracking the subject as it enters the frame.

This can be tricky, though, and it’s one of the things that you learn from experience. If your selected zone isn’t large enough, or if it’s in the wrong place in the frame, your AF system might not even see the subject and it won’t start tracking.

However, if your zone is too large, it might grab the wrong thing, especially if there’s a lot going on inside your frame. Again this is where anticipation and lots of practice come into play. Knowing your subject matter and knowing how you want the shot to evolve is key.

If you want to make sure the camera locks on your subjects face, you might want to use a smaller zone. If you have a clean background, or if you’re trying to track the subject all the way across the frame, you’ll probably want to use a bigger zone.

7. Start Tracking Early

Here’s one of the most common problems you might face when shooting fast action: You’ve got a shot lined up in your mind, so you set up your composition and frame the scene just like you want. You wait for your subject to enter the frame and when it lines up perfectly, you press the shutter to engage the autofocus and capture the shot, only to discover that it wasn’t in focus.

Yea, that happens a lot. I see it all the time. This is because you’re asking the camera to do a lot in the moment: acquire, track, grab, focus and capture. While the technology might be capable, there could be any number of factors that confuse the AF sensors, (or you!), including zone size, extraneous subject matter or your own reflexes.
There are couple of solutions to this kind of situation, but the best one is to start tracking your subject early. Give your AF system time to figure out what you’re trying to focus on so that it can lock on the subject and establish good tracking.

This will require you to move your camera with the subject, while keeping the shutter pressed halfway down. Follow it until it lines up with the composition you want, and then fire off a series. Better yet, start firing frames before it reaches that point. If you’re shooting across the frame, pan as you shoot. Your success rate will be much higher.

You may need to rehearse your camera movements, just as a motion picture camera operator rehearses a complex move before shooting the final scene. Stuff like this takes practice in order to get it right. Trying this kind of thing cold will probably lead to frustration and blurry images.

8. Play Around With the AF-C Custom Settings

This is another possible solution to the problem I just described above. Some high-end cameras have a special feature called AF-C Custom Settings, which allows you to adjust how the camera’s AF tracking parameters operation.

Using a different setting other than the default mode could increase your success rate when shooting subjects that move erratically, that enter the frame very quickly, or that move in and out of obstacles or other subject matter that might otherwise confuse the AF system.

On my Fuji X-T2, I find that settings #2 (ignore obstacles) and #4 (suddenly appearing subject) seem to work best for the kinds of action that I shoot. You can read in more detail how to use the AF-C Custom Settings on the X Series cameras here.
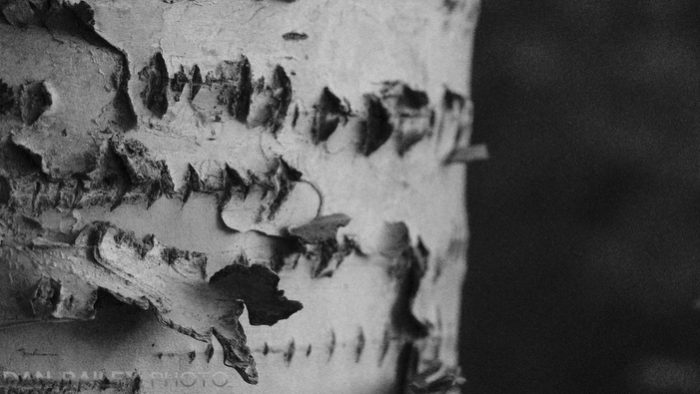
If you have this kind of setting on your camera, I encourage you to play around with it and see if it helps you better acquire and track the action subjects that you shoot.

9. Front to Back is WAY Harder than Side to Side

It’s SO much harder to shoot subjects that are moving straight towards or away from you than subject that are moving in a lateral motion across your field of vision. Just accept this fact.

That doesn’t mean that you can’t nail front-to-back shots, in fact, most cameras are more than capable of nailing this kind of subject. However, if you’re having trouble trying to get front to back shots and it’s just not working for you, change tactics and try reframing your subjects with side-to-side compositions. Your success rate will probably go up.

10. Having Trouble Tracking? Try Prefocusing

Let’s face it, some compositions are really hard to nail, especially if you’re shooing super fast action up close. It just may be that either you or your system is unable to acquire, track and press the shutter button that quickly.
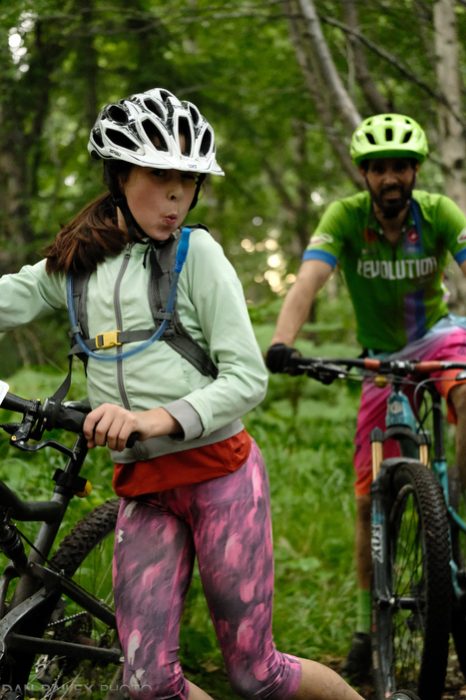
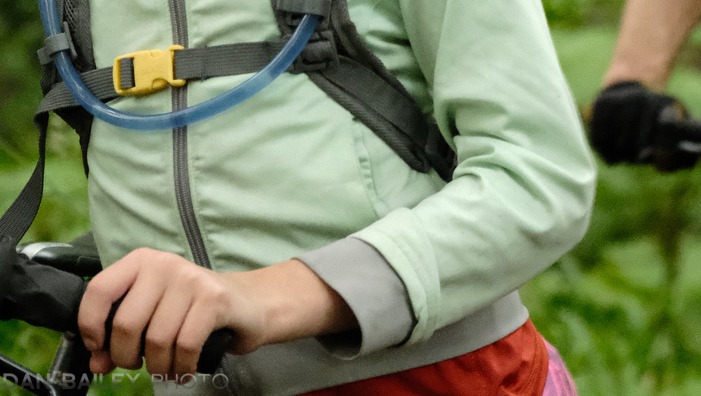
In theses cases, I like to prefocus on where I think my subject will be. Here’s how it works. You pick out a designated point in the frame and focus on that. When your subject hits that point, you fire off a brief burst and hope you nail it. You’ll probably have to do a few tries before you get it right.
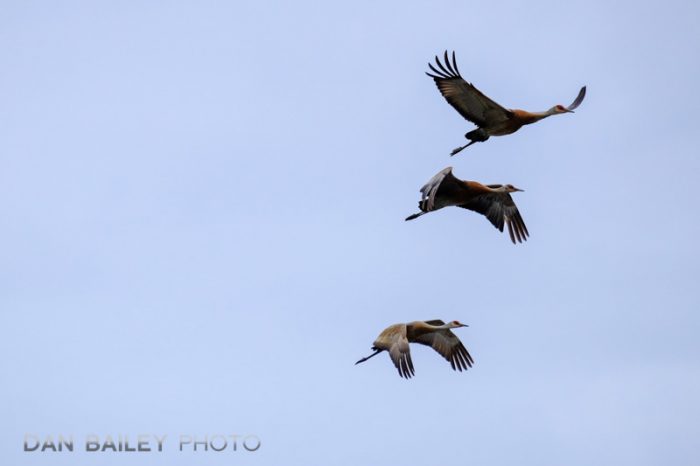
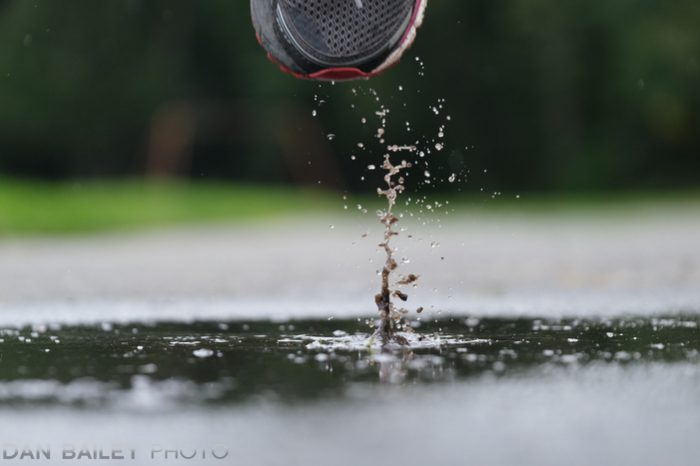
You’ll definitely want to shoot at the fastest frame rates your camera offers. For this running/puddle shot above, I prefocused in the middle of the puddle, set my camera to AF-C and shot at 30 fps using the Electronic Shutter on the Fujifilm X-T3.

Bonus Tip: Practice By Shooting Events and Races

I don’t consider myself an event photographer, but I’ve found that shooting events and races is pretty much the best practice you can get for honing your action photography skills.

The repetition aspect of a race allows you to try out a variety of techniques while keeping the subject matter and motion consistent. As you experiment with different settings, gear combinations and compositional styles, you’ll start to get a feel for what works, what works REALLY well, and of course, what doesn’t.

I have a lot of fun shooting bike races. Most of the time it’s just for fun, but it’s certainly made me a better photographer, and it’s a great way to test the capabilities of my gear, and my own abilities.

Again, no matter what kinds of fast moving subjects you like to shoot, practice is the key. If you want to become a better action photographer, you’ve got to put in the time, not only burning lots of frames, but also analyzing what works and what doesn’t.

Good luck and happy shooting.

September 12, 2018
See this post
10 Essential Autofocus Tips for Sports & Action Photography

I’m honored to be included as the feature interview in this month’s issue of Landscape Photography Magazine. 

In this 2,800 word article, I talk about my early days with outdoor photography, what inspired me, the challenges I faced when I first turned pro, my transition to using Fujifilm gear, some of my personal benchmarks with photography and advice I would give to younger photographers who are just starting their journey with photography.

While a full download of the current issue of LPM requires a paid subscription (well worth it!), you can read the feature interview with me for free right on their website. The usually have at least one free article each month.

Based in Ayrshire on the west coast of Scotland, Landscape Photography Magazine is an excellent publication that runs and hosts all kinds of great photography content, including interviews, tips articles, reviews, eBooks and travel photography guides, and listings for photo workshops around the world.

You can even submit your own images and articles to LPM for consideration in future issues. Overall, LPM is an awesome resource and you could easily fritter away tons of otherwise valuable work time perusing their site and learning new photography techniques to try after work.

I hope you enjoy reading my interview, and I hope you take some time to enjoy some of the other content that LPM has to offer.

September 10, 2018
See this post
Read a Feature Interview with me in Landscape Photography Magazine