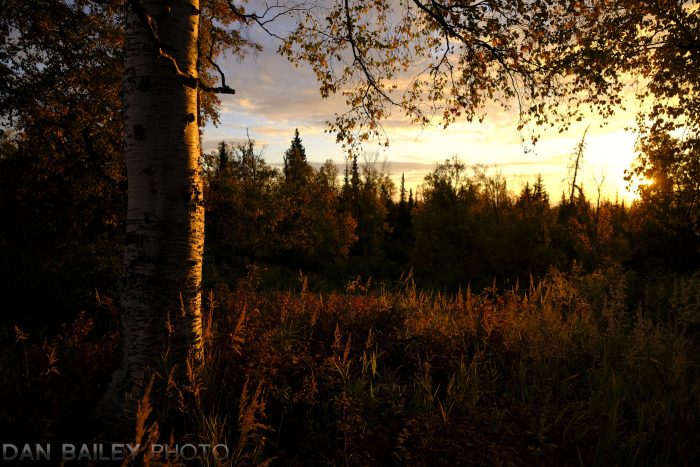
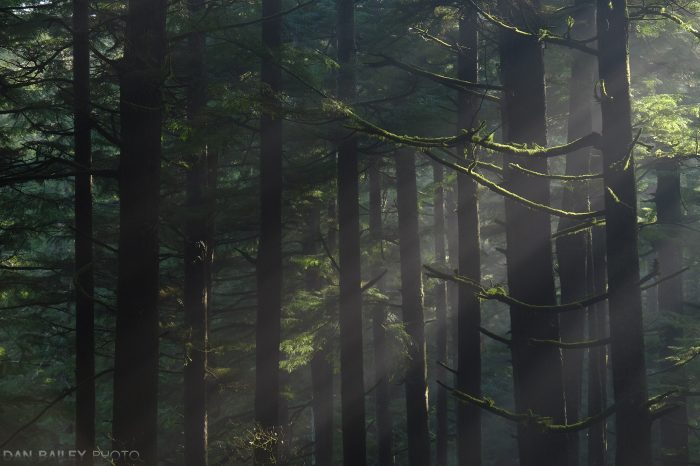
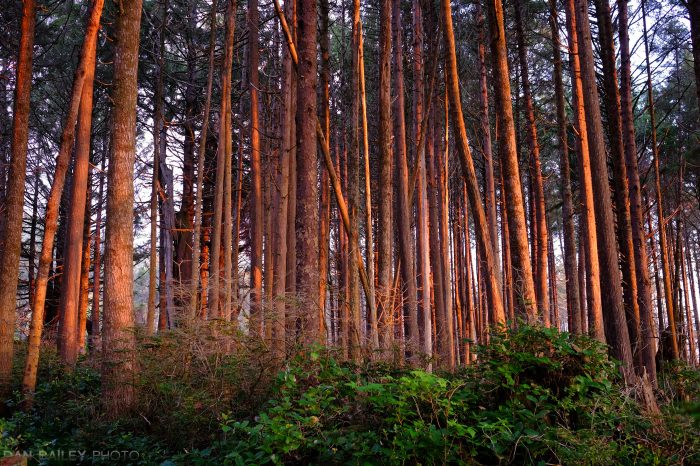
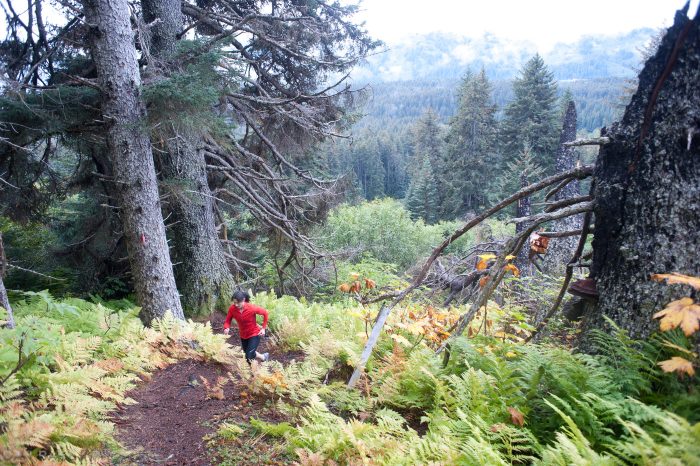
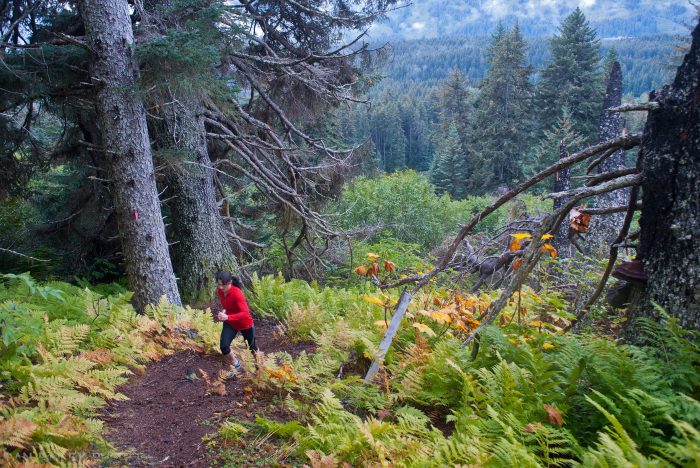
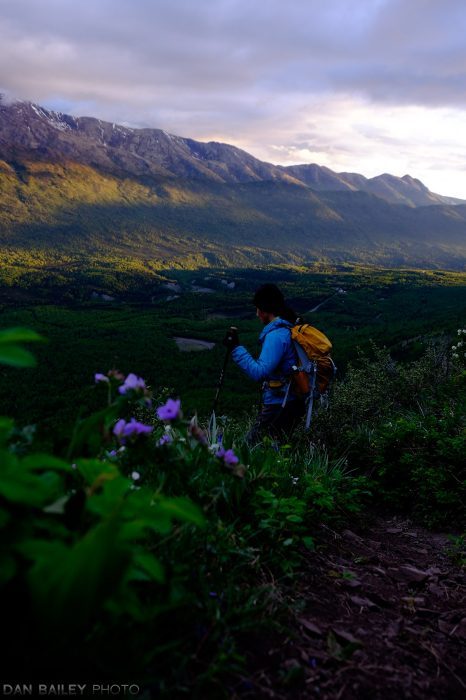
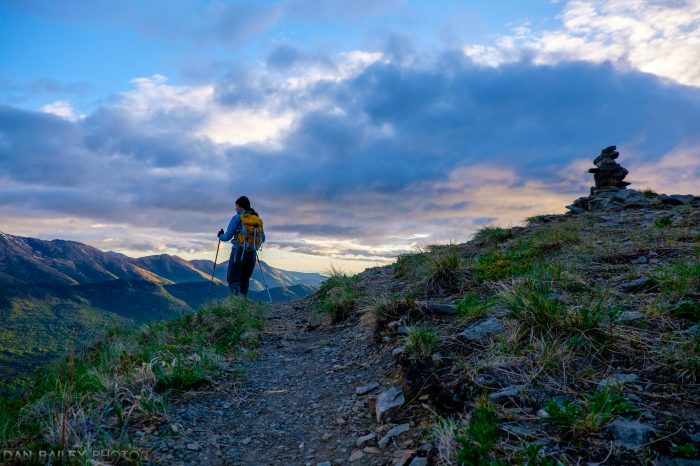
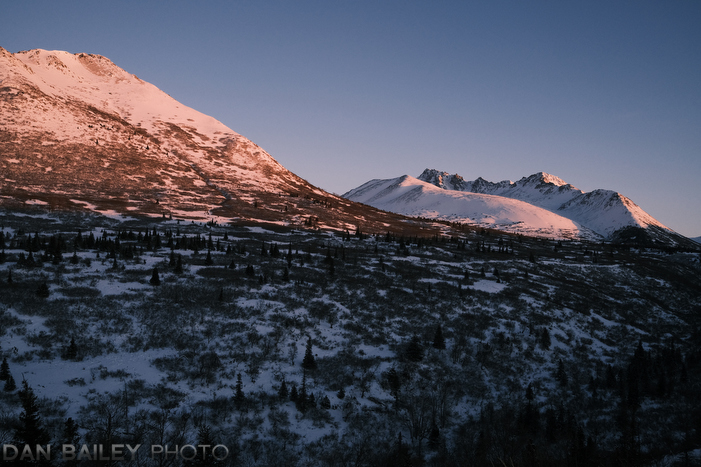
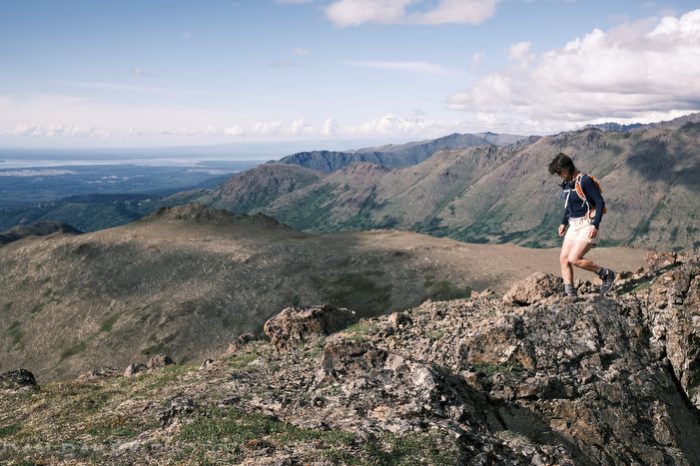
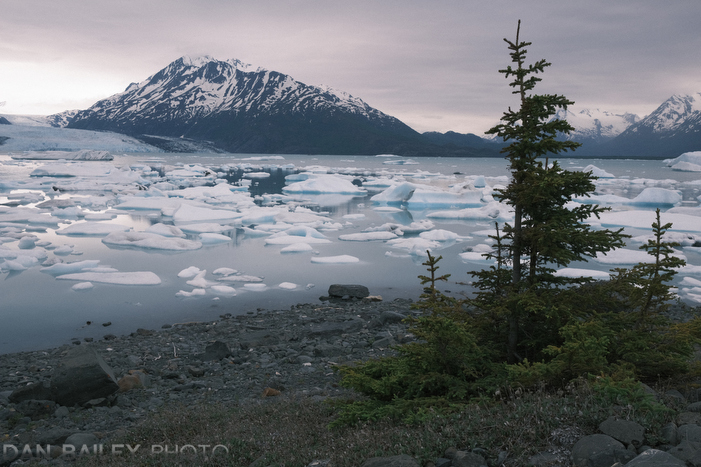
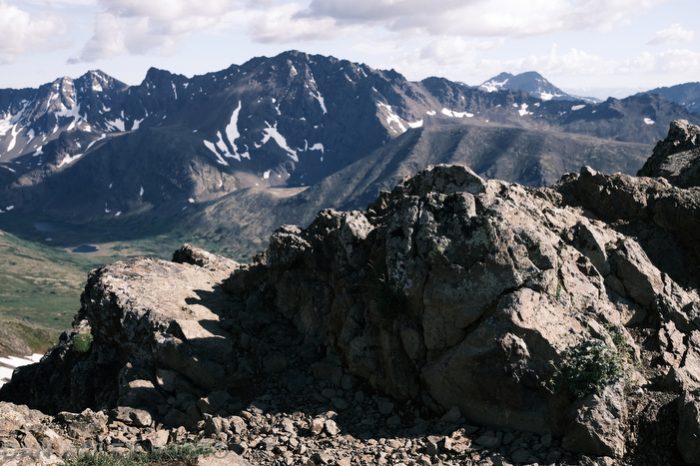
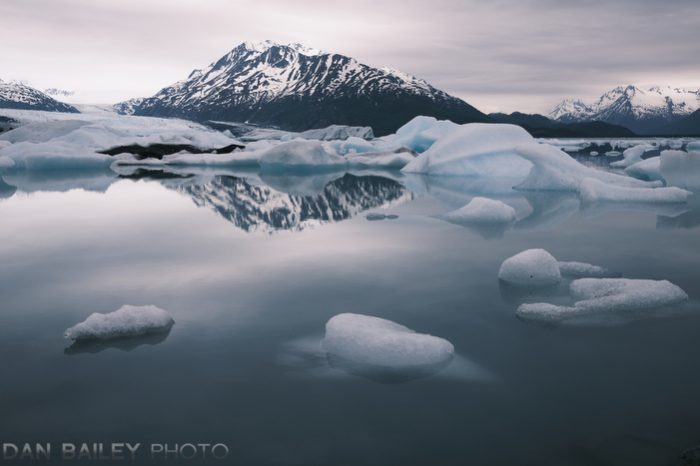
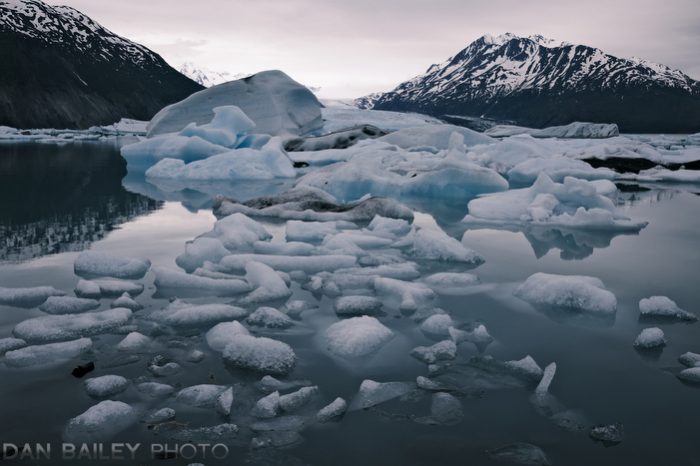
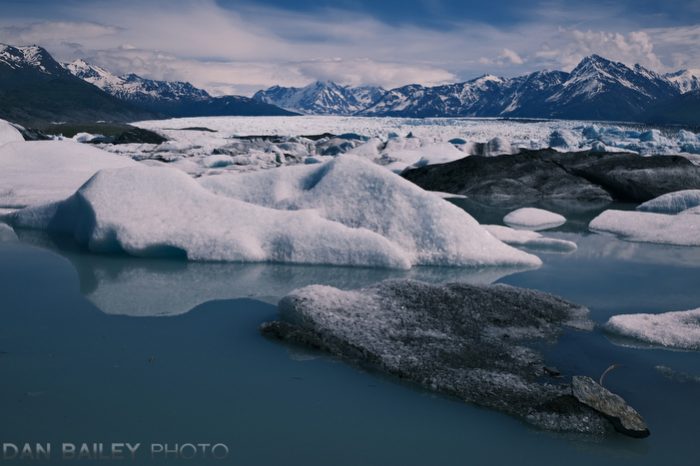
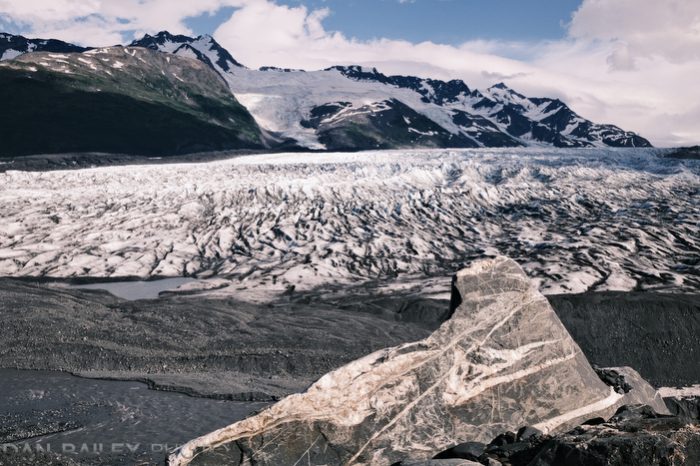
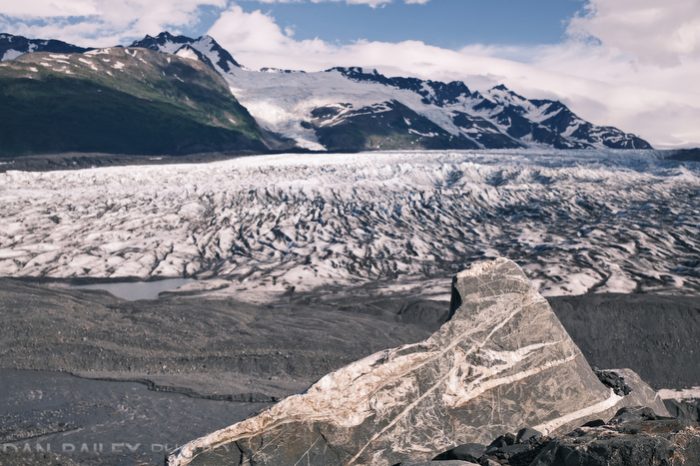
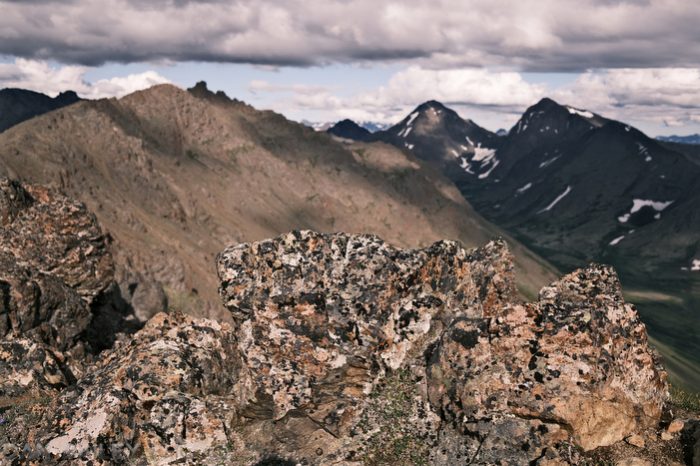
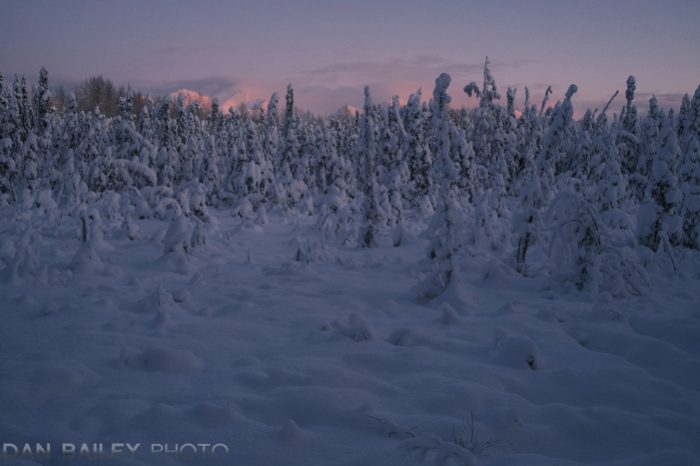
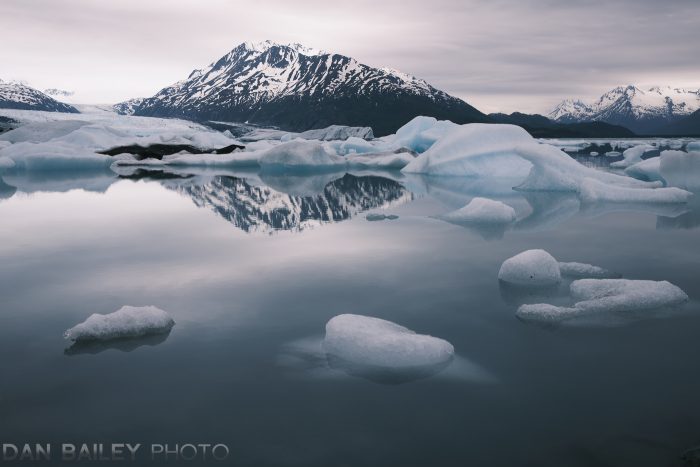
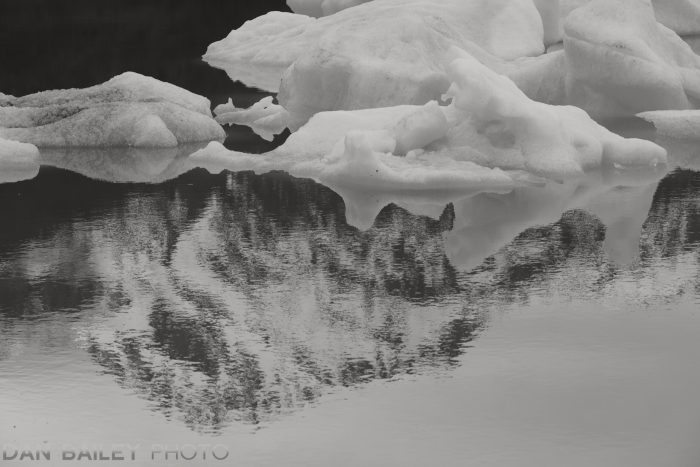
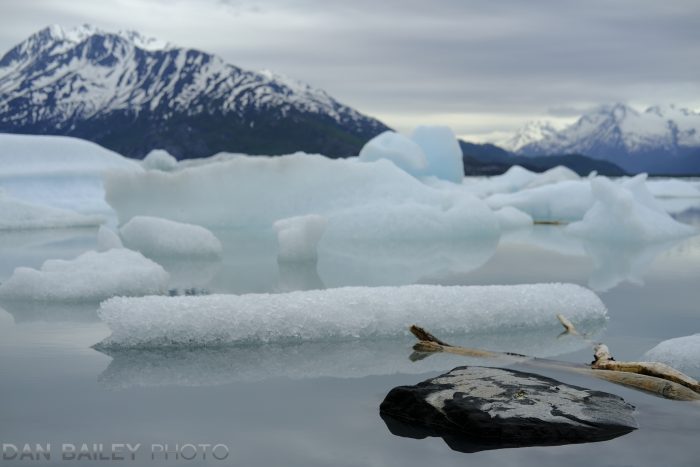
In my brand new video, called Lake George Glacier Hike, I take you along with me during a summer hike out to an Alaskan glacier and give you a virtual adventure tour of this massive and remote ice field in the Chugach Mountains.
As with my film AERIAL ADVENTURE, this video is also set to an original music piece that I scored to add an air of majesty and wonder that the visuals evoke.
The Lake George Glacier is one of large ice fields in the Chugach Mountains of Alaska. I’ve explored this area a number of times over the years, and it’s always an amazing sight to behold.
During this summer’s visit, I was struck at how much the glacier has receded in a very short time frame. Three years ago, I was able to walk right out on the ice, but now, the edge of the ice lies hundreds of feet away from the surrounding hillsides and it’s much lower in elevation. Check out this blog post to see the dramatic difference in the ice levels compared to a few years ago.
All of the photos and most of the footage in this video was shot with the FUJIFILM X-T3 and the FUJFILM X100V. The music was recorded in Logic Pro X and the guitar solo as played on my sunburst Les Paul through IK Multimedia Amplitube software.
Before I bought my first camera, I studied music production and even took an intro to film scoring class at Berklee College of Music. So, here we are, nearly 30 years later, and I’m finally using my degree.
It’s actually quite fulfilling to expand and combine my interests in music and photography in this way, and it’s something I’ve aspired to for many years. I’ll still keep doing my video tutorials, but I definitely plan to add more adventure films like this to my YouTube Channel as well.
Enjoy the video, I hope it provides you with a fun and inspiring jump start to your Monday. And I’ve already got my next lesson planned, so stay tuned!
In that video, I share my exact exposure method when I’m shooting with my FUJIFILM mirrorless cameras, even when dealing with very tricky and challenging light. Note, these methods work for other types of mirrorless cameras as well, which make getting the right exposure a much easier process than when using DSLRs. (They also work when shooting in Live View mode with a DSLR)
>My second lesson in the series is called EXPOSURE TIPS: How to use. Aperture, Shutter Speed, ISO and The Histogram. In this tutorial, I explain even further the exact method I use when espouse for my photos, and show you how to combine these fundamental exposure components into an efficient workflow when you’re shooting your own images on location. I also teach you a couple of important tips that can help you be even quicker with the camera.
Proper exposure is one of the most vital aspects in photography, so this is pretty important information. You may already know it, but it’s worth a refresher and to see how I handle tricky scenes with my own cameras.
Enjoy the video and let me know what you think by leaving a comment!
One year ago this week, I posted my first video tutorial here YouTube. It was a detailed explanation of the Fuji film simulations and how you can use them to maximize your own creativity with your Fuji camera. That video has become my most watched tutorial, so if you haven’t seen it, you can find it here at this link.
A few months after I made that video, Fuji added another film sim to the mix called CLASSIC Neg. It was introduced with the release of the X-Pro 3, and it’s now found inside the X-T4 and X100V as well.
CLASSIC Neg quickly became one of my favorite film sims, and I’ve used it extensively on a wide variety of subject matter during the course of this year, so in this post, I’m going to give you a close look at CLASSIC Neg. and show you what you can do with it.
Like most of their other film sims, CLASSIC Neg. was directly patterned after one of Fuji’s legacy films.
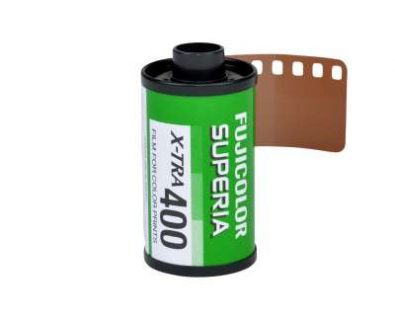
Built to replicate the look of the FUJICOLOR SUPERIA color print film introduced in the late 1990s, it’s designed to give you the look of consumer color negative film that was so prevalent in the decades before digital photography took over. That said, you can actually still buy SUPERA print film.
In a sense, CLASSIC Neg. is designed to look like snapshots of old, you know, back when we shot print film and got our pictures back from the lab in that little envelope. Or, depending on your age, maybe you don’t know. For millions of amateur shooters, that’s what photography was all about through much of our lives.
With CLASSIC Neg., Fujifilm digs into its 85+ year history with film and color, and gives us a unique, but familiar look. This new film sim taps into our color memories with a bold and unique expression that plays nicely with the already rich set of color choices we have on the X Series.
The color palette of CLASSIC Neg is interesting. It has a similar, strong tonality to CLASSIC CHROME, but with slightly richer “Fuji-style” colors that you see in PROVIA the PRO Neg. film sims. It also has whiter whites than most of the other film sims, even Velvia. To my eyes, the best way to describe it would be Pro Neg Hi with brighter highlights, slightly darker shadows and a little bit less saturation.
The overall effect is a slightly muted, but high contrast profile that, again, is reminiscent of glossy lab prints that so many of us grew up on.
In my mind, making powerful images isn’t about perfectly reproducing your subjects, it’s about creating a visual representation of your scene and abbreviating the strongest visual elements and ideas present. Instead of spoon feeding everything to your viewers, you make them work for it and try to imagine what you didn’t show in your picture. It’s that whole less is more concept.
I find CLASSIC NEG to be a highly versatile film sim. It seems to work with just about every kind of subject and it produces a very cool and timeless look that holds a great deal of style. It works well in the sunshine and unlike a film sim like Velvia, it actually works quite well in the shade and under white, overcast skies.
Its qualities are accented in a wonderful way when you add the COLOR CHROME FX Blue effect, especially when you have any kind of blue tones in your image, either blue sky or open shade.
In addition, it’s very customizable. I love dialing the shadow detail up and down to play around with the contrast, and also boosting or cutting the COLOR control, in order to make it even more bold or subdued, depending on the look you’re going for.
A few weeks ago, I was out photographing at the Knik Glacier, and I took out my X100 to grab a few shots. As soon as I looked through the viewfinder, I was blown away by what I saw. When I looked at the image, I noticed that the camera had been set to Classic Neg, with -2 HL, -2 and +4 color with CCFX Blue Strong and the Grain setting to WEAK.
I don’t even remember what I had been shooting, I was probably just messing around with the controls, but that’t what is was on, and it looked amazing. That’s that representational look I was talking about. This color isn’t 100% accurate, that doesn’t really matter to our eyes. Our brain sees beyond that, and in our minds, it just looks really cool.
That’s how well these color sims have been engineered. They’ve been crafted with such careful precision. Not every color recipe looks great, and you can imagine that certain color combinations might look pretty bad. The Fuji colors play so nicely with our brains and with the notion of memorized color, which is a concept I talked about in my last video about using bold and subdued colors in your photography.
CLASSIC NEG also look awesome in combination with the new CLARITY setting you have inside the Q menu. You can crank the clarity up to add nice, bold definition and harder edges to the photo, or you can can it deal it back to soften things up and reduce the overall contrast. Since the CLARITY control goes form +5 to -5, this gives you a lot of leeway for making fine tune adjustments to your image and coming up with unique looks.
In fact, I’d say that CLASSIC NEG is one of the reason I’ve used my X100V so much this year. As much as I love my X-T3, it doesn’t have CLASSIC NEG, at least not yet. I’ll often take both cameras with me and use them side by side, keeping my X100V set to CLASSIC NEG.
Given that the X100V, X-Pro 3 and X-T3 all have the same internal processor, though, I don’t see any reason why CLASSIC Neg can’t be added the X-T3 and X-T30 in with a future firmware update. I haven’t heard anything from Fuji on this, but I’m going to remain hopeful.
If you do have an older Fuji and are thinking about upgrading, this might be one of the strongest reasons to upgrade to one of the three new models.
As you can see, I really love this new sim, it has a wonderfully rich and characteristic look, and it’s yet one more tool that we have to evoke and inspire different moods with our imagery.
So much of Fujifilm’s legacy is wrapped around film and color, and the film simulations are the extension of that rich heritage in the digital world. I just think that the film simulations are the lifeblood of the X Series cameras, and they foster such a unique style of creativity. They allow you to quickly choose a look that matches your mood and your own creative ideas for the scene, and quickly create an image that matches your own ideas and feelings in the moment.
So, if you have an X100V, X-Pro 3 or X-T4, I encourage you to give the new Classic Neg a try. I think that once you become familiar with it’s visual characteristics, you’ll find it to be a pretty useful color profile for creating image that have a familiar sense of drama.
You can listen to me on Episode 124 of the Street Shots Photography Podcast. During this hour-plus episode, I discuss a variety of photography topics with with New York City photographer Antonio Rosario, including the fact that even though we have very different styles of shooting, we share a number of things in common, including our former jobs as stock photography editors.
I had met Antonio a couple years ago at the PhotoPlus trade show, but only briefly. It was just a quick introduction before I had to high tail it over to Penn Station and catch the Newark train.
He’s a fellow Fuji shooter and so we talked at length about the legendary Fuji colors, creativity, trusting your creative instincts, and developing a style during our early years of shooting. We also veered into a number of other topics, as it always happens during these kinds of extended conversations.
Skylum has released the version 4.3 update to Luminar 4, and with it comes a bread new Search Tool. In addition, they’ve added a number of performance upgrades, a better visual experience when using Looks, and support for some of the latest model cameras, including the Fujifilm X-T4 and X100V.
The new Search Tool is a long awaited feature that adds a totally new functionality to the program, and helps speed up your workflow by streamlining the way that you find your images in the Library.
Located in the Gallery View window, Luminar’s new Search Tool allows you to find images by name, folder, date or extension. (You can watch a quick demo of the search function here). This allows you to quickly locate single images, or batches of images.
You can’t search by caption or keyword yet, but I would imaging that’s coming. As with everything else, the Skylum engineers are moving in steps as they build out the program.
Instead of trying to add everything at once, which make potential problems much more difficult to diagnose, they add one or two new features at a time and improve functionality on a continuous basis. This keeps things much more simple and streamlined in the design process.
That said, even though Luminar’s new Search Tool isn’t quite as powerful as what we’re used to in many programs, it’s a good start, and something they can now build on.
Other Visual & Performance Improvements in v.4.3
In addition to the Search Tool, Luminar 4.3 opens RAW files even faster than before, and overall, the program has been optimized to use considerably less memory, so tools will be more responsive and operate more smoothly. This is especially true with the Crop tool, which has been tweaked for even better performance.
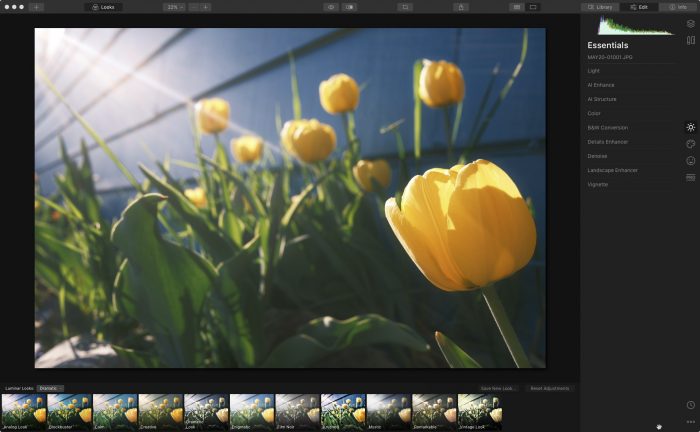
The Looks panel has been improved to give a much better viewing experience. Now, when you hover over a specific Look down in the Looks bar, instead of seeing the preview of that look on the tiny thumbnail, you’ll see the effect previewed on your main image. This will give you a much better idea of how each Look will affect your pictures. (See an example here.)
Luminar has also added support for the latest cameras, including the Fujifilm X-T4, X100V, XT-200, Nikon D780, Z50, Canon EOS-1D X Mark III, Sony A9 II and others from Olympus and Panasonic.
One of the most amazing and wonderful things about photography is that you can capture a subject with endless variety, and it’s this creative experimentation allows you to create an image that matches your own ideas about the scene, at least your ideas in that very moment.
In most cases, no two people will capture the same scene in the exact same way, and even if you visit a scene more than once, chances are, you’ll won’t create the exact same type of image that you did last time.
With endless variations, in light, weather, season and your own moods, there are infinite variations in how to photograph any particular subject. When you add in the multitude of ways you can possibly work your scene, this it makes photographing any given subject a very special and unique experience, each and every time.
By “working the scene,” I mean using different methods and techniques to fine tune your compositions, in order to increase the overall visual power of your photos.
Slight variations in everything from vantage point, framing, lens choice, exposure, what film simulation or color palette you choose, or if you apply other adjustments in the camera to alter the look of the scene can make a big difference in how the photo will look.
This is actually one of the most fun aspects of this whole craft. Getting lost in the zen of your own creativity there in the moment is what this whole process is all about. We do this not just for the finished pictures, but because we love the act of experimenting with our creative ideas and playing around with different looks, in order to make pictures that we enjoy, and that resonate with our own visual sense.
Working The Scene – Little Tiny Tundra Flower
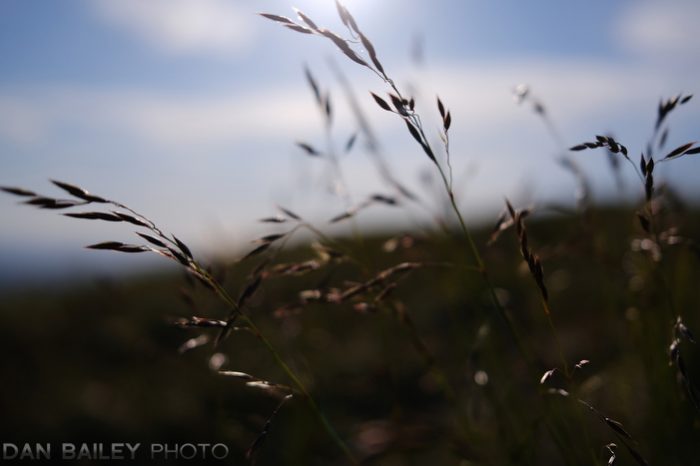
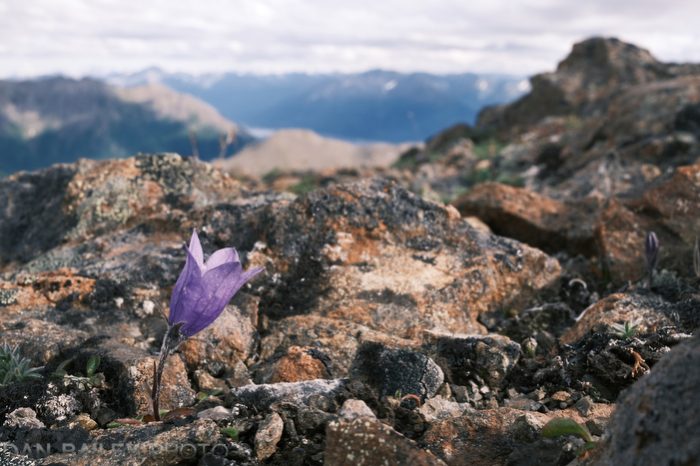
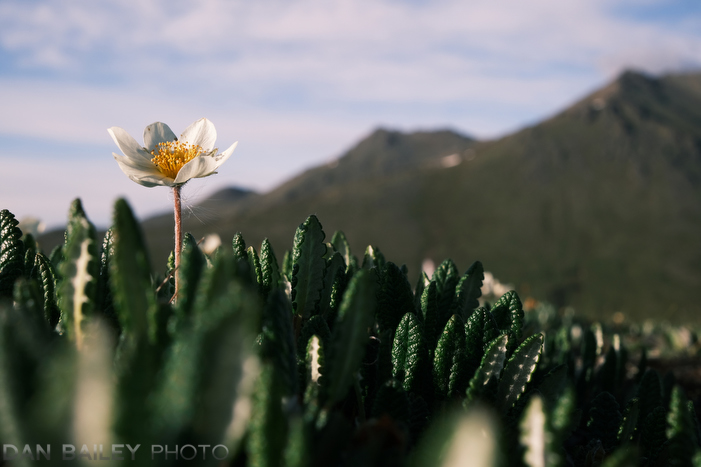
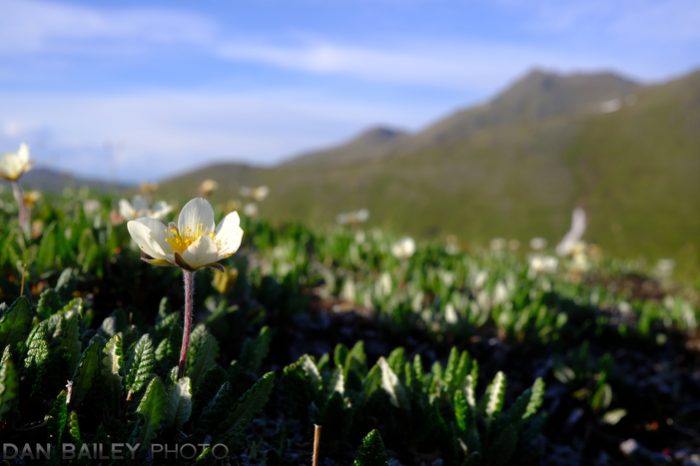
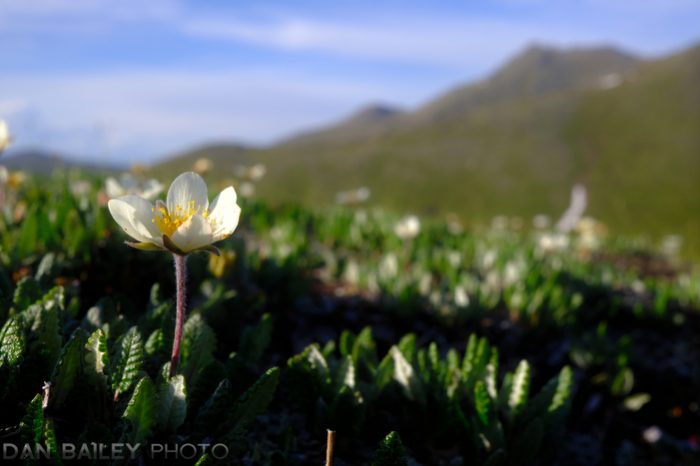
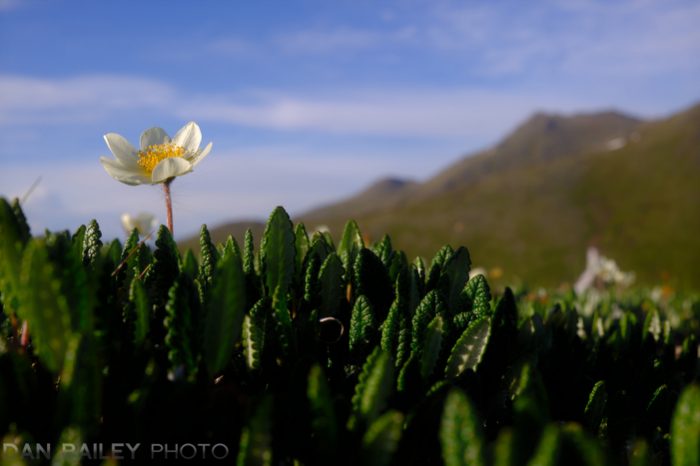
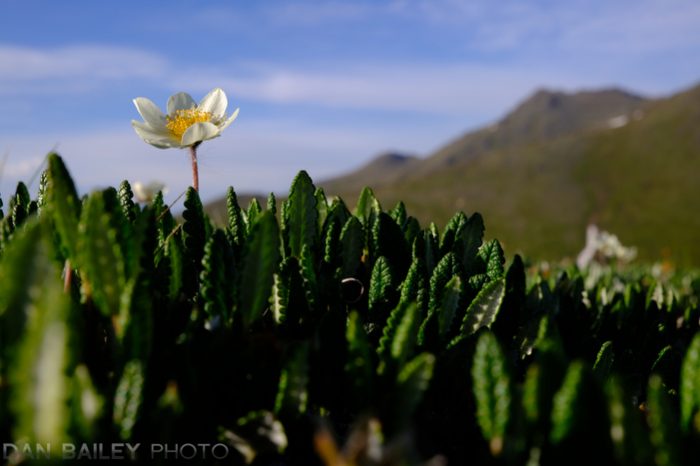
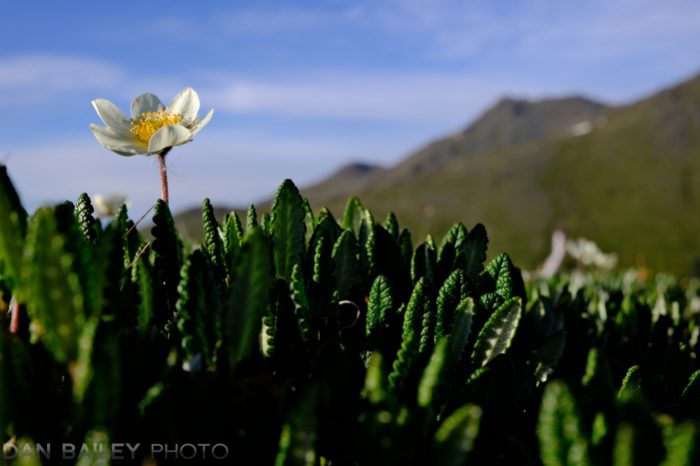
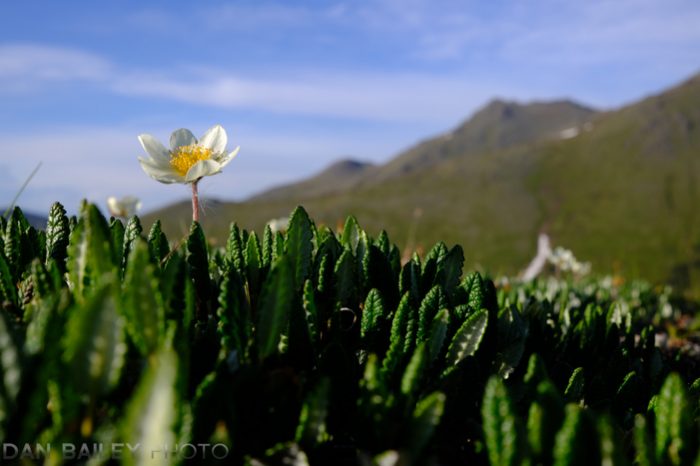
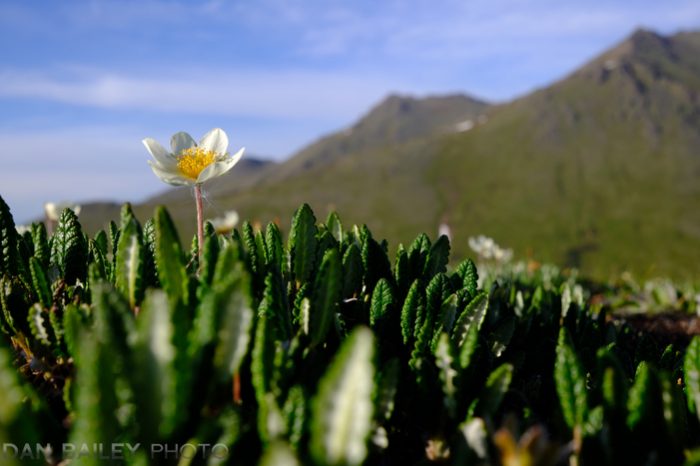
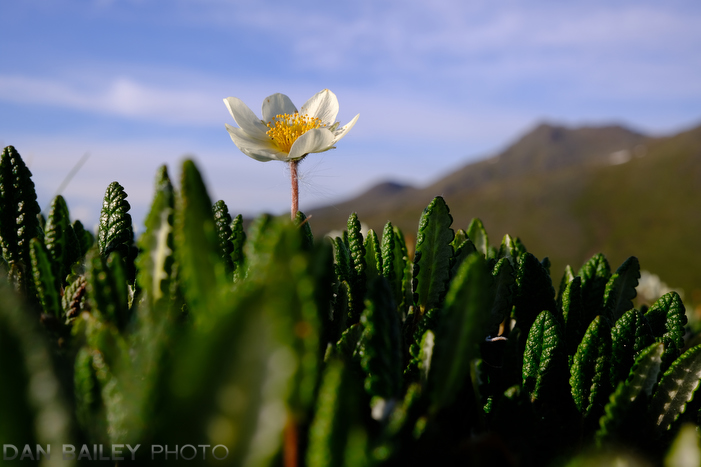
A couple weeks ago, I did a solo hike with my Fujifilm X100V. It was one of those gorgeous June evenings, and upon arriving at a little flat patch on the hillside, I sat down in the tundra, ate my sandwich and spent a good ten minutes taking pictures of this little tiny flower that was next to me.
I was pleased to find the X100V has an extremely close focus distance of only 10cm (3.9 inches). This is closer than any of my other Fuji lenses, and when combined with the new Flip-up LCD screen, this makes shooting ground level closeups much easier and quite fun!
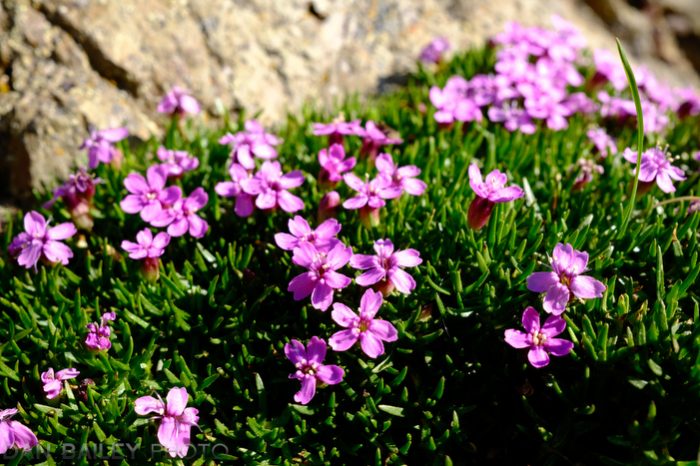
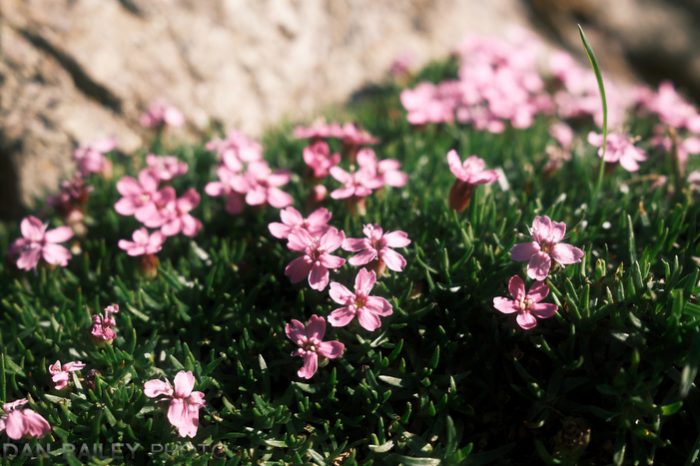
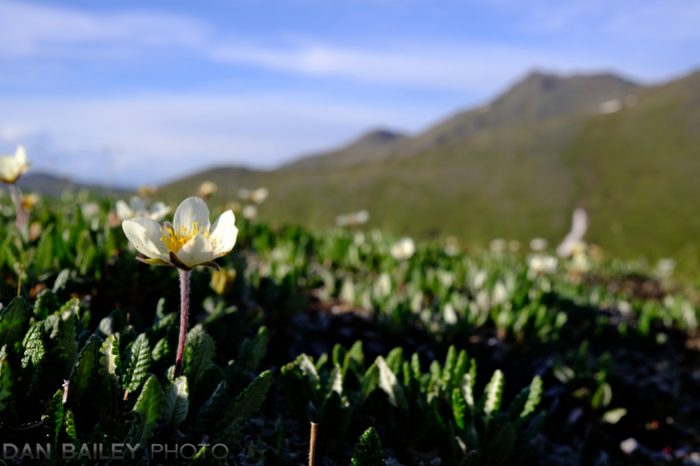
I quickly lost myself in the process of capturing frame after frame of this flower, and making slight tweaks to my composition and cameras settings, just to see what I could get. The collection of photos below represent the entire sequence of shots I made, and what creative and compositional changes and settings I applied to each one.
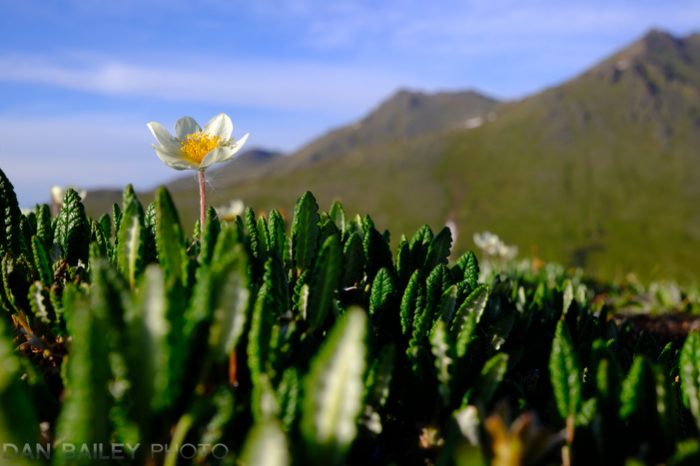
As you can see, there are a lot of possible looks you can get with simple framing adjustments, even if you don’t add in any other camera adjustments. Next time you’re out photographing, make sure you’re experimenting with different vantage points and framing options.
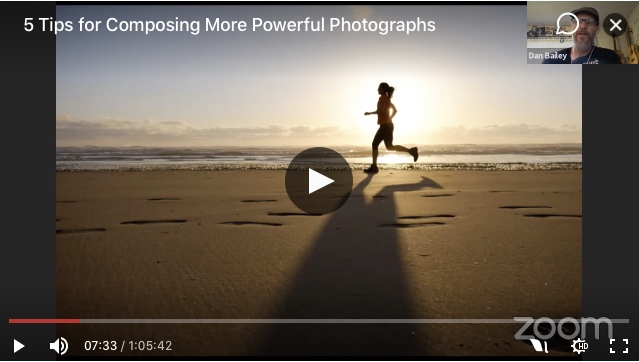
During the session, I outlined what I feel are some of the most essential compositional techniques that can help you increase the visual power of your imagery, and I also answered questions from the participants who had tuned in to watch the talk.
This was, by far, the more interesting and fun part of the event, because it’s always more fun to engage with viewers and expand on the dialog that each question introduces than sit there and lecture the iPad screen.
In fact, most of the time was spent answering questions and sharing my insight about a number of different photography topics and ideas.
This has been a weird year indeed. Usually by the middle of summer, I’ve done a number of in-person talks and presentations in different areas around the country, but obvious with the Covid pandemic, we’re limited to doing webinars and Zoom chats.
They’re ok, but I can’t wait to get back to regular social life.
In my recent YouTube lesson videos, I’ve been showing you how to use the creative tools inside your Fuji camera in order to expand your “in the moment” creativity when you’re out shooting.
The Fuji’s all have great sensors and they do produce wonderful RAW files, but there’s a certain magic that you gain when you move away from the traditional RAWworkflow and embrace the creative moment with your photography.
Now, I’m not saying that you should never shoot RAW, but we’ve all been indoctrinated by the big names to believe that we HAVE to shoot RAW all the time if we want to be serious photographer and produce good quality work.
However, that’s simply not true.
The color and tonal processing technology inside your Fuji camera is so good, that in most cases, you’re not losing anything by shooting JPEG, and in fact in most cases, you gain a huge amount of creative liberation, freedom and “in the moment” magic that’s lost if you wait to process your images later.
When you shoot JPEG, you’re not giving up any resolution, you’re simply letting the camera do your processing. You’re simply taking advantage of the color science and expertise that Fuji has perfected in their 80+ year history.
Add in all of those tools I’ve been talking about in my recent videos, and you actually have a great deal of control right in the camera.
In many cases, you can actually get as good or better results than if you sat in front of your computer doing post processing. Besides, what does that really give you, except more time at your computer?
In this bite-sized, fifteen minute workshop, I take you to the shores of Colony Glacier here in Alaska, where I explore a small section of the scene and walk you through the process of creating a few landscape images right there on location.
With clear instruction, I explain my process for evaluating the scene, looking for possible subjects and narrowing them down into a workable composition. Using a selection three different lenses, I break them down into Wide, Middle and Long, and give you specific tips for maximizing each kind of lens when working your frame.
I also deal with exposure issues and show you how it’s possible to create a series of compelling images, even when you don’t have very dramatic light. In fact, I think that shooting in less-than-ideal light can offer a better opportunity for learning, because most of us already know how to make photos in beautiful light.
In addiiton, when you have that kind of brilliant, magical light on your subject, it’s easy to focus solely on that and miss some of the other compositional tips that can lend to a more powerful photograph.
This lesson isn’t just for Fuji users. Even though I use my X Series cameras and lenses to create these photos, the methods I talk about are universal. The process of seeing, composing and using different focal lengths applies to any kind of camera system, and the general look and feel of my Fuji-specific adjustments can easily be created in post processing, if that’s your preferred workflow.
I’m pretty excited about this lesson, and I definitely plan to do more of these \\mini virtual photo workshops. Not only does it allow you to come along with me in places that you might not normally be able to visit and get direct, real-world photography tips from me on location, I see this style of instruction as a natural progression of the kinds of online tutorials that I’ve been working up to.
One time I asked Billy from The Fuji Guys what program he uses to convert his RAW files. His answer?
“The Camera.”
Inside the Playback Menu of every single X Series and GFX camera, you’ll find a special RAW CONVERSION setting. This unique and useful tool allows you to convert and save JPEG versions of your RAW files right in the camera.
Essentially, this tool allows you to convert and save JPEG versions of your RAW files right in the camera.
However the real power of this setting is that during the conversions, you can adjust your RAW image and apply any number of different shooting options to the new file. During the conversion, you can adjust exposure by up to +3 stops over and -2 stop under, you can apply a different Film Simulation or White Balance, you can increase HIGHLIGHT and SHADOW TONE, adjust the COLOR, NOISE REDUCTION, DYNAMIC RANGE, and shadow tone, adjust the color, noise reduction, dynamic range or even apply a different color space.
What if you shot a beautiful landscape photo using the Velvia Film Sim, but are curious to see what it would look like in black and white? Or, maybe you like the color, but think the image would benefit from a slight reduction in the SHADOW TONE? Or maybe you used Auto White Balance, but think that the Shade WB might have been better.
Maybe you’d like to add a slight COLOR CHROME EFFECT or add some GRAIN, reduce the overall noise in the image or make a dramatic exposure adjustment and rescue some lost shadows or highlights.
Using the in-camera RAW CONVERSION tool, you can make any of these adjustments, or you can make all of them, in any combination you wish. And you can do as many conversions as you want. Each one gets saved as a new high quality Fuji JPEG to the end of your memory card.
The main benefit of using this tool is that you can process your RAW images and try out different looks right inside the camera, you don’t have to wait until you get home. And while the camera obviously doesn’t offer the same processing flexibility that you can get with programs like Lightroom and Photoshop, there’s a huge convenience factor that can make this an appealing option when you’re away from the computer.
In addition, the Fuji RAW Conversion tool is particularly useful if you prefer to shoot in RAW only, but still want to share your work using the FUJIFILM Camera Remote app on your phone or tablet. This way, you can select and process only the RAW files you want instead of having a duplicate JPEG of every single shot you take, which is what you get when you’re shooting RAW+JPEG.
Here’s How it Works
To make your conversion, play back your selected image and then press the OK/MENU button to bring you to the PLAYBACK MENU. RAW CONVERSION is the second slot down.
Even faster, when playing an image back, simply hit the Q button to bring up the panel.
Once you’re there, perform your desired adjustments and then hit the Q button to preview the new images with your changes. If you like the restyle, hit Q again to save the image, or cancel with the BACK button.
And, here’s a tip: As long as you still have the original RAW file, you can stick it back on a memory card and put it back in the camera. Your Fuji will recognize the file as a valid file type you’ll be able to bring it into the RAW CONVERSION menu and process the file again. You may even be able to do this
Depending in what X Series model you use, here are all of the available settings you can apply:
IMAGE SIZE
IMAGE QUALITY
PUSH/PULL PROCESSING
DYNAMIC RANGE
D-RANGE PRIORITY
FILM SIMULATION
B&W ADJ. (WARM/COOL)
MONOCHROMATIC COLOR
GRAIN EFFECT
COLOR CHROME EFFECT
COLOR CHROME FX BLUE
WHITE BALANCE
WB SHIFT
TONE CURVE
HIGHLIGHT TONE
SHADOW TONE
COLOR
SHARPNESS
NOISE REDJUCTION
CLARITY
LENS MODULATION OPTIMIZER
COLOR SPACE
Here’s a video tutorial that goes even more in depth about how to do RAW Conversions with your Fuji camera. In this lesson, I cover some of the other benefits of using this setting and why it make sense to build this into your workflow, no matter if you like to shoot RAW only, or RAW+JPEG.