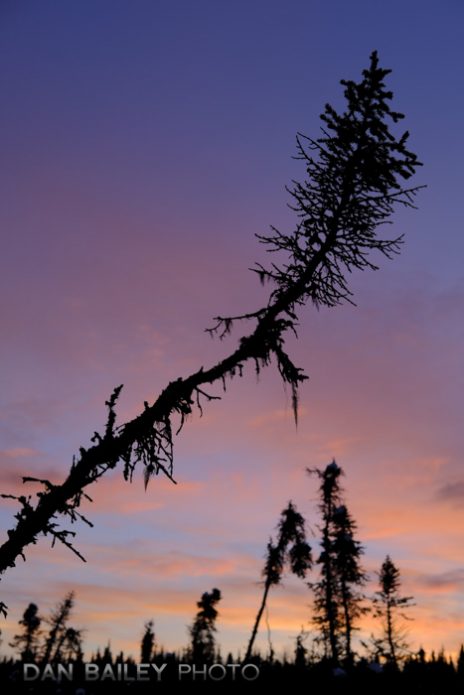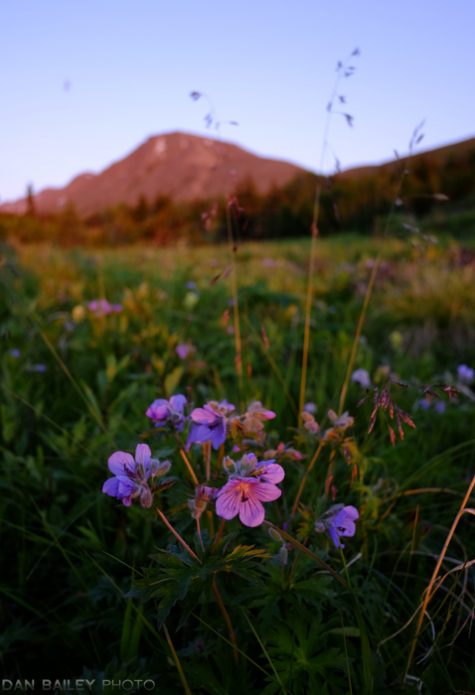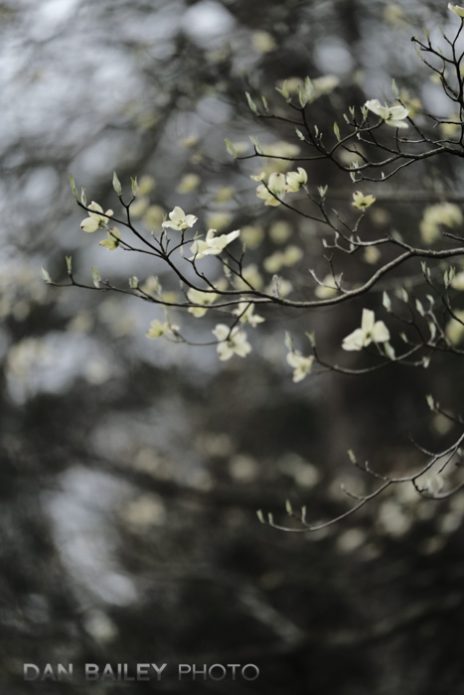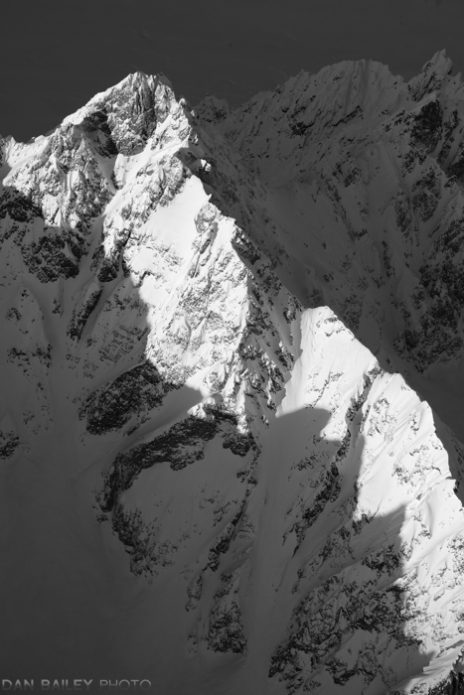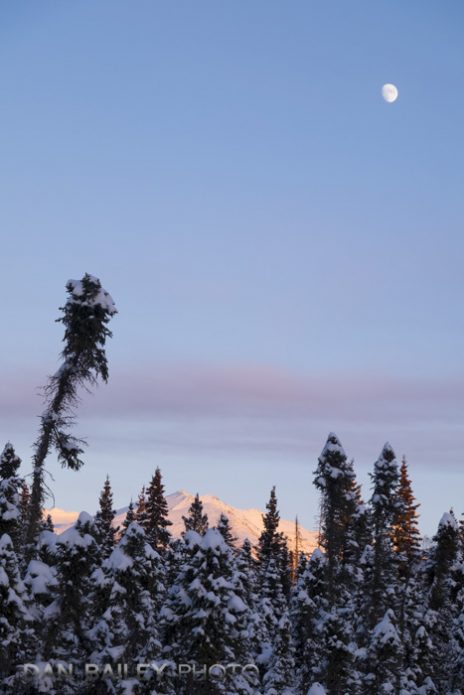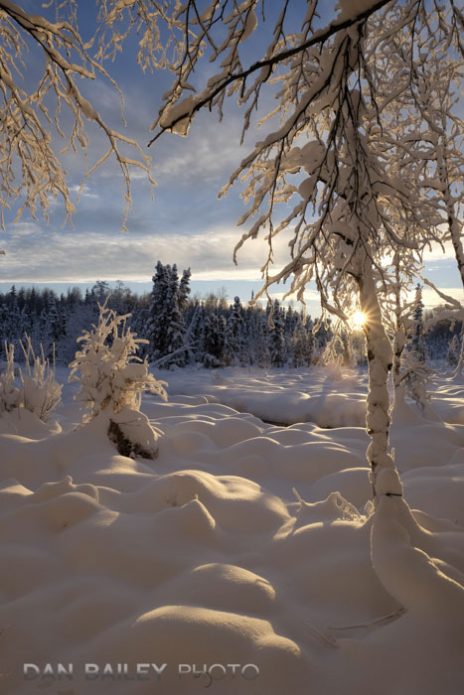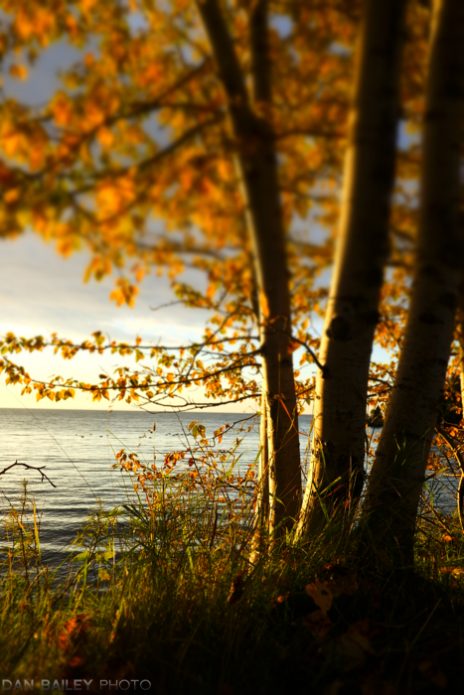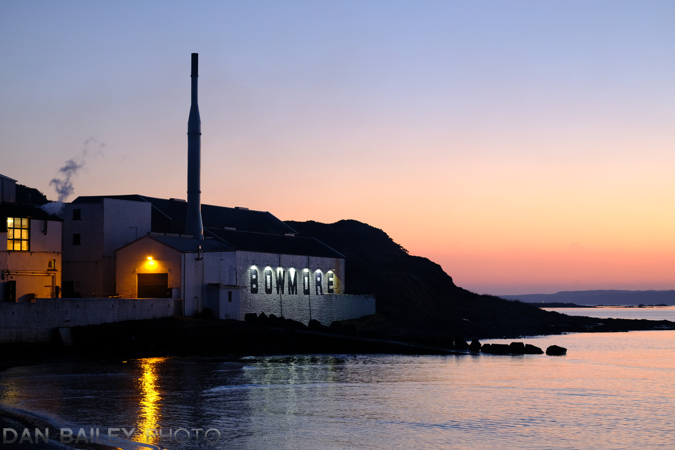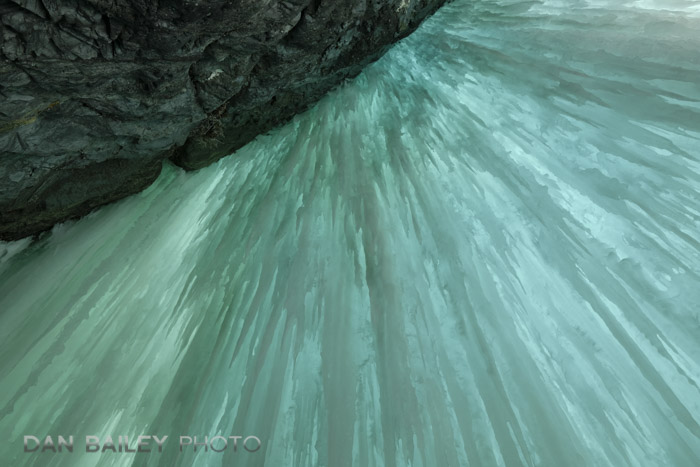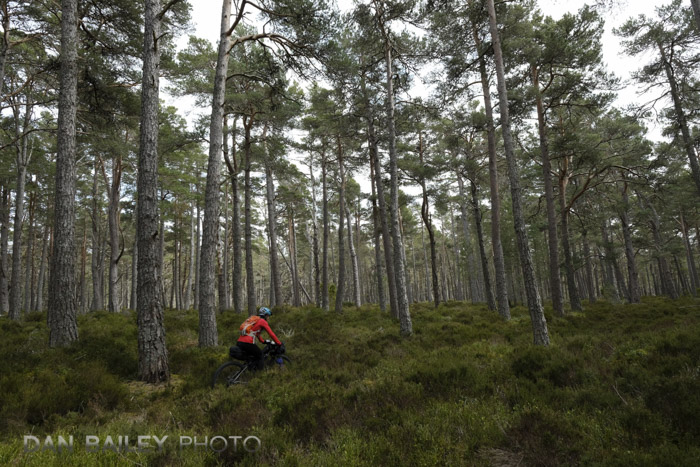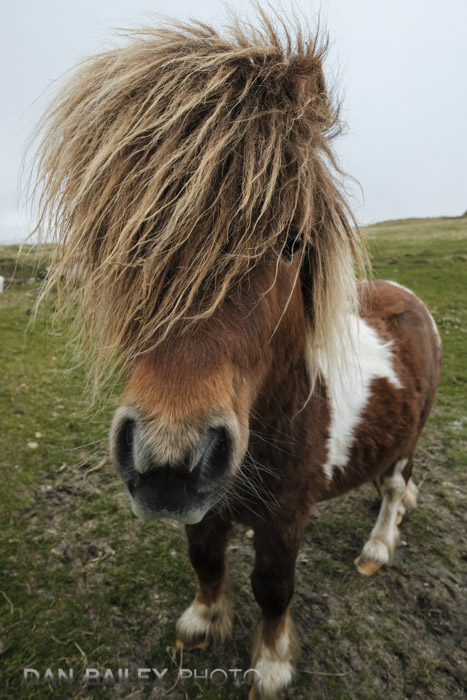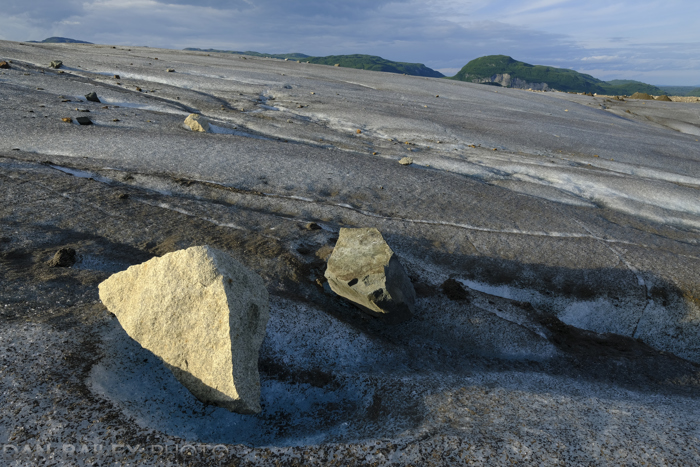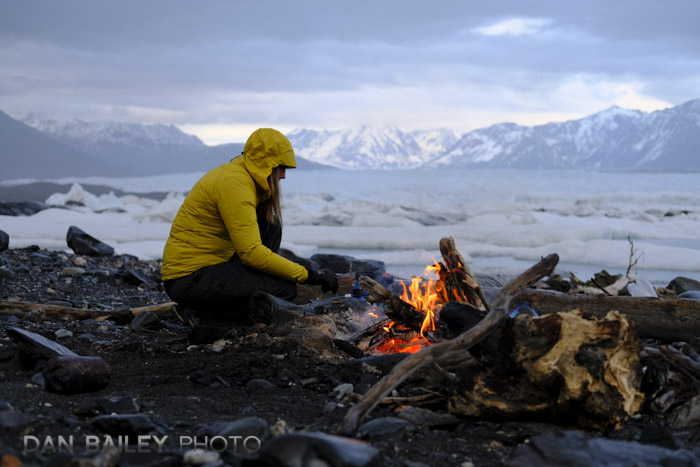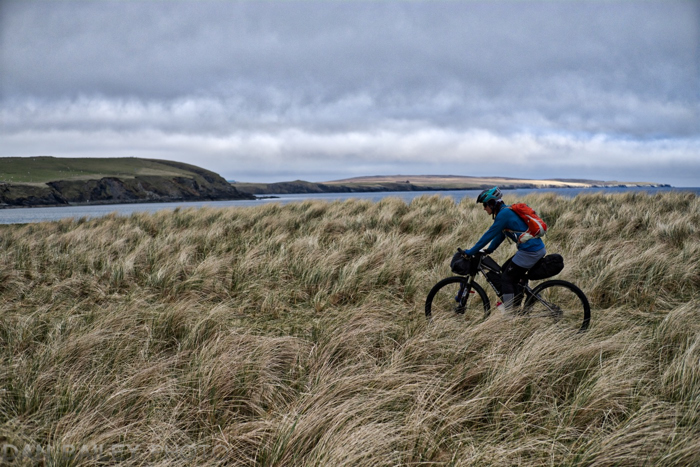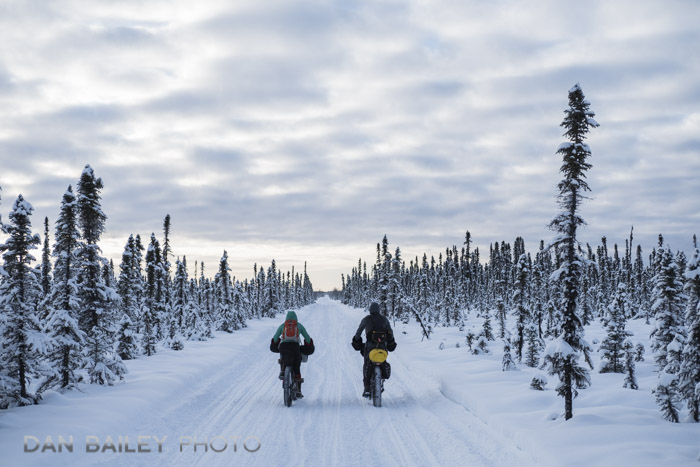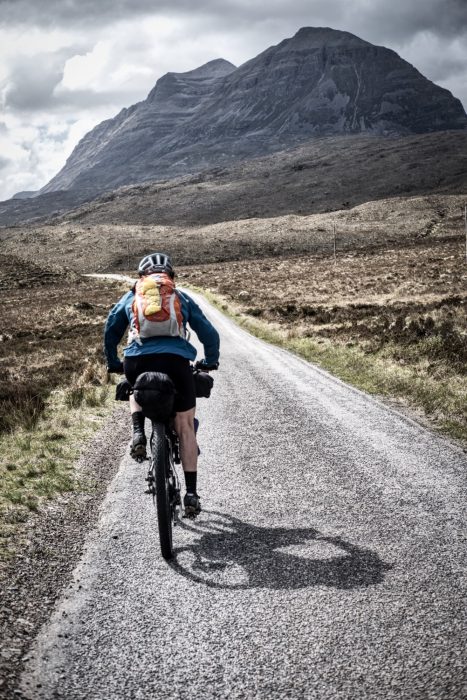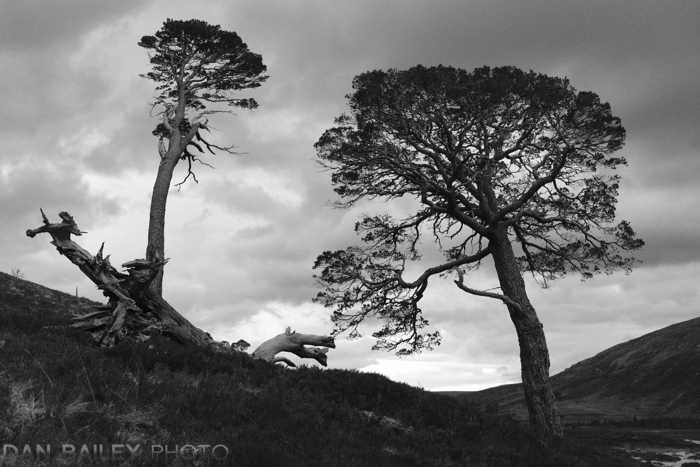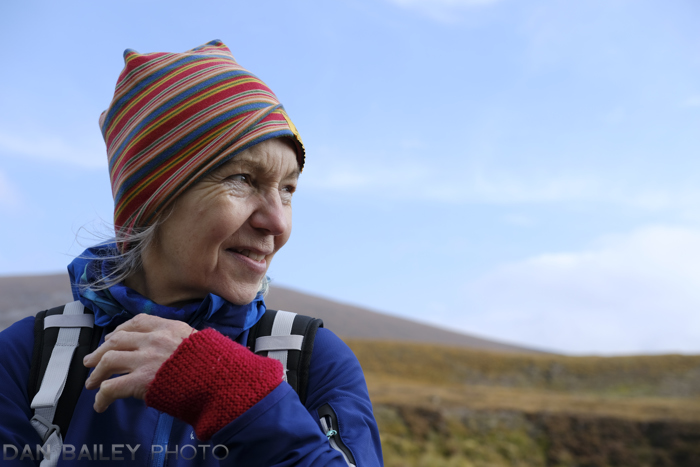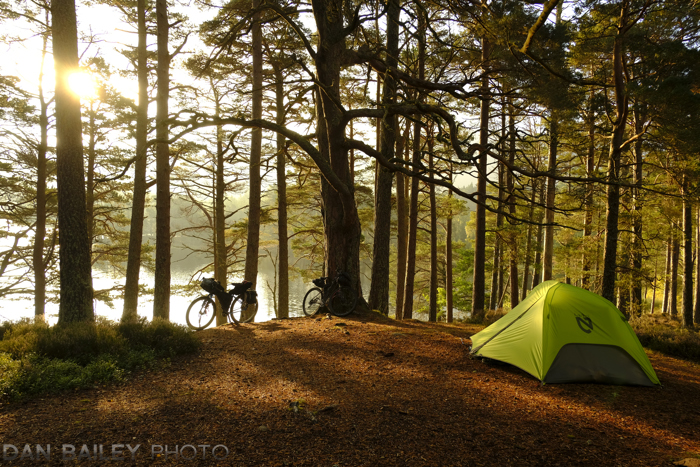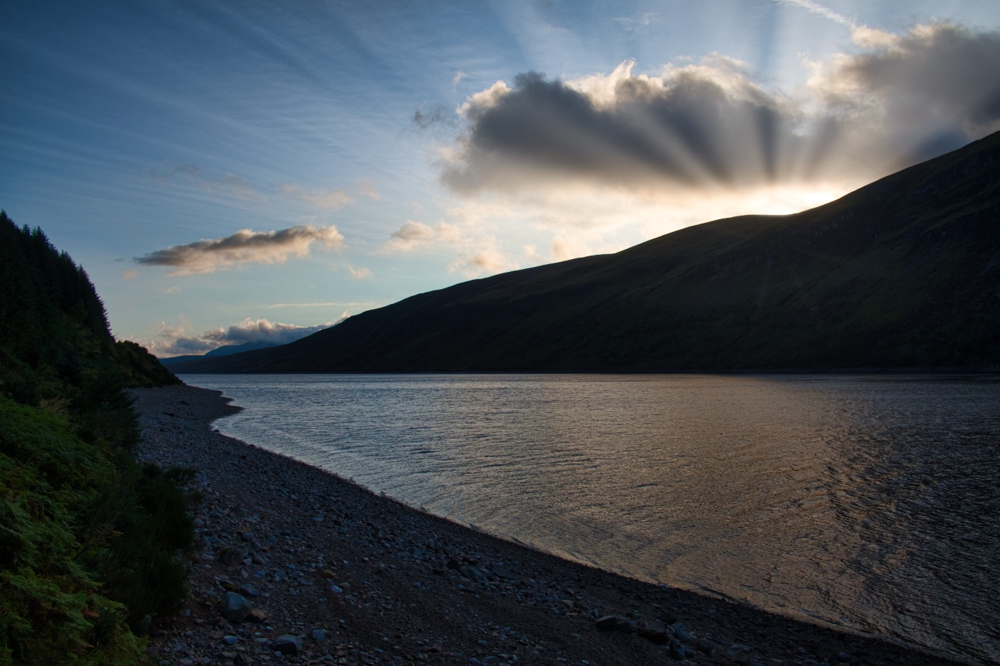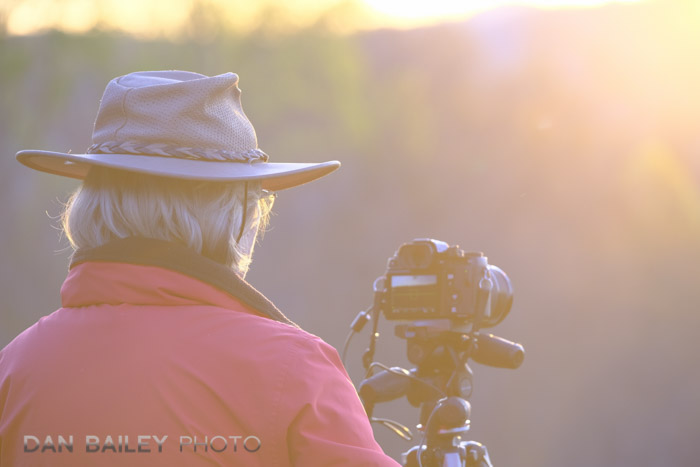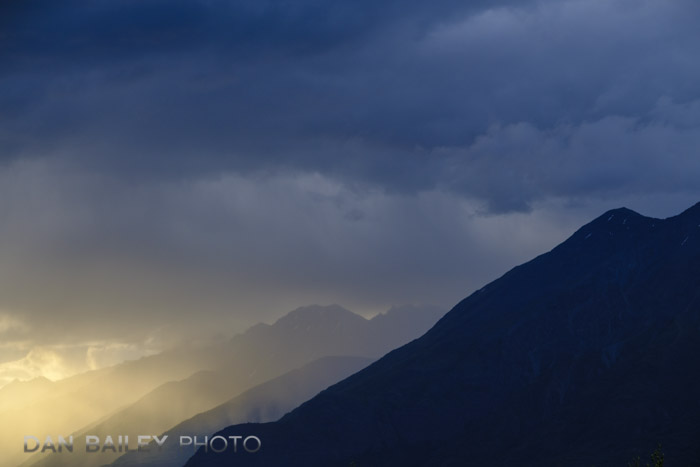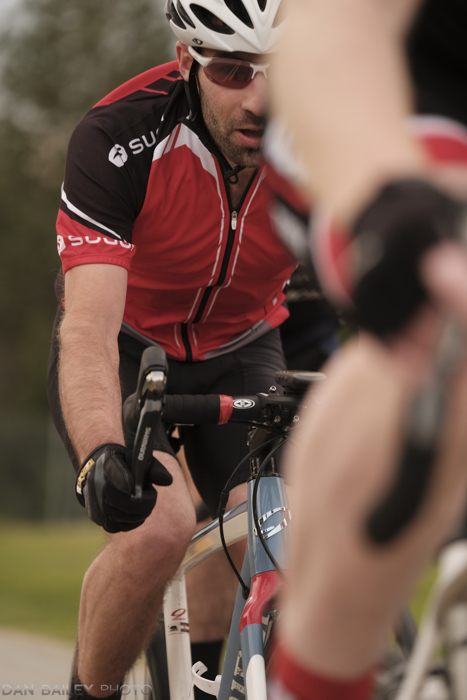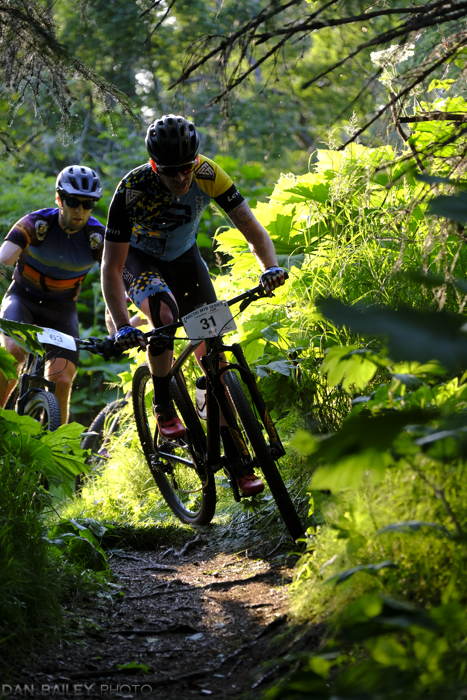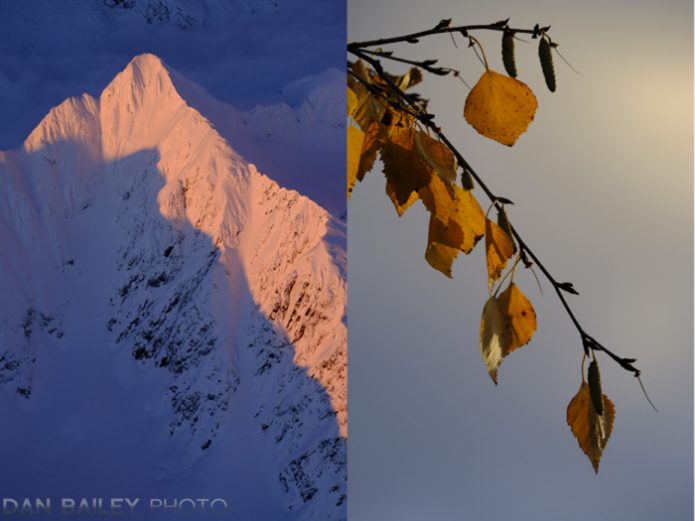
Do you always remember to turn the camera sideways when you’re out shooting? It can be an easy thing to forget. After all, in their natural state, cameras are built horizontally. Just like your TV, the microwave, the refrigerator and the computer monitor on your desk.

For the most part, all of these items will still work fine when you turn them on their side, although with some appliances, it might make basic operation a little inconvenient. For an experiment, I invite you to trying operating your fridge horizontally for a week and see how that works out.

Granted, some computer monitors are designed to be turned sideways, which might make viewing vertical landscapes photos a little easier, which is, of course, what this post is all about. That said, how easy would it be to run your Lightroom catalog on a vertical monitor?

With cameras, there’s no loss of operational quality or convenience by using them vertically, except that the writing and menus will be sideways. That’s a very small price to pay for the benefits you get from rotating it 90-degrees.

I’ve given numerous talks and workshops, where afterwards, people remark about the large number of vertical images in my presentation. This shows me that shooting vertically is simply not on the radar for many photographers, which is unfortunate, because shooting vertically can open up your landscapes compositions to a world of new dimension and perspective.
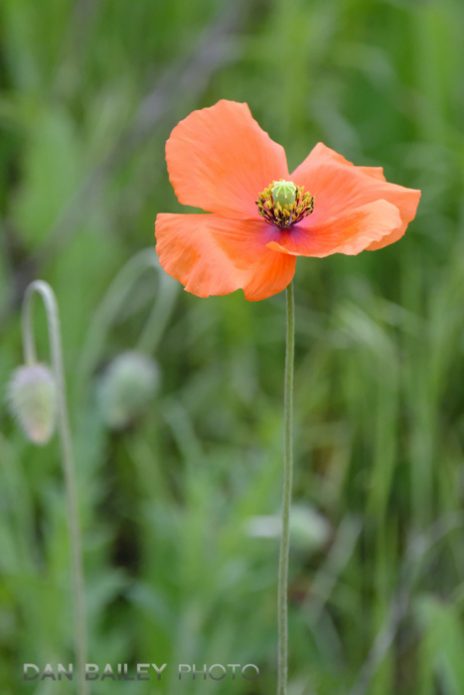
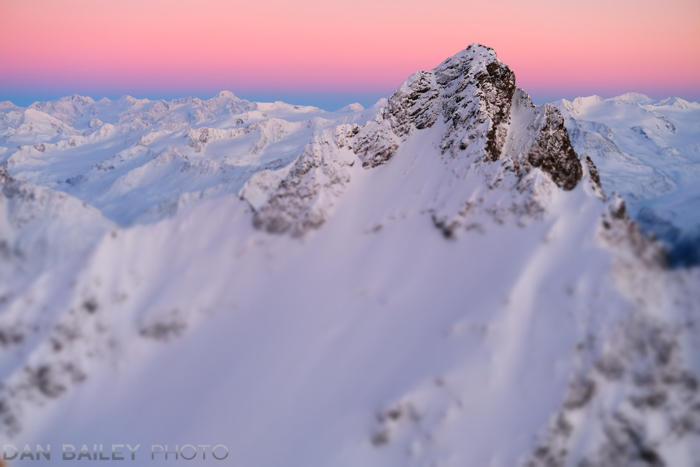
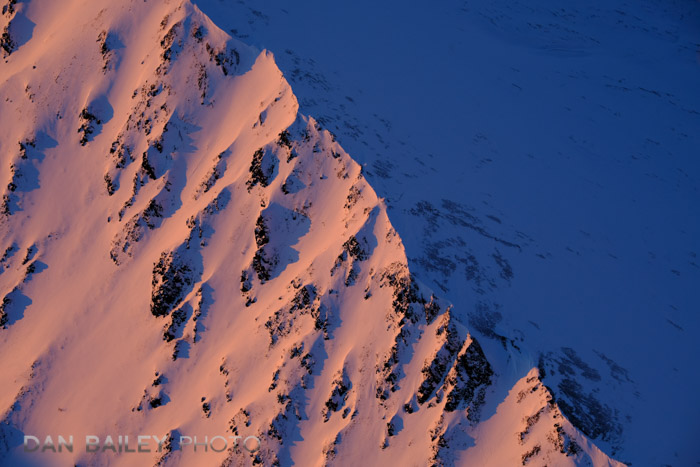
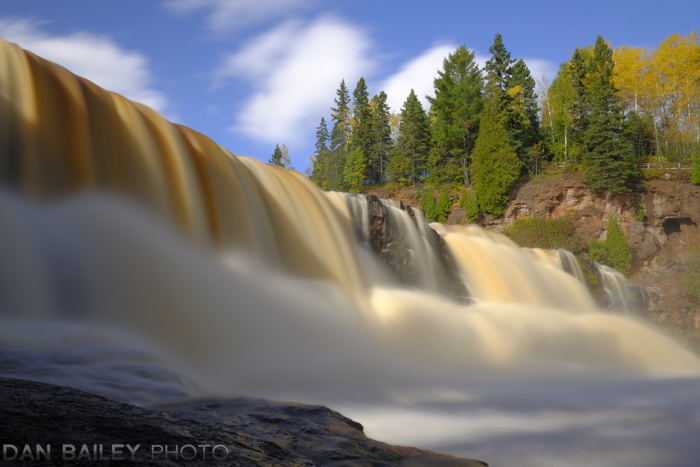
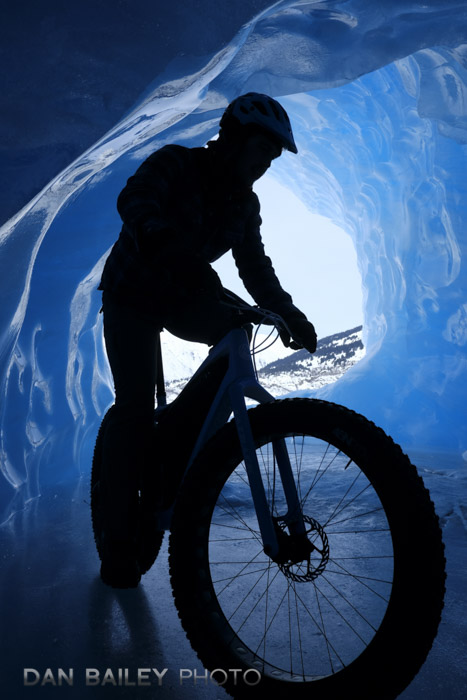
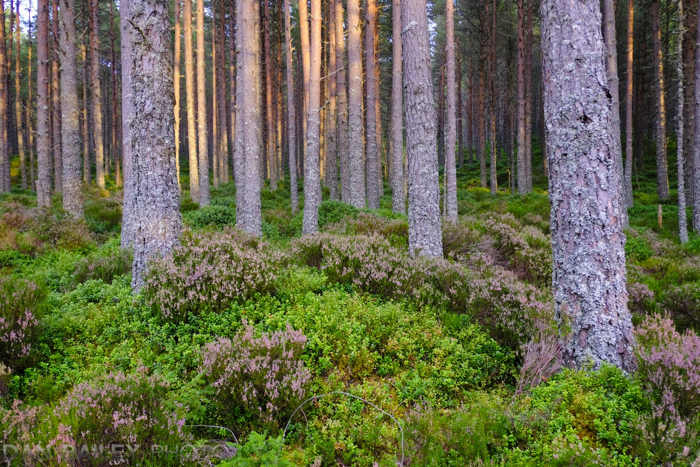
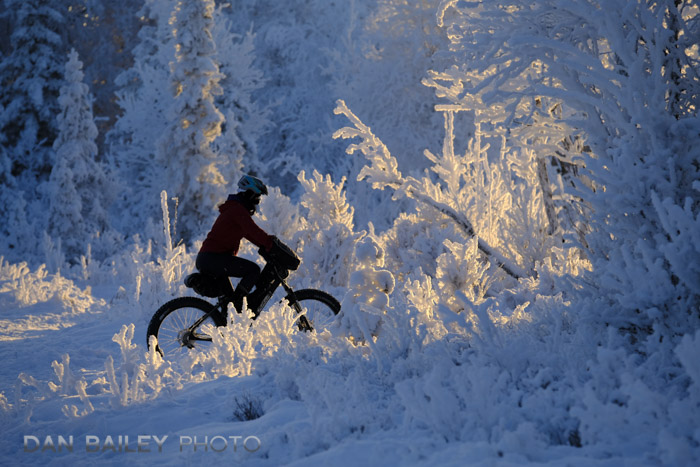
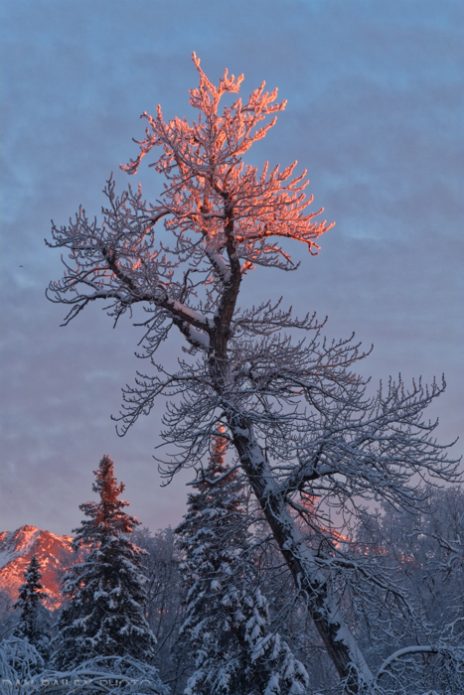
Many subjects in nature lend themselves well to vertical compositions. Tall things, like trees, pointy mountains, icebergs and flower stems align easily inside the vertical frame. Sometimes it’s a no brainer.

But what about things that aren’t so obvious. It takes a certain degree of mental stretching to compose an effective photo of what we normally consider to be a horizontally oriented subject.

From that standpoint, it would seem that some subjects are vertically challenged. Please do not mistake this for being short. There’s nothing wrong with being short.

Where were we…? Oh yes, mental stretching. It can be a worthy exercise to try and create a compelling vertical shot of scene that seems to work naturally as a horizontal. You’d be surprised at how the change in orientation can apply a very different feel or mood to the photo.

And the best part is that you don’t need any extra gear to create a vertical. You simply raise that right elbow, tuck your left elbow against your body and let the camera move freely to its new orientation.

Go ahead. Try it. Practice a few times until you can get the motion down smoothly. A competent photographer should be able to go from horizontal to vertical in under .2758 seconds. Get a stopwatch. Time yourself and see how fast you can do it.
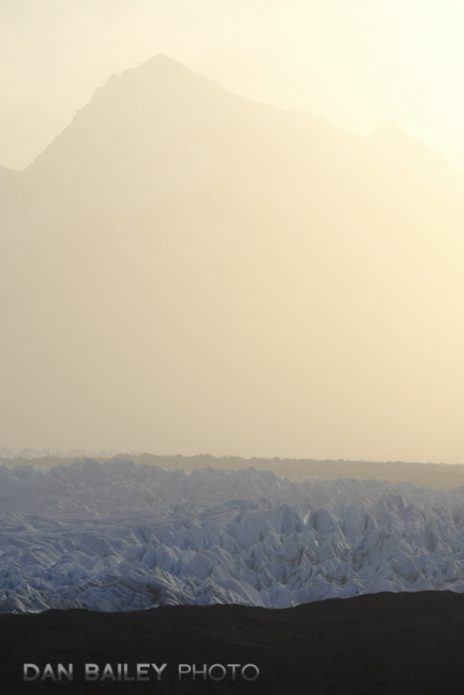
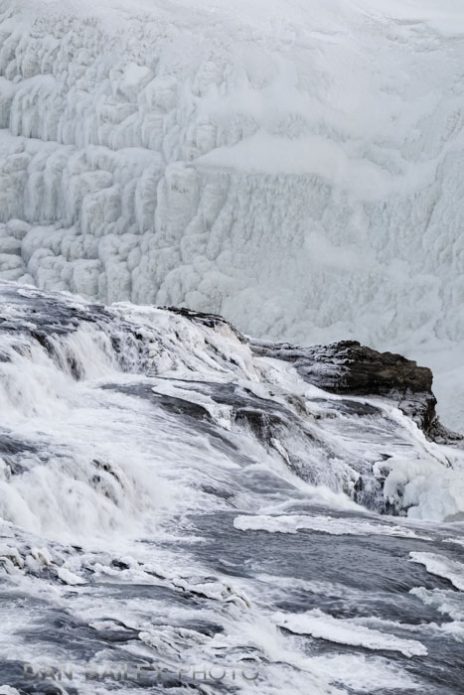
Sometimes an effective vertical composition might not be as apparent, so again, that’s where it becomes a creative exercise. Anytime you’re exercising your creative brain and trying out new ideas, you’re increasing electrochemical connections inside your head and expanding the boundaries of your imagination.

Also, shooting vertically brings you away from the norm and increases the original nature and stylistic quality of your imagery. Of the 300 million photos uploaded to Facebook every day, how many of those do you think are verticals? My guess is a very small percentage.

By turning the camera on its side, you turn all those standard photography perceptions on their side too. Suddenly your images will stand out a little more, and if executed well, they can carry even more visual impact.

Plus, how are you going to get on the magazine covers if you don’t shoot vertical? Whether that’s your goal or not, I strongly encourage you to start looking, seeing and shooting vertically when you’re outside with your camera. Make it a habit. Throw those elbows. Or turn the tripod head.

You might like the results. Now go out and practice.
March 13, 2018
See this post
Why You Should Remember to Shoot Vertical Landscapes Too

The highlight of my most recent Scotland trip was a week spent on the Isle of Islay. Pronounced “Eye-la,” with the syllabic emphasis on “eye,” Islay is part of the Southern, Hebrides, a chain of islands off the west coast of the Scottish mainland. The southern tip of Islay sits just 25 miles north of Ballycastle, Ireland.

Islay is famous for it’s fine Scotch whisky, specifically, the smoky peaty stuff. There are eight distilleries on Islay, most of which are known for producing the most heavily peated whisky known to man. It’s the home of whiskies such as Laphroaig, Lagavulin, Ardbeg, and Bowmore. If you’ve every had a sip of scotch that takes like a campfire, chances are it was made on Islay.

After my super fun hike up Beinn Sgulaird near the town of Oban, we caught the Sunday afternoon ferry to Islay, landing in Port Askaig, and made our way to the small town of Bowmore.

Situated on the western shores of Loch Indaal, Bowmore, (pronounced with the emphasis on “more”, from the Gaelic Bogh Mor, meaning “big rock,” or “big sea rock”) is home to the one of the oldest single malt distilleries in all of Scotland.

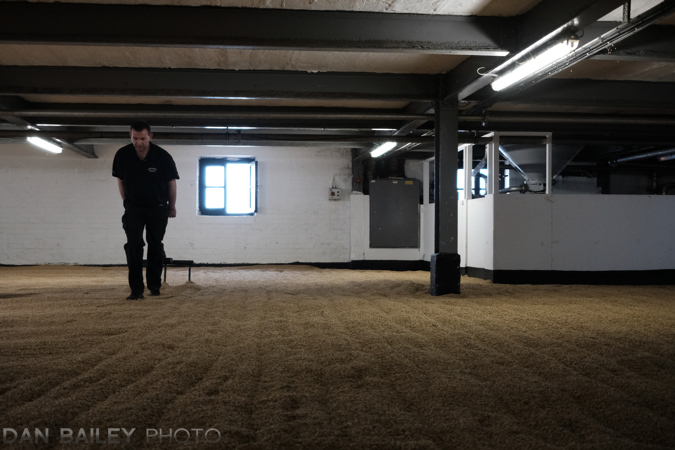
Established in 1779, it’s still one of the only distilleries that spreads malted barley on the floor in their malt barn, turning it by hand every few hours before kiln-drying it right there on site. Most distilleries buy and ship in barley that’s already been malted and dried to their specifications. To meet demand, even those distilleries who do floor maltings still ship in some of their malted barley, as they simply don’t have enough floor space.

I seem to have a fascination for gold-colored, traditionally produced, old world liquids. Exactly fifteen years previous, I did a solo cycling tour in southern Spain that was driven by my love of good olive oil. As I pedaled around Andalucía, I discovered Spanish Sherry. Given that many of the Scottish distilleries mature much of their whisky in old sherry casks, I felt like this trip was a serendipitous throwback to that memorable cycling adventure.

In fact, I had a sip of one particular whisky during my Islay trip that was matured in Manzanilla sherry barrels, and when I brought the glass up and took the first sniff, I was instantly transported to the sunny seaside town of Cádiz, Spain, where I remember sipping glasses of cool, dry fino sherry in tapas bars back in February of 2003. That was a very special year for me. Here’s one of my old Cádiz photos from way back when.

Flashback to the town of Cádiz, Spain. Shot on Velvia film back in Feb, 2003.


Anyway, back to Islay. We arrived in Bowmore with enough time to check into our quaint little hotel, the delightful Harbour Inn and then head outside to catch a few sunset photos along the shores of town. The Harbour Inn is actually owned by the Bowmore distillery.

They also have some wonderful cottages, which I was really hoping to get, but unfortunately, those were all booked, as I’m sure they often are, months in advance.

Whereas I usually just wing it when I travel, and find places to stay or camp right there at the end of each day, this was a short trip, so I made reservations before heading to Islay. Plus, it was my 50th birthday trip, so I treated myself to enjoy this one in style.

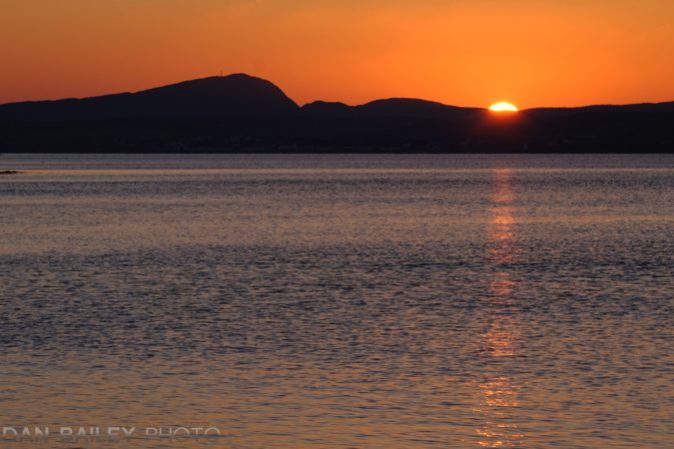
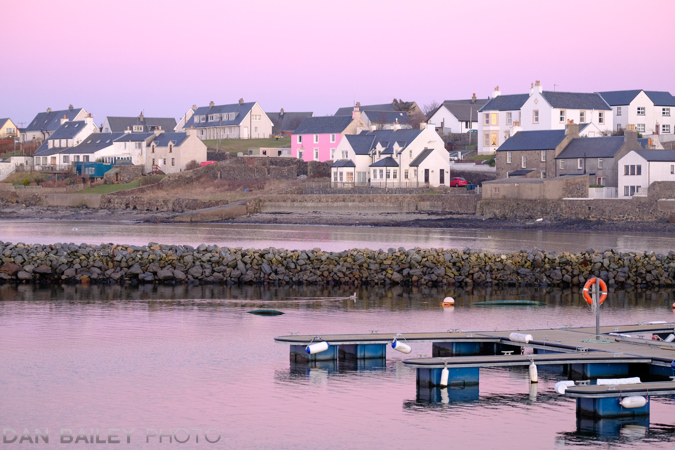
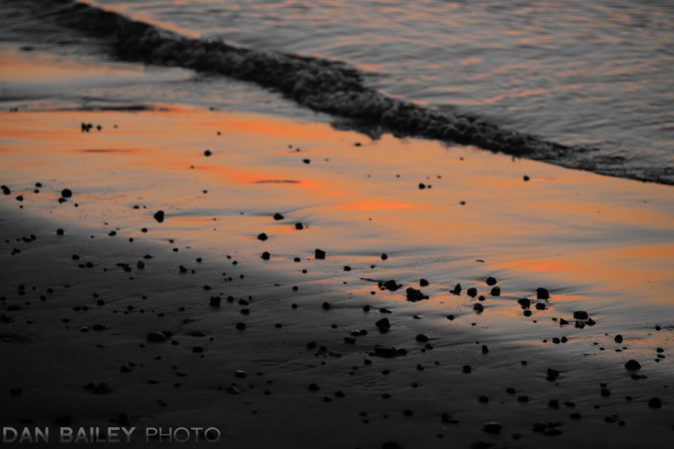
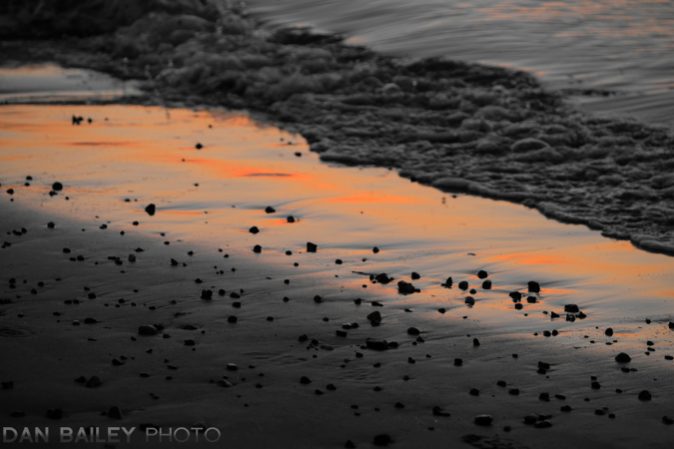
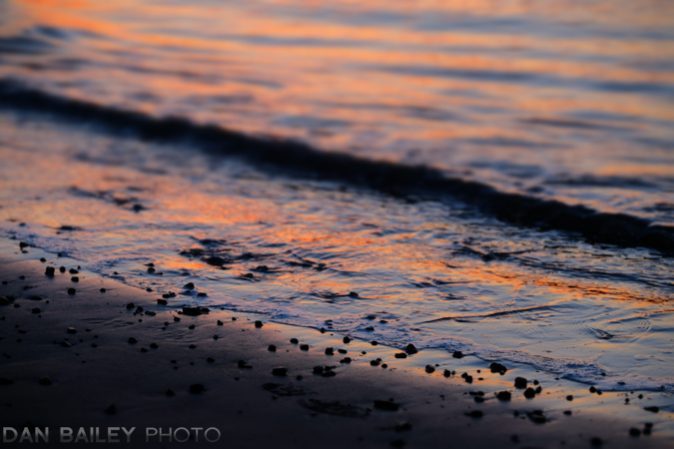
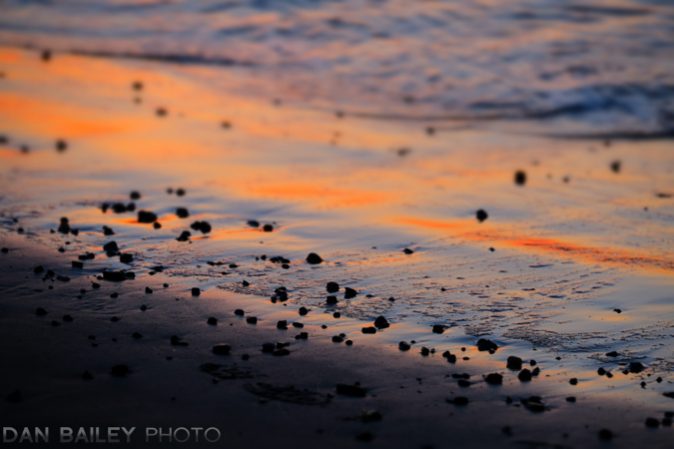
We had a few cloud afternoons during our week on Islay, but as luck would have it, we were fortunate to have a rich, colorful sunset on our fist evening in Bowmore. All of these were made with my Fujifilm X-T2 and XF50-140mm f/2.8 zoom lens.

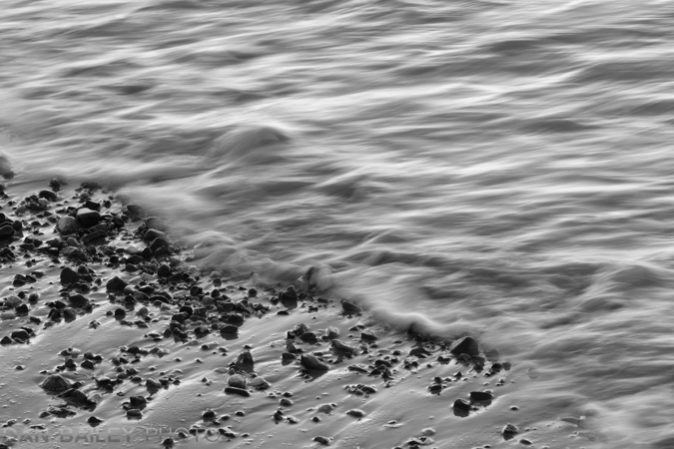
I don’t often take the 50-140 with me when I travel, and I never take it on bike trips, so it was a nice addition to have this lens along with me. After all, it’s a fast workhorse zoom with incredibly sharp glass and great image stabilization capabilities. The last photo in black and white shows that off, I shot that one handheld at 1/13 sec.


March 12, 2018
See this post
Sunset over the Shores of Bowmore on the Isle of Islay

I just got back from Scotland. Yes, you read that right. Scotland again. That makes my third trip over there in 9 months and officially means that I visited Scotland in all four seasons in a single year. I must like the place. When my friends ask me if I’m moving there, I tell them that I already have my street picked out.

Being my 50th birthday trip, I figured why not go back and visit a place I’ve fallen in love with. Actually, the idea of returning for my birthday this winter arose after a few beers at the Black Isle Bar in Inverness with my new friends Rueben Tabner and Callum Rankine on the last night of our September bikepacking trip. So yea. Beer talk. That was all it took.

Although the framework for this trip was primarily focused on visiting the Isle of Islay, and enjoying the winter solitude, wind and whisky of the Southern Hebrides, I started the trip in a special way, by bagging my first Scottish Munro with my friend Colin.

For my non UK readers, a Munro is a mountain in Scotland a height of over 3,000 feet (914 m). They’re named after Sir Hugh Munro, who first compiled the list in the early 20th century. There are 282 officially notated Munros in Scotland, and as you can imagine, Munro bagging is a very popular activity for people who like to hike.

While some people strive to make it up one or two of them, many intrepid hikers strive to bag all of them. The hardiest of souls have climbed them all numerous times. The current record holder for speed is Stephen Pyke, who completed his fastest round in just 39 days and 9 hours back in 2010.

During our hike that day, we actually ran into a local legend named Hazel Strachan, who is currently on her 10th round. Yes. You read that right. Her 10th round. She shows not sign of stopping.

Anyway, the idea for this came from my friend and fellow adventure photographer Colin Henderson, who I’ve known via social media for about 6 years, and who we hung out and biked with during our May Scotland trip. As we were getting ready for our trip, Colin messaged me that he’d be hiking near the town of Oban that same weekend.

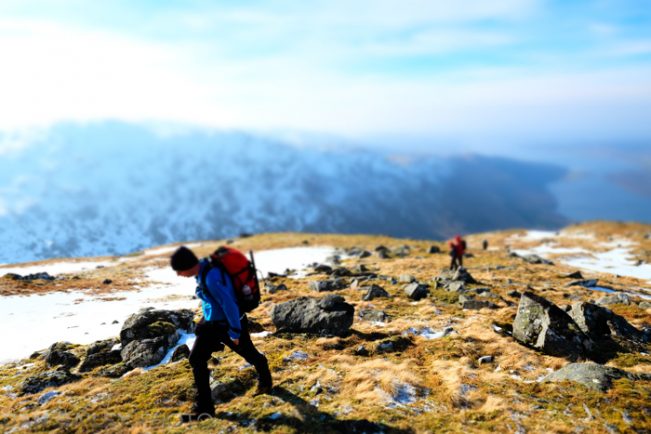
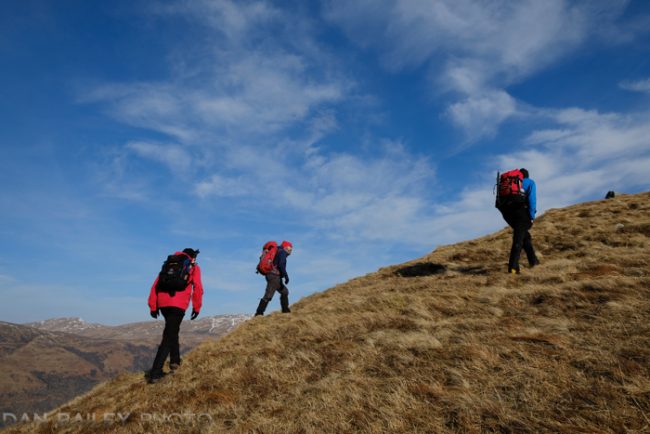
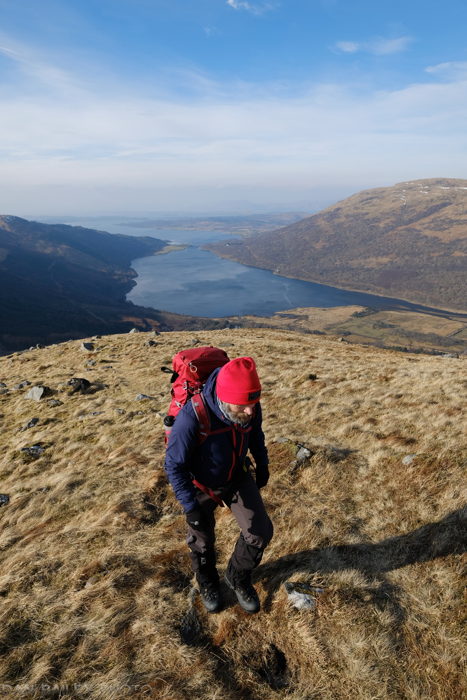
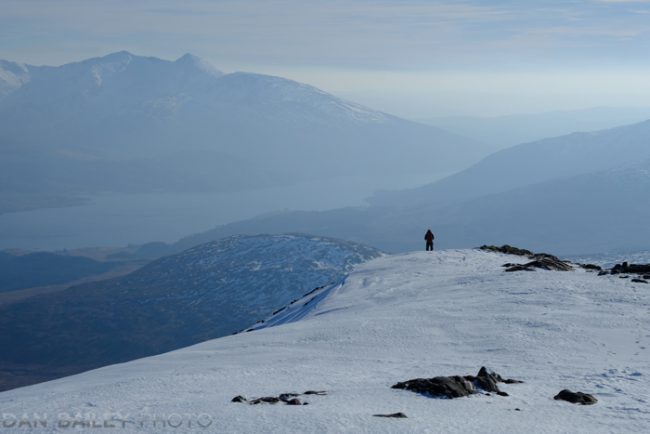
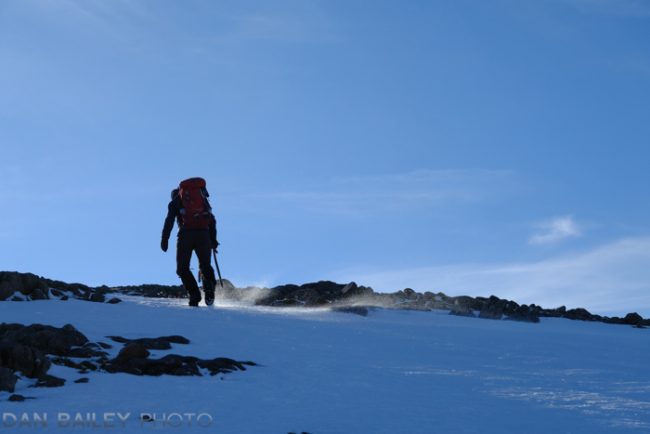
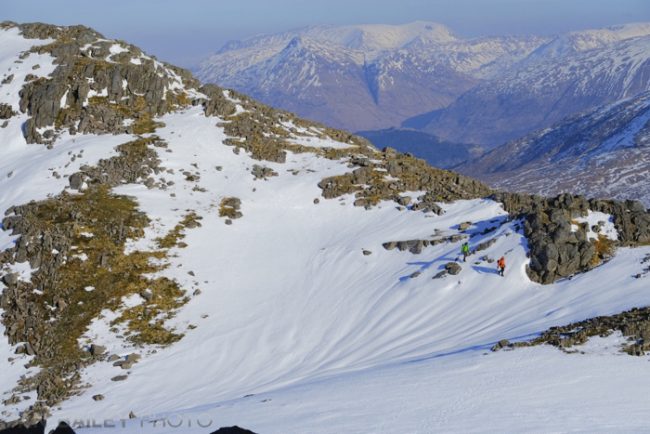
That seemed like a great way to start, so I threw some winter hiking gear into my duffle bag, and when we arrived in Glasgow, we took the train up to Oban and met up with Colin and his three friends, Dave, Frank and Christine. After a glorious reunion with my good friend, we set out the next morning to hike up Being Sgulaird, a 937 m mountain located in the southern Highlands, between Glen Creran and Glen Etive on the west coast.

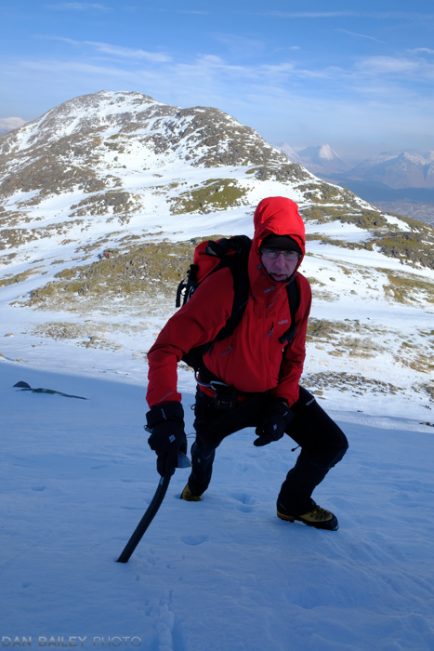
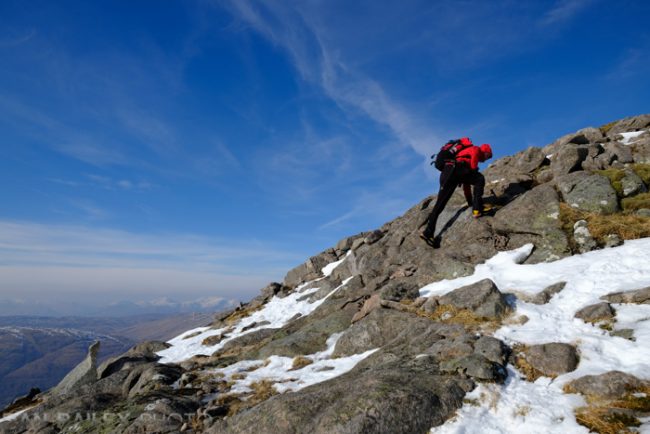
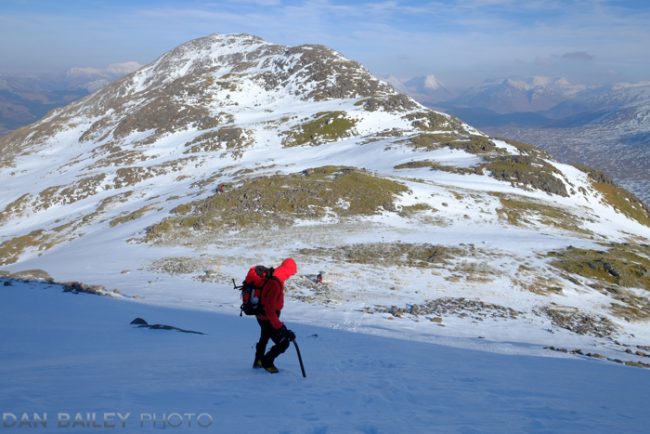
Coin Henderson on the sort of steep snowfield.

Although western Scotland doesn’t have nearly as much snow as Alaska, nor is it 20 below zero (usually), that in no way implies that it’s a simple walkup to hike a Munro in the wintertime.

In fact, most of them require at least an ice axe, if not crampons as well, and a full set of winter clothing. Although it wasn’t Alaska cold, the constant 45 mph winds on the higher slopes certainly made it feel like winter, even with mittens and hand warmers.

The lower ridge was mostly snow free, but as we got up higher, the terrain was mostly covered with snow and some ice. I had sturdy hiking shoes and an ice axe, but not crampons. Fortunately, the snow was soft enough that we could kick steps in the steeper sections.

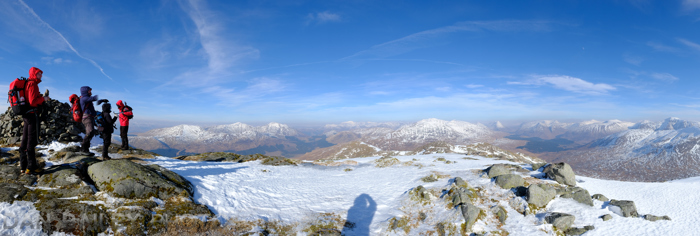
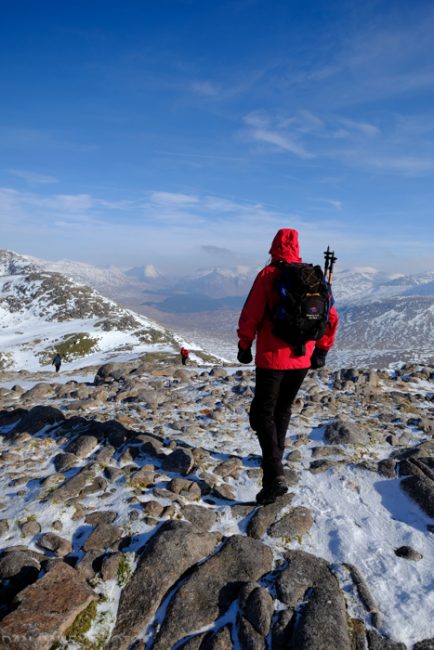
It was certainly a fun adventure, and no part of the climb was too tricky. The weather was awesome, and from the top of Being Sgularid, we were treated to amazing views in all directions. We could even see 4,411 foot high Ben Nevis, the tallest mountain in Scotland, as well as the southern valley leading towards Glen Coe.

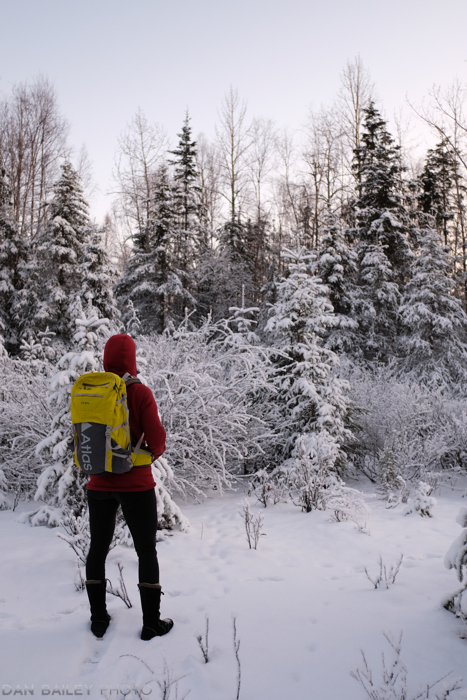
This was the perfect outing for using my new Atlas Athlete photo pack, which was tailor made for this kind of adventure. I carried my Fuji X-T2 around my neck/shoulder during the entire day, but the pack allowed me to fit my extra glass as well as food clothing and water and provided adequate support on the rugged ground and high winds. For lenses, I mostly used the 14mm and 50mm f/2 all day long, so wide angle and short telephoto.

It was so much fun to play outside with Colin again (I keep enticing him to come to Alaska!) and I had a great time meeting new friends and enjoying pizza and a few drams later that evening back in Oban. What a great start to our trip, even though I was a little get lagged from the long travel day, but it was nothing that a ferry ride and a few days sipping whisky on Islay couldn’t fix.

So, that’s one more thing to check off my list of “Things I never did until I was 50.” Hike a Scottish Munro. One down, only 281 to go. I don’t think I’ll be able to catch Hazel.

March 8, 2018
See this post
Hiking Beinn Sgulaird, My First Scottish Munro

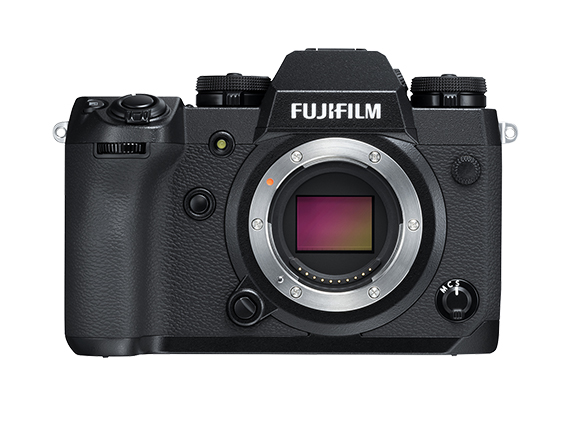
Last Thursday, Fuijfilm announced the new X-H1, which is the first X Series camera to features in-body image stabilization, commonly referred to as IBIS. Using a combination of accelerometers, 3-axis gyro sensors and a special dual-processor, the X-H1 can analyze and correct for camera motion at up to 10,000 calculations per second and add up to 5.5 stops of stabilization.

This can be combined with the OIS stabilization found on some of the Fujifilm lenses for even greater stability when shooting in a wide variety of situations, whether you’re shooing hand held, from a moving vehicle (what about a Cessna?) or a tripod.

As recent as one year ago, Fuji reps and spokespeople had been holding to the line that adding IBIS to an X Series camera would necessitate a bigger sensor and larger lens mount. Obviously the Fuji engineers solved this problem without changing either of these things; it still has a 24MP X-Trans APS-C sensor and the regular Fuji X Mount.

High End Video

The other big thing about the X-H1 is that it has greatly enhanced video capabilities. In fact, the X-H1 was specifically designed to function as a high-end video professional camera and compete in that market.

With its larger heat sink, the X-H1 can shoot 4K video at up to 200Mbps (twice as high a bit rate as the X-T2) at a duration of 1.5x longer than the X-T2; 15 minutes per battery. Add the new X-H1 Vertical Booster Grip and you can triple that time.

It also features two new aspect ratios: 3840 x 2160 UHD (Ultra Hi Def) and 4096 x 2160 Cinema 4K (DCI 4K), and supports high speed video recording at 120p. It also featuress a brand new film simulation.

ETERNA was Fujifilm’s professional motion picture film stock and it has been reproduced inside the X-H1. With cinematic color rendition, lower saturation and a very high dynamic range, ETERNA is designed to give you that “classic movie look” right out of the box, and it lends itself extremely well to color grading.
It’s interesting to note that back in 1934, motion picture film was the first product that Fuji ever created. As with the other film sims, ETERNA carries a rich legacy.

Photographers who go back and forth between shooting stills and motion will like the fact that the X-H1’s video menu contains many of the same settings you’ll find in the IMAGE QUALITY menu, like HIGHLIGHT  and SHADOW TONE, AF-C Custom Settings, and DYNAMIC RANGE. This allows you to designate separate settings for still shooting and video.

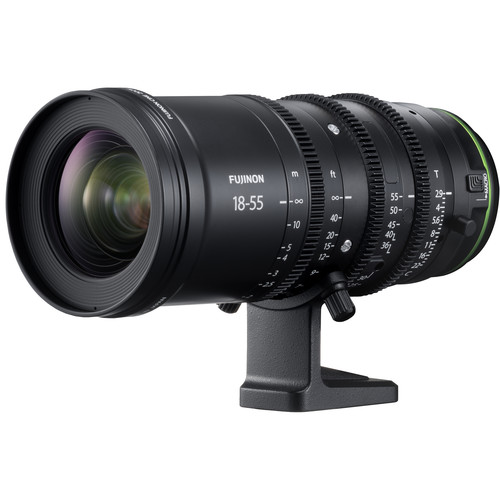
Add the option for F-LOG, uncompressed output, Flicker Control, silent video operation, a variety of slow-motion video speeds and a Fn button option that lets you instantly switch to slow motion, and the two new new super-high end X-Mount Cine lenses they also announced the X-H1 allows for whole new world of video quality and creativity when telling your stories. And it even fits housings and mounts that are specifically designed for the Panasonic G5.


Beefed-up Body Design

The X-H1 is built to be a professional grade camera in every way, and it features a scratch and ding resistant magnesium alloy chassis that’s 25% thicker than the body on the X-T2. The lens mount has been redesigned to make it more shock-resistant without adding extra bulk.
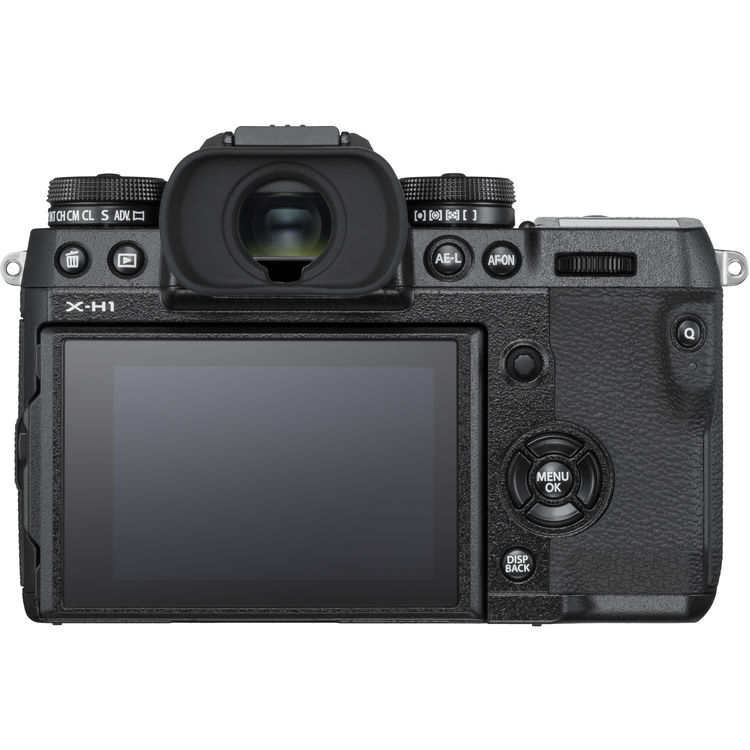
This does make the X-H1 a bigger, heavier camera than the X-T2. It also features a larger grip and top-deck LCD panel that’s similar to what you see on the GFX.

The body design and layout will surely feel familiar to users who are coming from DSLRs, but it’s still an X Series camera at heart; it features the four thumb-pad buttons, the touch screen “swipe gestures” used on the X-E3 and a combination of Fn buttons and swipes that add up to a total of 13 Function controls.

Fuji shooters will instantly notice that the X-H1 is missing the EV+/- dial. It’s been replaced by the top-deck LCD. EV control is now performed via a Fn button and the rear command dial. There is a dedicated “+/-” button, but this is just another Fn button and you can assign EV control to any Fn button and you can assign any Fn control to the “+/-” button.

The X-H1 also has a DSLR-style shutter button. It has a larger surface area and an extremely high touch, although it ins’t compatible with mechanical cable releases.

Upgraded Performance

The X-H1 has been tweaked for maximum performance. It features a very large 3.69 million pixel EVF that’s bigger and brighter than the EVF on the X-T2. It also has highly updated autofocus algorithms which allow it to track fast moving subjects with even more precision an accuracy.

This makes even more capable for shooting extremely fast action like motorsports and extreme athletes, and also difficult or erratically moving subjects like flying birds. Combine this with the rumoured 200mm f/2  lens that’s in the pipeline and you’ve got an extremely capable setup.

Overall Thoughts

The X-H1 is kind of an interesting beast, and while it’s sure to elicit criticism from reviewers and forum trolls, it does step things up with features that people have been asking for.

In fact, that’s exactly how I see this camera. For years now, there have been a lot of photographers who are attracted to the Fuji system and the X Series, but for whatever reason, they just can’t pull the trigger because the system has been lacking a few things that companies like Sony and Canon have on their cameras.

With the X-H1, the X Series now has in-body stabilization, a beefier DSRL-style chassis, even faster autofocus and even more high-end video capabilities, and yet it still has the X Series mojo and all the regular X Series features.

So, Fuji has effectively checked off a few more boxes and given those people who are on the edge even more reasons to consider switching to the Fuji system. And while it’s kind of sad that Fuji has to continually chase companies like Sony, that’s the reality of the modern technology world.

Yes, the X-H1 is bigger, heavier and at $1,899, it’s more expensive than something like the X-T2, but it’s a pretty bad ass camera. Although technically an X Series camera, in terms of design, it’s actually quite similar to the GFX, although not quite as big. In a way, the X-H1 sort of straddles the two systems.

That said, it has the exact same sensor and image processor as the X-T2, X-Pro2, X-E3, X-T20 and X100F, so in terms of color and image quality, it should give the same level of performance as all the otters recent X Series cameras. Don’t rush out and order one if all you’re craving is better image quality, unless it results from a requirement of additional stabilization.

The X-H1 is not for everyone, and Fujifilm knows this. They don’t expect everyone to buy one. I don’t see a ton of X Series users trading up. However, for pro Fuji users who are serious about shooting video or who demand the highest level of performance and rugged durability from their cameras, and DSLR shooters who are on the cusp of moving to the X Series, the X-H1 looks pretty darn appealing.

For X Series users who do trade up, it will be a seamless transition. The X-H1 is still an X Series camera through and through, so it has all the settings, functions and creative tools you’ve grown to love, just in a more high performance model.

By the way, that’s exactly what the “H” stands for: High Performance.

And of course, all the features I talk about in my comprehensive X SERIES UNLIMITED eBook will apply to the new X-H1, so if you’re new to the system, I highly recommend checking out the guide.

The X-H1 is slated to hit stores on March 1. You can preorder one here. You can also check out the dedicated X-H1 special site and see all the features here. You can watch and see how the image stabilization works in this sample video.

February 20, 2018
See this post
Fujifilm Announces the X-H1 Camera with In-Body Stabilization and Enhanced Video

wedding gown NZEveryone, meet Billy. On second thought, you probably already know him. After all, who doesn’t know Billy?

You know, spiky blonde hair, attitude, MTV star. White Wedding? Yea, that Billy. See I knew you knew him.

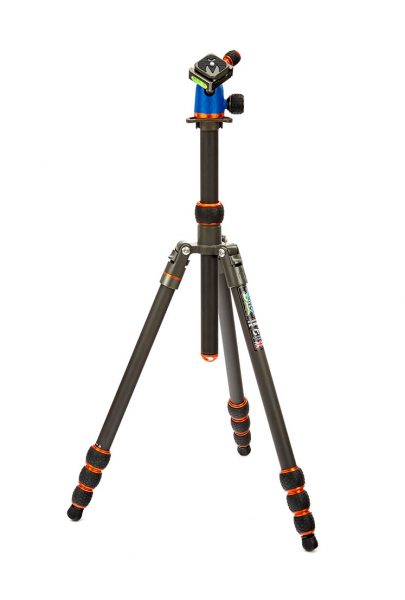
Billy is a true rebel. A true English punk, so he fits right into 3 Legged Thing’s “Punks” Series of tripods.

Weighing in at only 3 lbs, including head, Billy is also the lightest tripod in their current lineup, and like his namesake, he rocks.

Built from carbon fiber, Billy is light and sturdy. Like any good rocker, he’s got quite a few tricks up his sleeve, and he’s surprisingly affordable. He’s not some stuffy elitist, he’s a true working class hero.

With legs that fold back on themselves, Billy packs to only 18″ long, so he’s the perfect companion for traveling, whether you’re on an extended tour… I mean road trip, or on a flight across the pond.

Billy walks tall, with a max height of 65″, but he can really get down, too. With 3 leg angles, you can fold the legs all the way out and achieve shooting heights of only 4″ above the ground. Or your can stand him up, invert the center column and hang the head upside down. This lets you get your camera into a variety of low and otherwise difficult vantage points.

And as with all the 3 Legged Thing Punks, Billy has a detachable leg that converts into a monopod.

Yea, yea, yea, blah, blah, blah. So it’s another tripod. There are tons of them out there. What’s so special about these?

I’ve been a huge fan of 3 Legged Thing tripods every since I first saw the original Punks series. Those were the ones named after The Young Ones TV show that was on MTV in the mid 80s.

It wasn’t the features that grabbed me, it was the style and workmanship. The 3 Legged Thing tripods are gorgeous. Unlike some tripods, they’re not the least bit clunky, they’re sleek and sexy and designed with both function and look in mind. This makes sense, seeing as how they’re marketing themselves to visual people like photographers.

I see a ton of tripods when I teach workshops, but it’s the 3 Legged Thing tripods that always catch my eye. And, of course this means, whoever, has one inadvertently gets extra attention from me. Is this entirely fair? Who knows. Who cares. All I can say is that if you line up 10 people with tripods and one of them has a 3 Legged Thing, guess which on I’m likely to spot? Can you use this to your advantage? Who’s to say?

It’s true, shiny looks don’t make a great tripod, even though the knobs and twists locks look really sharp, with anodized trim and different colors. However, that’s kind of a thing these days with tripods, even though noone quite does it with the same style as 3 Legged Thing.

And it’s not just looks, it’s attitude. Like the friction knob that says “Rock – Lock” instead of “Loosen – Tighten.” And the Union Jack on one of the legs. Nothing says rock and roll like the Union Jack.

Colors aside, what really matters, of course, is that they function beautifully, with exceptionally smooth precision. 3 Legged Thing tripods are very well engineered, and this is easily apparent as soon as you handle one. They have a high level of attention to detail, and they have excellent customer service.

Compare this with a huge company like Manfrotto. I broke one of my Manfrotto family tripods and am still waiting for a replacement. I first contacted them over 14 months ago, and… *crickets*. Still Waiting.

All the new punks features newly designed rubber grips, which twist easily and helps reduce weight. They also come with a dedicated quick release ball head with a rubberized Area-Swiss compatible plate, a little clip-on multi-function tool, 2 bubble levels, rubber feet that that can be swapped out with 3 different kinds of spikes and claws for varying terrain.

With a 40 lbs. load capacity, Billy is sturdy enough to support just about any camera system. He’s one of the strongest tripods in his class. As I said above, he’s light and small enough for travel and backpacking and more than cool enough for general use. Whatever that means.

Best part about Billy, is that he’s very affordable. While most high-end carbon fiber tripods cost anywhere from $300-500 and more, (priced a Gitzo lately?) Billy only costs $279. Like I said, he’s a working class hero, but he’s not cheap like those budget carbon fiber models that are light, but not all that sturdy. Billy’s the real deal.

If you’re looking for a very well made carbon fiber tripod for outdoors or travel, and you don’t want to break the bank, I highly recommend taking a look at this tripod. There’s really nothing about it that you won’t like.


February 12, 2018
See this post
Meet Billy, the Lightest Tripod from 3 Legged Thing

Today’s photography tip isn’t so much a photography tip, as it is a life tip. Consider it a Public Service Announcement. I feel compelled to share it with you today, because I want to make sure that you’re starting your year off on the right foot and not getting too wrapped up in things that ultimately don’t make your photography any better.

During workshops, on forums and via email correspondence, I see some photographers who focus so hard on the extremely technical aspects of this craft, and they often end up confusing themselves and making it harder for them to open their minds and find their creative vision.

Magazines, camera forums and many blogs (certainly not mine, though!), are full of articles which lead you to believe that certain technical aspects of your digital sensor will determine whether your camera is capable of making great photos.

Naturally, some people read these articles and fall into the endless pit of speculation and worry that their camera might not produce the same high quality imagery as some other camera. It becomes an endless, and sometimes hopeless cycle, and sadly it does noone any good, except the magazines and blogs who get the clicks.

You know what I’m going to say next, don’t you?

It isn’t the camera that makes the pictures great, it’s you.

The truth is that when we’re talking modern DSLRs and mirrorless cameras, EVERY SINGLE CAMERA ON THE MARKET has a great sensor and EVERY SINGLE CAMERA ON THE MARKET has the tools that will let you take wonderful, beautiful, visually captivating imagery that will wow you and your viewers.

And, I GUARANTEE, with near 100% certainty, that if your capture an amazing moment in gorgeous light with compelling compositional techniques, NO ONE ON EARTH will care if it has a little bit of noise, and NO ONE ON EARTH will speculate how it might be improved ever so slightly if you had shot it on a camera with a bigger sensor. And if they do, then they aren’t the right people with whom you should be sharing your awesome, heartfelt imagery.

Sure, some cameras will show a remarkably slight variance in noise when shooting in low light, and some cameras will render detail with slightly more resolution and edge sharpness when you zoom in and view all the pixels at 100%.

But your viewers won’t do that. And they won’t care. And neither should you. 

The bottom line is that if you love using your camera, if it makes you WANT to go take pictures, if you have fun when you shoot and you like your imagery, then that’s all that really matters. Worrying about the extremely technical stuff that doesn’t really matter in the end only takes away from your enjoyment of the process. It certainly won’t make you a “better” or more creatively fulfilled photographer.

Don’t fall into that trap. Don’t become a statistic on some overly technical camera forum, and for pete’s sake, don’t worry about the stuff that doesn’t matter. In fact, don’t worry at all.

Just go outside with your camera, enjoy the fresh air, look at stuff, take pictures of things you like and let the process fill you with unending joy. 

That’s what matters. 

If you need another reminder, then read this post. It might even make you laugh.

February 9, 2018
See this post
Don’t Fall Into This Trap With Your Photography

The adventure photography camera pack has been a quickly evolving monster over the past few years.
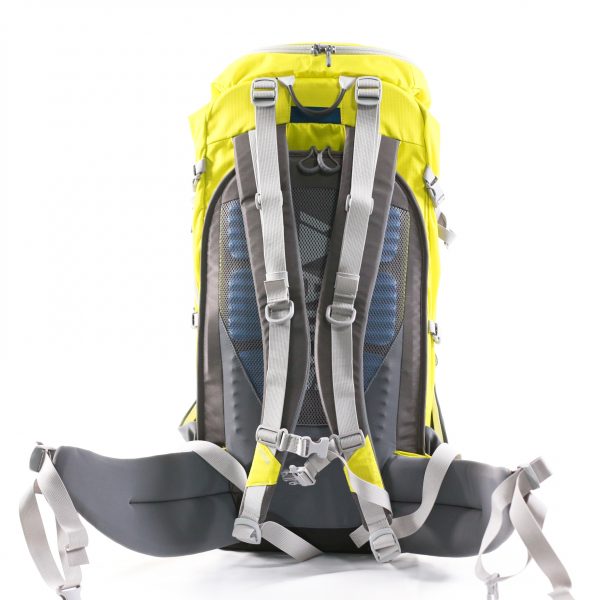
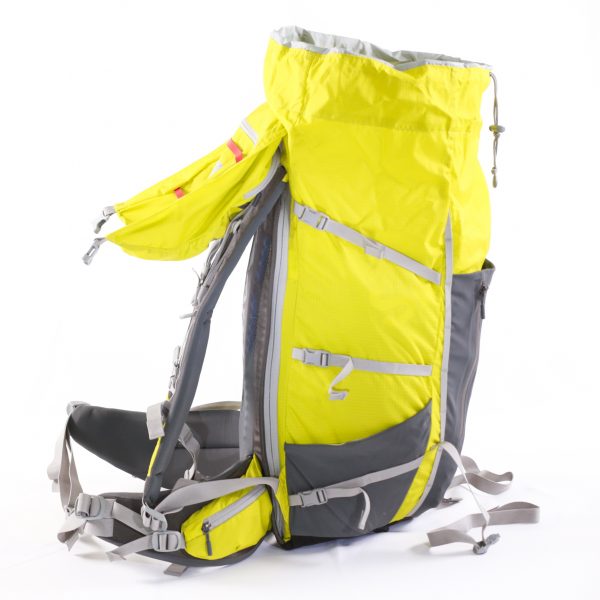
In a market long dominated by Lowepro, a number of newer companies have entered the ring and come out with interesting designs that allow outdoor photographers the space, support, durability and accessibility they need.

One of the latest companies to spring up in this market is Atlas Packs.

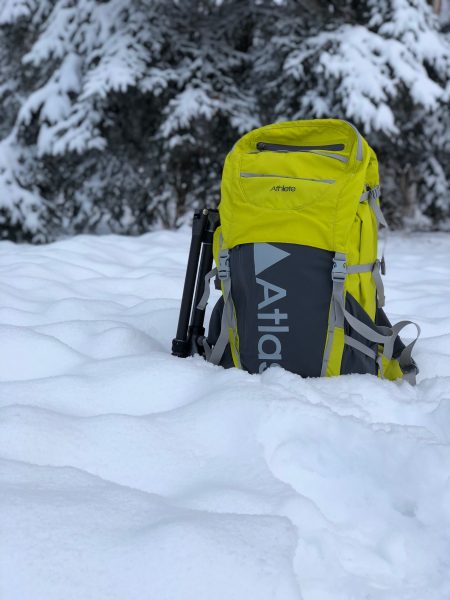
They have two models out now, the Athlete and the slightly bigger Adventure Pack. They feature very similar designs, with the only real difference being the load capacity.

The Athlete is 6″ deep when empty, while the Adventure is 10″ deep while empty. It’s designed to hold bigger gear.

Built as extremely high quality hiking photo packs, they have a standard top-loading design that lets you cram in all your regular outdoor gear, and a large dedicated divider compartment under the back panel where you store your camera gear.

Outside, they have the kind of suspension system with padded shoulder straps and waist belt you’d normally expect to find on most high end non-photo hiking packs, from companies like Osprey and Gregory.  This is one area where photo packs have greatly improved over the years.

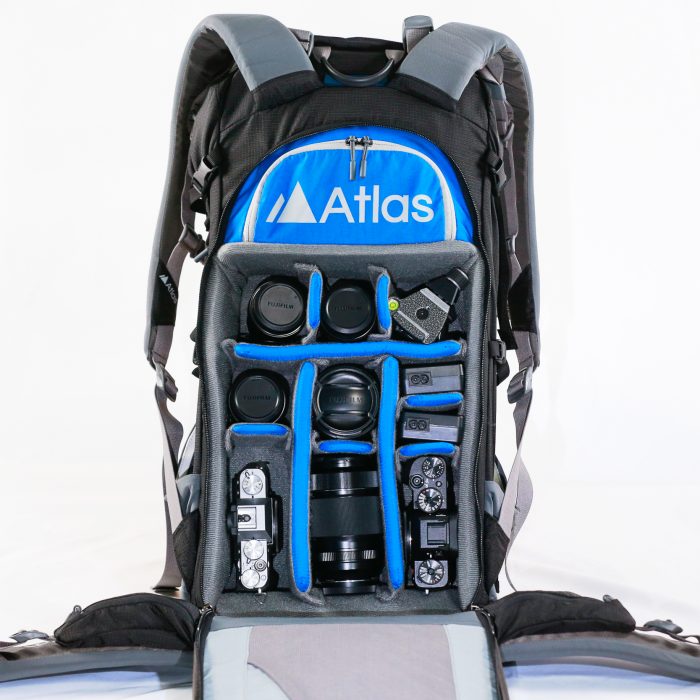
The camera compartment sits under the back panel, and unlike the F-Stop approach, where you had a separate internal “cube” to store all of your gear, Atlas Packs gives you an open bay full of removable dividers.

As you can see below, there’s a lot of room in the main camera compartment, which means you can store a lot of gear. Maybe too much gear, although with that in mind, they’ve smartly included a feature that lets you pull up on a small webbing tab and reduce the size of the compartment by about 1/3. This, of course, give you even more room in your main top-lid compartment.

The larger Adventure model is designed to fit a large selection of pro-size DSLR gear, while the Athlete model is designed for photographers who carry mirrorless gear or smaller DSLR kits. It’s still big enough to hold a full set of mirrorless camera and lenses.

When I first saw the Athlete, the very first thing I did was cram in the Fujifilm XF100-400, in addition to a body and a few smaller lenses, and I was pleasantly surprised to find that it fit quite easily. Unless you like to hike with every single lens and multiple bodies, you can fit just about any kind of workable camera system into the pack.

And much like those smaller “Flipside”style packs, you can actually spin the pack around, unzip and access your gear while you’re wearing the pack. This is a great feature, because chance are, if you’re wearing a technical pack like this, there’s a good chance you’re standing on uneven ground. Setting your pack down might not actually be a good idea…

These packs carry extremely well. That’s one of the real strong suits of the Atlas Pack design, they have great suspension systems that will hold up, even if you do cram that 100-400 along with 15-20 lbs worth of glass, metal and outdoor gear. Overall, the Athlete is rated to comfortably carry a load that ranges from around 15-35 lbs. The Adventure model will support even more.

The waist belt is quite burly. If anything, it may be a little too burly if you only carry a small kit, but then again, I’ve been spoiled by the soft, slim design of the Osprey waist belts. After all, this isn’t designed as a “one body, two small primes” pack. If you really load it up, you’ll really appreciate the extra support.

One nice feature that has been added to the waist belt- The’ve put in a zipper pocket on each side that folds out and allows you to store a lens on each hip. It’s like having a pair of cup holders on your waist. I laughed when I saw this, because I’m the guy who gets caught up in the shoot and will actually set down lenses on the ground and walk away as I’m following my subject.

After the light has faded, I have to go back and look for my lenses. I’m not saying this is a good practice, I’ve actually lost more than one piece of gear this way, which I’m not proud of saying. But hey, I’m kind of a spaz. So, yea, these little belt-side lens holders could come in quite handy!

Also, both packs also feature tripod/ski/pole pockets on the side, as well as waterproof rain covers, and they’re hydration ready.

If you’re looking for a high-end outdoor camera pack that will let you comfortably carry your gear in any kind of terrain or environment, then I’d recommend taking a look at what Atlas has to offer. I’m excited to see this small company grow, and judging by their designs and the positive feedback they’ve had from users so far, they’re well on that track.

At the same time, the owner and lead designer is still still very much in the mindset of listening to what photographers really want and then building the best possible outdoor and adventure photography backpack.

Visit Atlas Packs on the web and check out their Instagram feed to see how their packs are being used out in the world.

February 5, 2018
See this post
New Adventure Photography Camera Packs by Atlas Packs

Today is February 2, more commonly known as Groundhog Day, and today, Punxsutawney Phil did not disappoint. In Central Pennsylvania, the famous little critter crawled out of his hole and saw his shadow, which of course, signifies that we have six more weeks of winter.
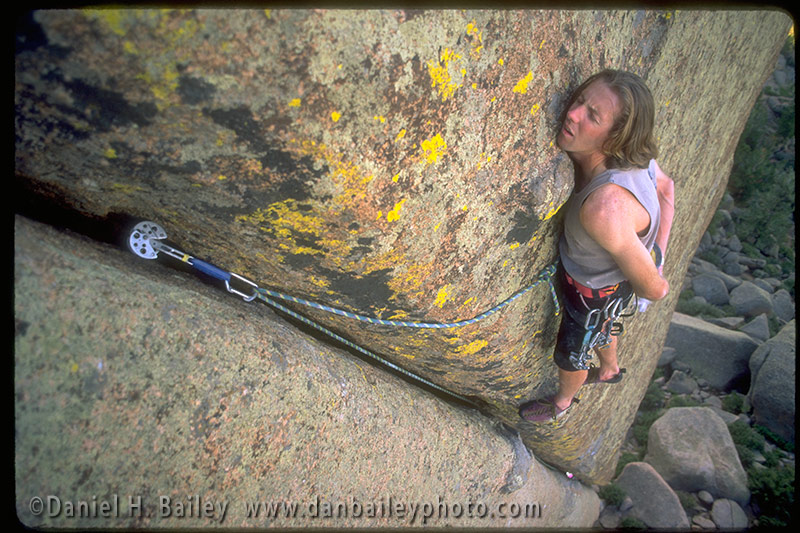
I live in Alaska, so this is pretty much a no brainer. Of course we have six more weeks of winter, if not eight, or ten. Or even twelve, depending how early April shapes up.

However, I’m not here to discuss the length of the seasons or an odd 132-year old tradition that’s based on the hibernation patterns of the common woodchuck.

To me, February 2 is special for another reason. It’s signifies the day I bought my first real camera.

On the afternoon of February 2, 1990, I walked into Bromfield Camera in downtown Boston and threw down $550 for a silver Nikon FM2 and 50mm f/1.4 lens. That moment marked the official start of this amazing photography journey, which as of today, has lasted 28 years.

28 years is a very long time. I have friends who aren’t even 28 years old yet and many more who weren’t even in first grade when I was roaming around the streets of Boston with my trusty Nikon slung around my neck.

An entire generation of Instagrammers didn’t even exist yet when I was out hiking and scrambling around rocks with the camera during those early days or when I took my first big photo trip to Nepal in 1993. Many of the young contemporary photographers who are making waves in the industry now were but pimply-faced junior high kids when I was selling my first photos to magazines and shooting my first assignments.

And at the same time, there are people in my life who have watched this entire journey from a front row seat, or at least part of it. How interesting would that have been, to watch young Dan Bailey become enamored with photography and follow it with such enthusiasm for nearly 3 decades.

28 years is a very long time. That first Nikon ended up getting stolen, but I bought another. When I first started, I shot Kodak Gold 200 print film. Within a year, I started shooting Kodachrome, and in 1993, bought my first roll of Velvia and began my long love affair with the Fuji colors.

Back then, I was captioning my slides by hand with a fine point black pen and stamping them “©Daniel H. Bailey” with a custom stamp and one of those ink pads. I’d sit in my little studio apartment in Cambridge, MA, and get one or two pages done in the evening after work.

On a big night, I’d get 3 pages captioned- 60 sides. Eventually, I got a little beige Mac Classic and a printer and graduated to using Cradoc Captionwriter software to print out my captions on Avery Labels.

K2, Karakoram Himalayas, Pakistan

By the mid-90s, I had fully embraced autofocus and as that decade came to a close, I was well on my way as a budding pro photographer. Each week, I shipped out pages full of my best slides to clients and prospective clients. My life revolved around my light table and file boxes full of slide pages. I got to know my Fed Ex and UPS delivery guys quite well. We were on a first name basis.

I had also started teaching photography classes. Top pro adventure photographer and National Geographic contributor Keith Ladzinski was one of my students. Imagine that: in a way, I taught the best of the best, or at least made an impact. At the time, my camera arsenal included the N90, N90s, F100 and F5.

In the early 2000s, my skills and reputation had grown considerably, although that didn’t stop the extreme downturn of the Post 9/11 economy. I weathered that big recession and continued on.

In 2003, when my good friend Paul closed his high-end photo lab, I went digital. I bought a Nikon D200 and had to learn an entirely new way of editing, cataloging, and a brand new skill called “processing.” There was a whole new term, called “workflow.” Mine involved Photo Mechanic, Photoshop v.3 and iView Media Pro. Fifteen year later, I’m still using Photo Mechanic and Photoshop, and MediaPro is now included in Capture One Pro.

I wasn’t using film anymore, although I was scanning my best slides to disk and still sending out my old Velvia images to clients. They were still getting used, although as digital cameras got better, those film images just weren’t holding up as well to the new higher resolution sensors.

In March of 2007, I downloaded WordPress to my computer and started this blog. Blogging turned into a pretty big thing for me. Who knew? The article you’re reading right now is the 919th post I’ve written on this site. If you’ve read some or most of them over the years, then I’d like to thank you for your patronage.

In September of 2008, I moved to Alaska and weathered another big recession. I also began my pilots license. Three years later, in the fall of 2011, I bought my first Fujifilm camera and started my amazing journey with the X Series. By then, I’d already bough my little Cessna and began my adventures as a bush pilot and aerial photographer.

Around then, I wrote my first eBook. I have seven now. In 2015, I had my first real book published. My third one will be out this spring.

28 years is a long time. My photography life has spanned my entire existence as an adult, (I was 22 on that fateful day). It has lived through an extensive history of important world events as well as a memorable collection of moments in my own history.

Anyone who knows me will say that I am photography and photography is me. We’re forever intertwined. It’s been such an amazing and inspiring journey so far, one that I never would have foreseen 28 years ago.

Back then, I was just an energetic kid with a new found fascination for this cool, creative craft. Not much has changed. I’m still that kid. I still love it just as much, in fact, way more. I’m still just trying to follow my dream, I just have 28 years of experience and practice under my belt.

What do you think you can accomplish in that kind of time frame? That’s an exciting question, isn’t it?

As I look at my own shadow today, I can only imagine what the next 28 years will bring. I’m looking forward to finding out.

February 2, 2018
See this post
28 Years Later…

We were woken up by an earthquake last night at 12:30am. The house was shaking and the pots and pans were banging around in the kitchen for about 30 seconds during the Magnitude 7.9 event that occurred off the coast of Kodak island, 400 miles south of Anchorage.
The our phones started buzzing with Tsunami Warning alarms. So, that was pretty exciting. I shared the alert on Twitter and someone from CBS news found me and asked me to do a Skype interview. I guess I was on the CBS morning show this morning. Fortunately, the tsunami waves disputed before they hit land.

Anyway, today’s blog post is about Luminar. I’ve been using Luminar as my main image processing program for over a year, and it’s gotten even better with the latest version, which was released a back in November.

With a wide range of powerful and well-thought-out develop tools and easy-to-use presets, I have found it to be a very fun and quick solution for adjusting my images and enhancing me creativity with my photography.

Like Adobe Photoshop and many other photo programs, Luminar has a history panel, which allows you to “undo” and “redo” multiple steps as you try out different tools and make your adjustments.

When you’re done processing, you have two different options for saving your work, Save and Export. Both are found under the File Menu. I’ll briefly cover what each of those commands do and why you’d want to use one or the other.

Exporting Your Image

Exporting an image in Luminar saves your processed image to another folder. All of your work, including layers, filters, preset adjustments and any other develop tools you might have used, like Crop and Transform, are written permanently into the file.

Also referred to in the program as “Export to Image,” this is essentially a Save As… command, which allows you to save a copy of your processed image in whatever size, color space and format you wish.

Your format choices are JPEG, PNG, GIF, TIFF (with or without LZW Compression), JPEG-2000, Photoshop and PDF, and your color space choices are sRGB, Adobe RGB and ProPhoto RGB. You can also apply sharpening to your finished image, with settings of either Low, Medium, High or None.

If you’re saving an image for email or social media use, you’ll probably choose JPEG as your Export option. However, if you want to save a high res version for print or as a master processed image in your image catalog, or if you anticipate doing additional processing in another image editing program, you might want to save as a hi res TIFF file.

If you export your image as a Photoshop file, Photoshop will open it as if it were a PSD file, and it will be recognized by other programs which support the PSD file format. However, there are limitations. While most adjustments will carry over, at this point, Photoshop will not recognize Layers that were created in Luminar.

In addition to using the Export… command under the File Menu, you can also export by clicking the Export icon on the Top Right of your Luminar Window. From here, you can Export to Image, or you can choose to export or share your image to a number of other services, including Mail, Message, Facebook, Flick, SmugMug and 500px.

Luminar has these options coded right into the program, which means you can log in right from Luminar and, add titles, captions, and keywords, depending on what service you choose, then select your desired album or folder for upload.

This is a great option for people who regularly post to sites like 500px, or photographers who use SmugMug to host their galleries. There are a lot of professional portrait and wedding shooters who use SmugMug for client previews and selling prints to their customers. This helps you cut valuable workflow time and offers one-stop processing and upload right to your site.

Saving Your Image

The Save… command in Luminar operates in a similar manner to saving as a PSD file in Photoshop. With this option, you’re not really saving an image file, instead you’re saving the file as a Luminar Document in the program’s native file format, which has the .lmnr file extention.

The main benefit of this option is that it lets you save your entire develop history, and it’s what allows you to process your images in Luminar with a non-destructive workflow. If you want to come back and later and continue editing your image, then you’ll want to the Save… command. (Cmd+S on the Mac, Ctrl+S on a PC.)

When saving an image as a Luminar Document, you have three checkbox choices:

Save original resources to Document – This save your original image to the file. In other words, it induces your RAW file, if you’re processing from RAW. (Note, this is Mac only. It’s already saved by default in the Windows version.)

You don’t have to check this option, because you probably have the original RAW file saved somewhere else. However, it does give you access to all of the resolution and exposure latitude that exists in the original RAW file, so it’s probably a good idea. Keep in mind, it does create a much larger file.

Save history to Document – You’ll definitely want to check this box. This saves your processing history and all of your edits. By checking this option, you’ll be able to go back later and undo or redo those edits. (Note: This option is coming to the Windows version later this year.)

Windows compatible – Checking this box creates a file that can be saved on a Mac and opened Windows. It saves your original resources and your processing history.


By using the Save command instead of the Export command, you can create a “master document” and pick up right where you left off, or use that to export and share additional copies of your image.

The only downside is that most image catalog programs like Lightroom, Capture One or Photo Mechanic won’t recognize files with the .lmnr extension. So, you’ll probably want to save these files to a separate “Luminar folder” which contains all of your master Luminar documents.

That said, when Skylum releases their upcoming asset management module for Luminar later this year, I’m sure that you’ll be able to view your Luminar documents right along with all of your other image thumbnails in your catalog. Your develop information will be saved much like it is Lightroom.

You can check out my full review of Luminar 2018 here and, if you decide to purchase the program, be sure and use coupon code DANBAILEY and you’ll save $10 on the software. 

As I said above, I’m really enjoying using Luminar to process my images, no matter if I’m just adding some additional zing to my JPEGS, or doing more heavy lifting when processing my Fuji RAW files.

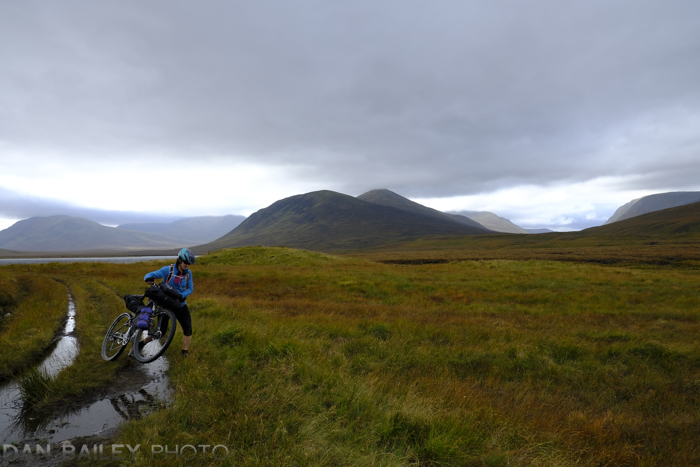
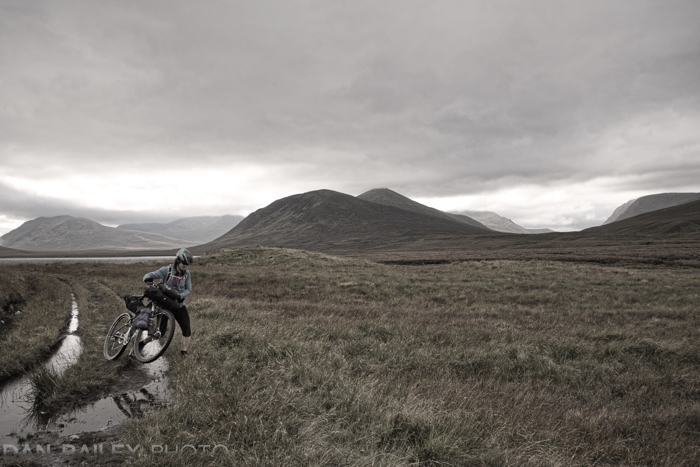
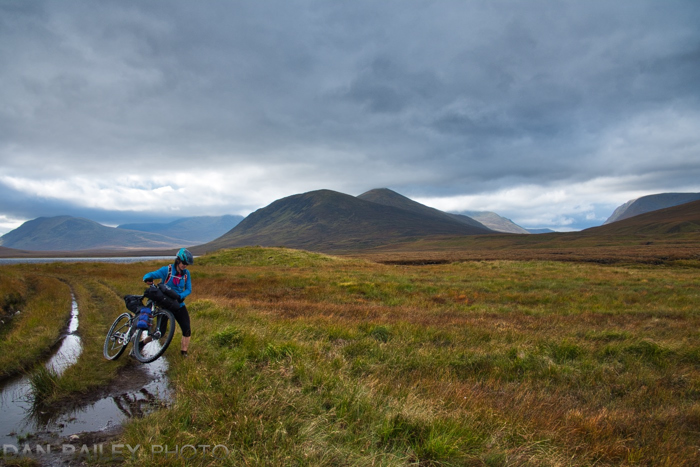
I like the “easy creativity” the program offers, and the Scotland bikepacking images in this post give you an idea of some of the different kinds of looks I like to play around with. They’re all the same shot, just processed with different ways.

backdrops for photographers


January 23, 2018
See this post
Using Luminar – Saving vs. Exporting Your Processed Images

In the course of a 12-month period, you take a lot of pictures. You press the shutter thousands of times, hoping to get a few highly memorable and visually stunning frames, and even though you might end up throwing away a lot of your captures, you still learning something from every single shot.
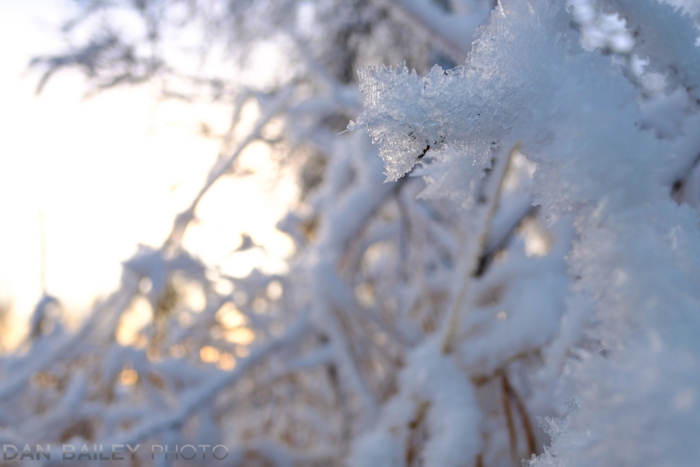
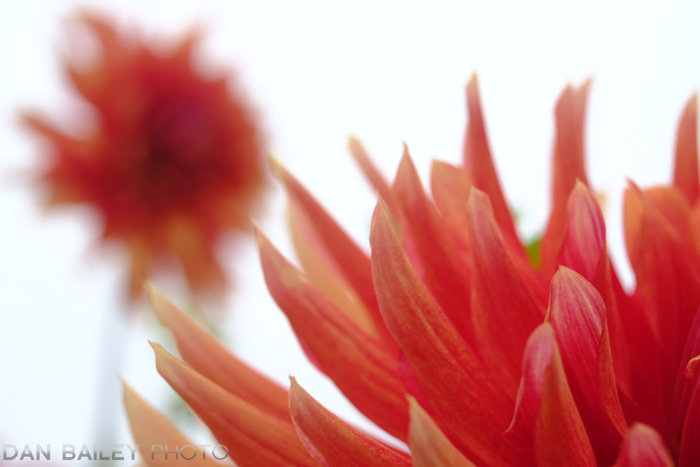
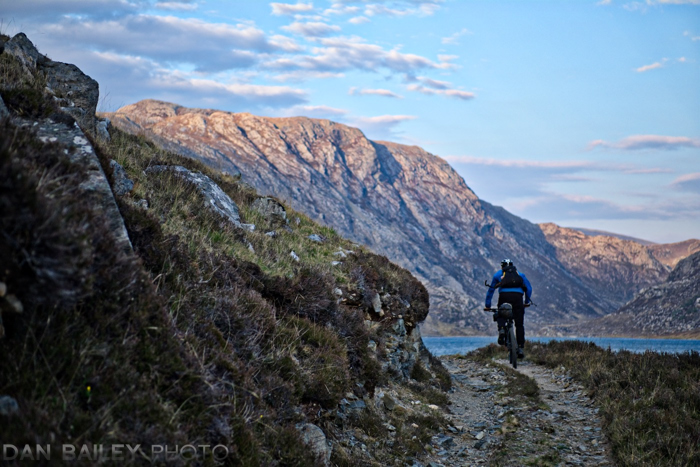
When you look back, it’s fun to notice the techniques you picked up or perfected, or the new styles that started to develop over the course of the year.

It’s also fun to make note of which lenses you used most during that stretch of time. After all, your lens choice is one of the most personal and important aspects that determine and dictate your photography style.

You probably have your favorite focal length, or a couple favorites, depending on your subject matter. In order of number of frames shot, here are the 5 lenses I used most during the past year and a few examples to show you how I use them. Hopefully these photos will give you ideas of how to use your own glass. It’s interesting to note that 4 of the 5 are primes.

1. 50mm f/2

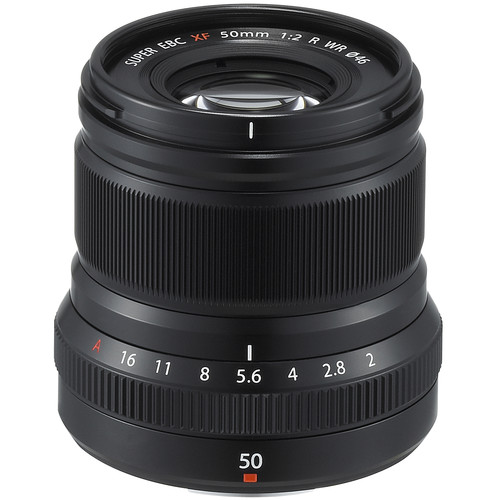
I got the XF50mm f/2 back in March of 2017 and it quickly became one of my favorite lenses. With its super small, light compact design, weather sealing and a pretty fast aperture, this ended up being my most used lens for all of 2017, and used it to shoot a variety of landscapes, portraits, action shots and travel scenes.

Equating to a 75mm lens on a full frame camera, this focal length sits right between the classic “nifty fifty” and the classic short telephoto length of an 85mm. With a relatively close focusing distance and a very shallow depth of field up close this focal length offers wide versatility, as long as you’re not trying to shoot too far away with it. At close and medium distances, a lens like this works extremely well to isolate certain aspects of your scene.

2. 14mm f/2.8

I love wide angle lenses. Always have. They let you capture the broad scene in front of you with expanded perspective and extremely wide depth of field, where everything, or nearly everything is in focus. Up close, they allow you to accentuate your subject and give it added prominence. Include a compelling background and you can give your images a great sense of depth.

The Fuji XF14mm f/2.8 equates to a full frame 21mm, which is close to my old favorite Nikon lens, the 24mm f/2.8. It was an easy transition to this lens, and it was actually the second X Series lens I ever got. Six years later, I’m still using it all the time for landscapes, action, environmental portraits and travel.

3. 35mm f/2

I’ve loved the XF 35mm f/2 lens since the day I got it, and I take it with me almost everywhere. It’s pretty much my standard “walk around lens.” Consider this one the APS-C version of the classic “nifty fifty,” which was the standard “first lens” for most photographers back when we shot film.

It’s still very relevant today and can be used for all styles. As with the 50mm f/2, this lens works extremely well for isolating close to middle distance subjects and shooting things like portraits, travel and outdoor scenes. I’ve even shot action with my 35 and gotten good results, it’s just a matter of not being too far away from your subject.

4. 18mm f/2

Remember all that stuff I said about the 14mm lens? Same applies to the 18, but it’s even smaller. With a traditional 28mm full frame viewpoint, the XF18mm f/2 is an even more compact wide angle prime that’s great for capturing a wide variety of subject matter.

I take the 18 when I want to go with an ultra tiny kit. Where I took the 14 on my May Scotland trip, I took the 18 for the second, only because it’s a little bit smaller with its shorter lens hood. My shooting style is the same, so I pretty much use these lenses interchangeably. If I had to pick one, though, I’d probably go with the 14. That said, got some great stuff with the 18 last year, I just didn’t use it as often.

5. 50-140mm f/2.8

The XF 50-140mm f/2.8 is the classic Fuji workhorse telephoto zoom lens. It’s their version of the classic 70-200mm f/2.8. which has long been a staple tool for many photographers over the years. It ranks on my “most used list,” because whenever I’m shooting with this lens, I’m usually shooting in Continuous High mode and burning a lot of frames.

With very fast autofocus, a fast f/2.8 aperture, and very sharp glass, this type of lens is essential for shooting action, sports and portraits, and if you’ve got space for it in your bag, it’s wonderful for compressions your scenes, isolating distant elements in your landscape and zooming in the background.

It also produces wonderful bokeh and shallow depth of field effects behind your subject matter. I don’t always travel with this lens unless I’m on assignment or doing workshops, but when I’m home, it gets used quite a bit for shooting things like bike racing, adventure sports, events and even nature.

January 17, 2018
See this post
The 5 Lenses I Used Most in 2017